Filtering Your Analysis Data
Relyence supports data filtering and sorting capabilities on Tables. Filtering your Analysis data provides a way for you to pare down the amount of data that appears in your Tables.
As the amount of data grows in your Analyses, it may become helpful to pare down the data in various ways to enable you to more effectively zero in on the data you are most interested in. Filtering capabilities allow you to fine tune the data that appears in Relyence tables for a more manageable view of your Analysis data.
The Filter Bar appears at the top of Relyence Tables. The example below shows the location of the Filter Bar, which appears just below the column headings in your Tables.
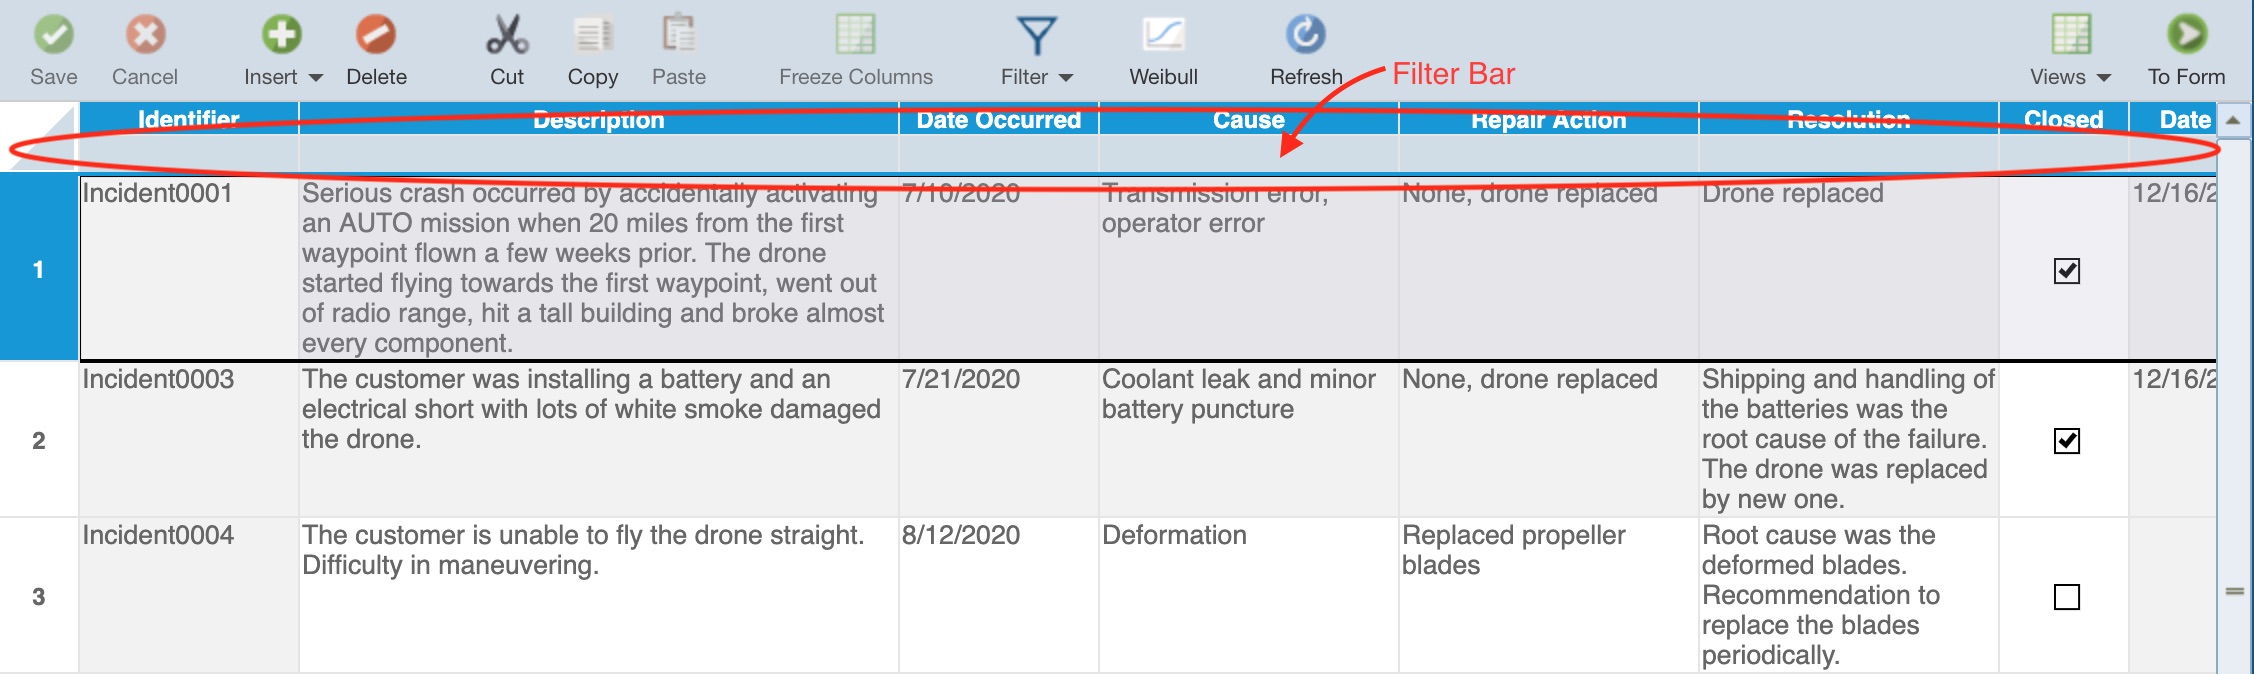
You can use the Filter Bar to specify a filter and/or sort for each column in your Table. To apply a filter, click in the Filter Bar in the column you want to filter on. For example, to filter on the "Description" field in the FRACAS Table shown, click the Filter Bar below the "Description" column heading. The Filter dialog appears.
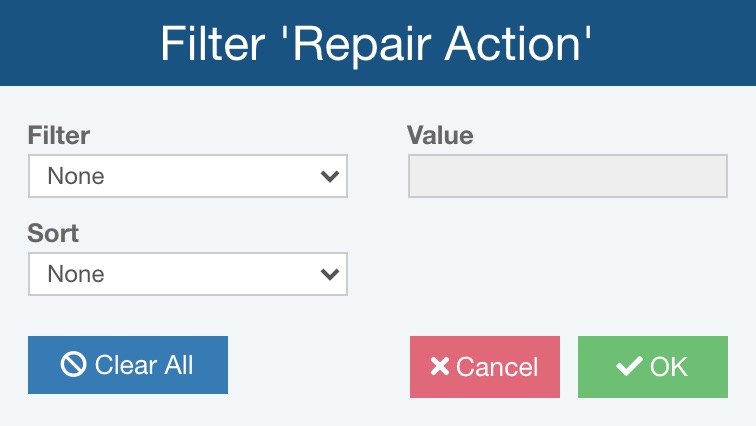
The Filter dialog allows you to specify how to filter your data. The filtering options will be specific to the type of data you are filtering. For example, filtering a text based data column is different from filtering on a date-based column, so the Filter dialog options change accordingly.
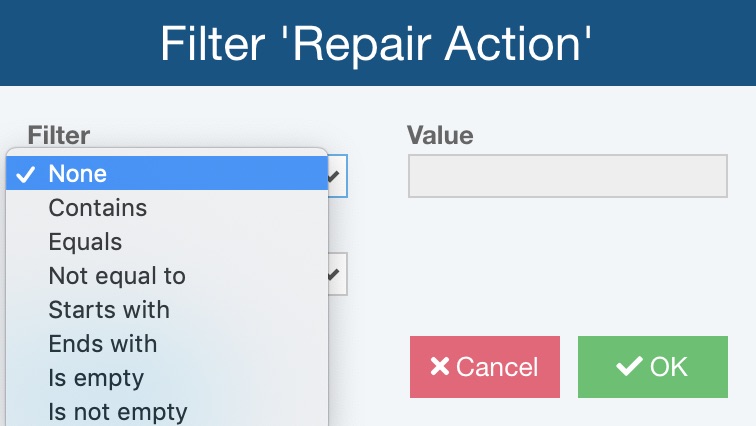
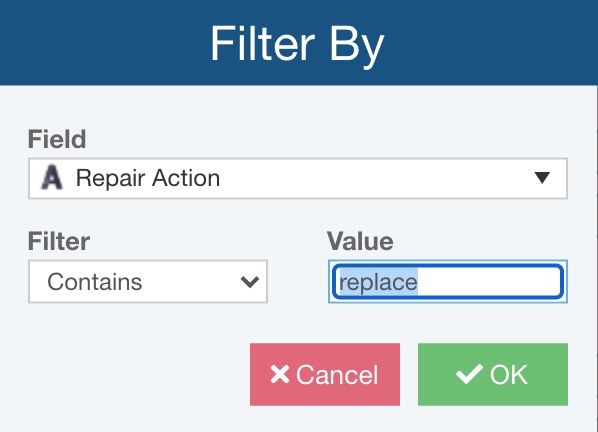
Click on the Filter field to select from the list of available filtering options. Select the desired filter option, and then enter the appropriate value in the Value field.
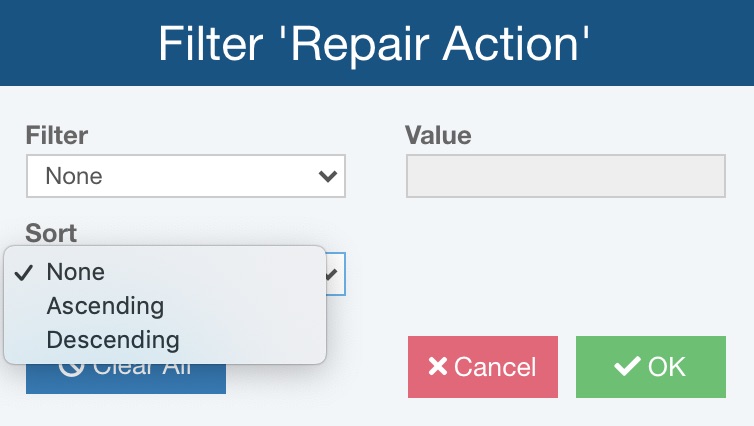
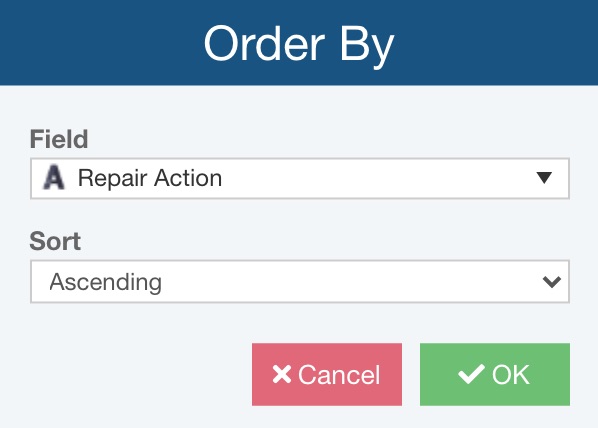
If you want, you can also select to apply a sort to the data column by selecting the desired option from the Sort dropdown list.
Click OK to apply the filter. Your Table will be refreshed and will display the data that matches the applied filter criteria.
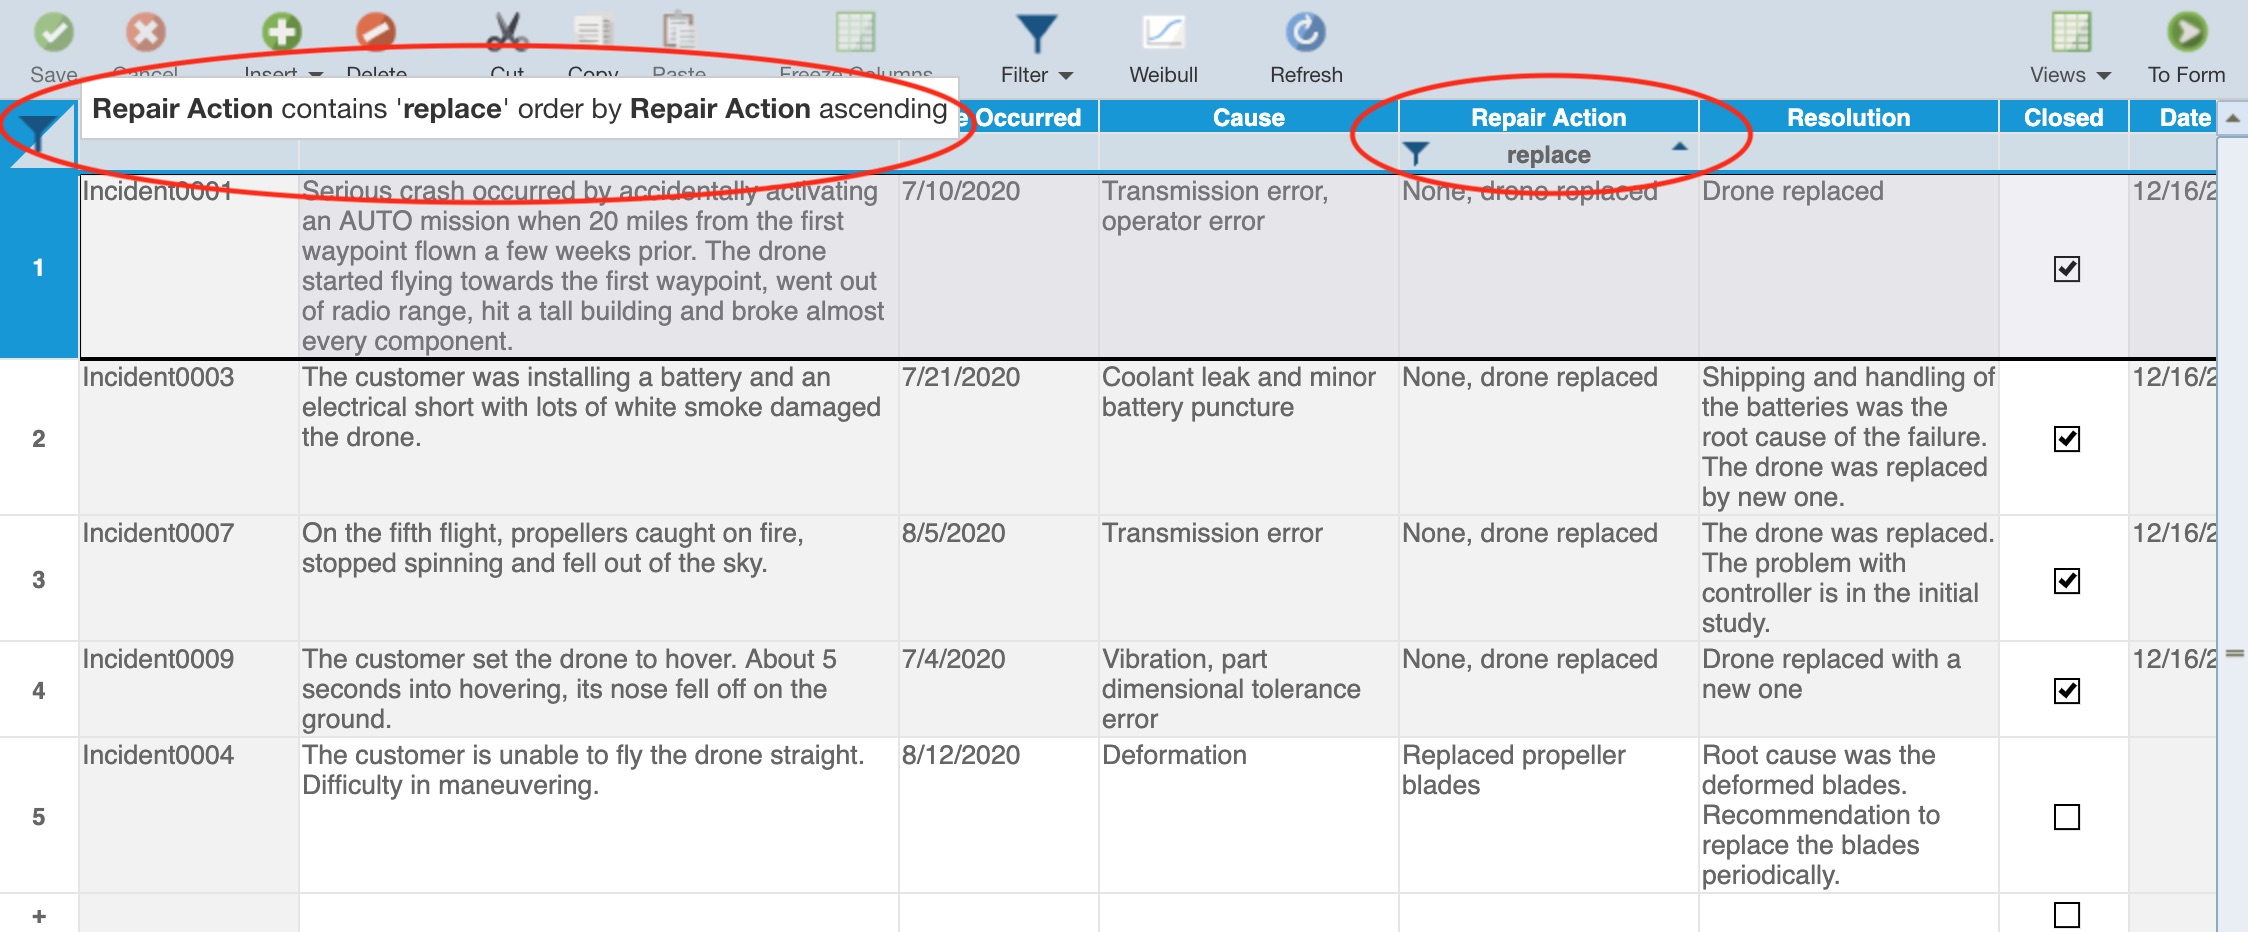
If a filter is active, the Filter Bar will display a filter icon in the filtered column(s) along with the filter parameters. If a sort is applied, the arrow icon will also display to indicate the type of sort. The example below shows a FRACAS Table filtered to show all Incidents where Repair Action contains the text "replace" sorted in ascending order. Also notice that when a filter is applied a filter icon appears in the upper left corner of the Table. If you hover over this filter icon, the applied filters will be displayed.
To remove a filter from a single data column, click in the Filter Bar on that column and select None from the Filter dropdown list. To remove all filters that are active at one time, click on any column in the Filter Bar and click the Clear All button in the Filter dialog.
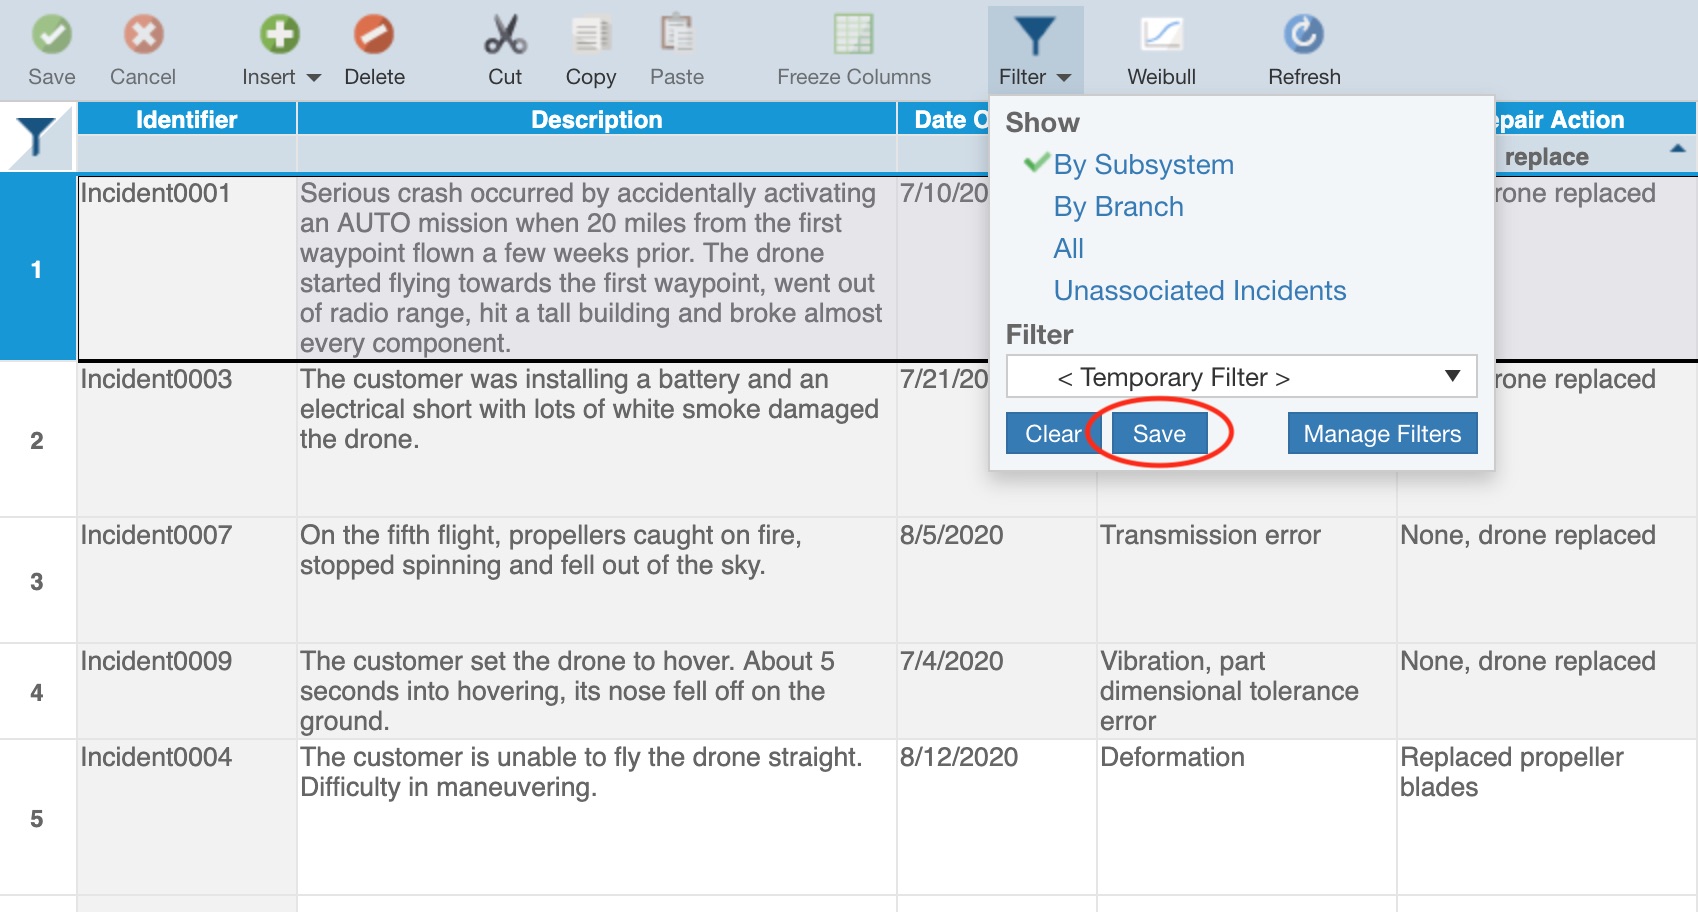
Any filter built using the Filter Bar can be saved for future use by using the Save button from the Filter button dropdown.
The Save dialog appears.
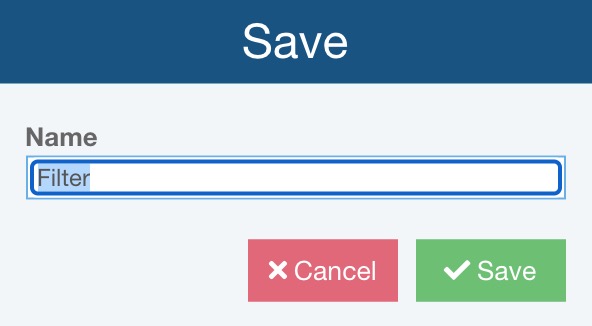
Define a descriptive Name for the filter and click Save.
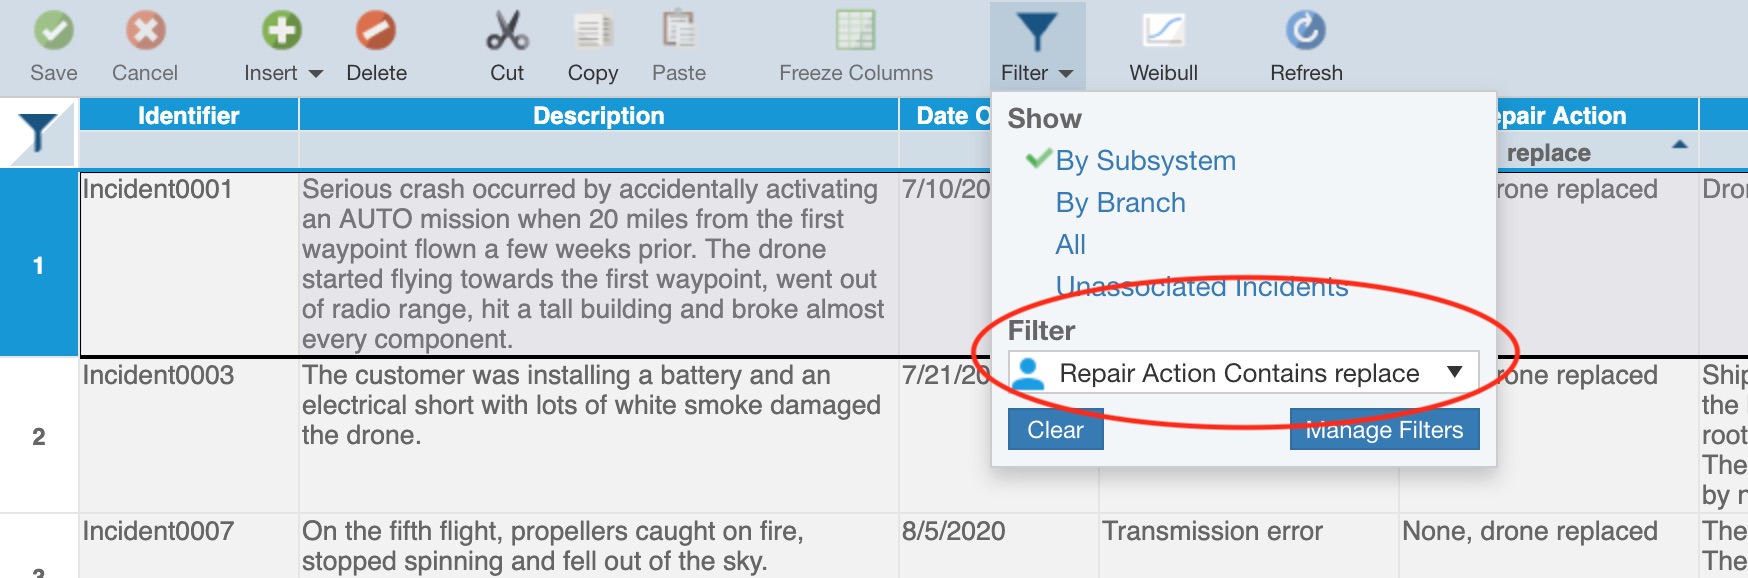
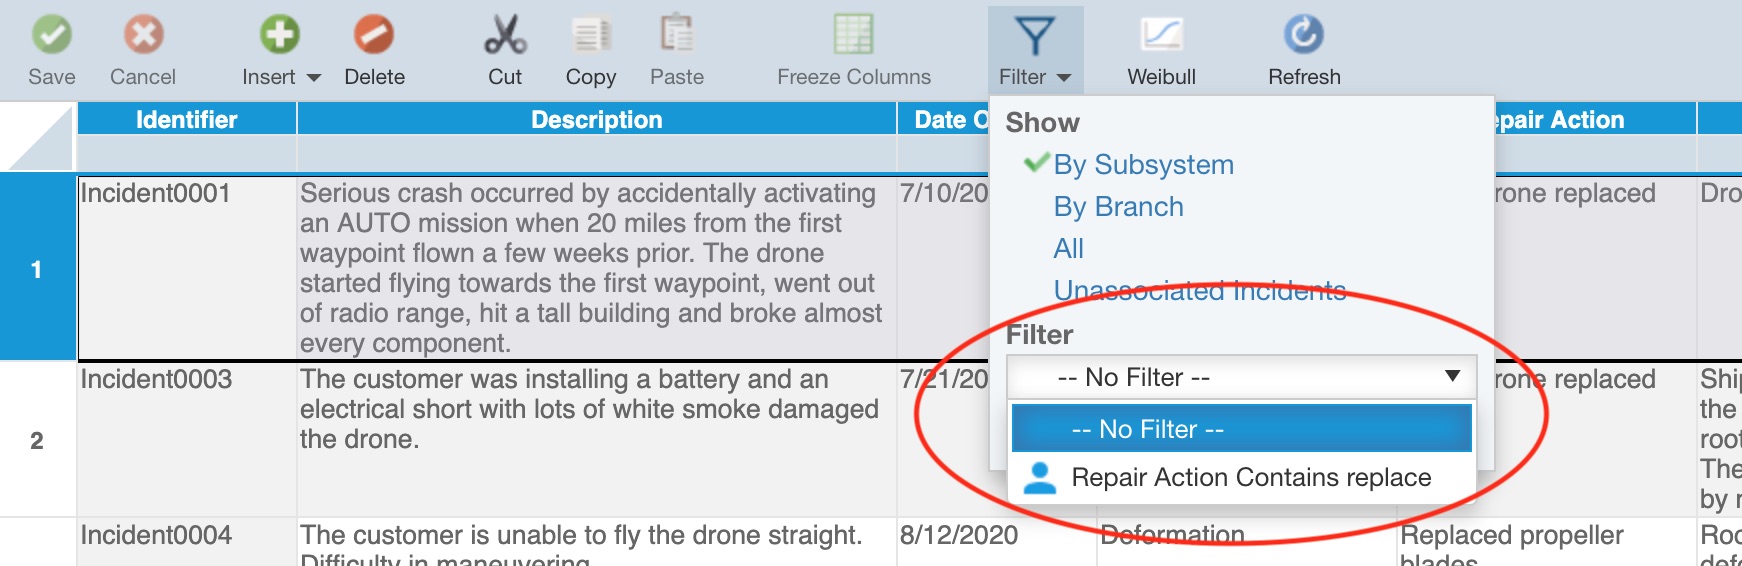
Once a filter is named, it will show with its Name in the Filter field via the Filter button dropdown.
Any temporary or named filter can be cleared using the Clear button via the Filter button dropdown.
![]()
Once a filter is named, it can be selected using the Filter dropdown via the Filter button dropdown.
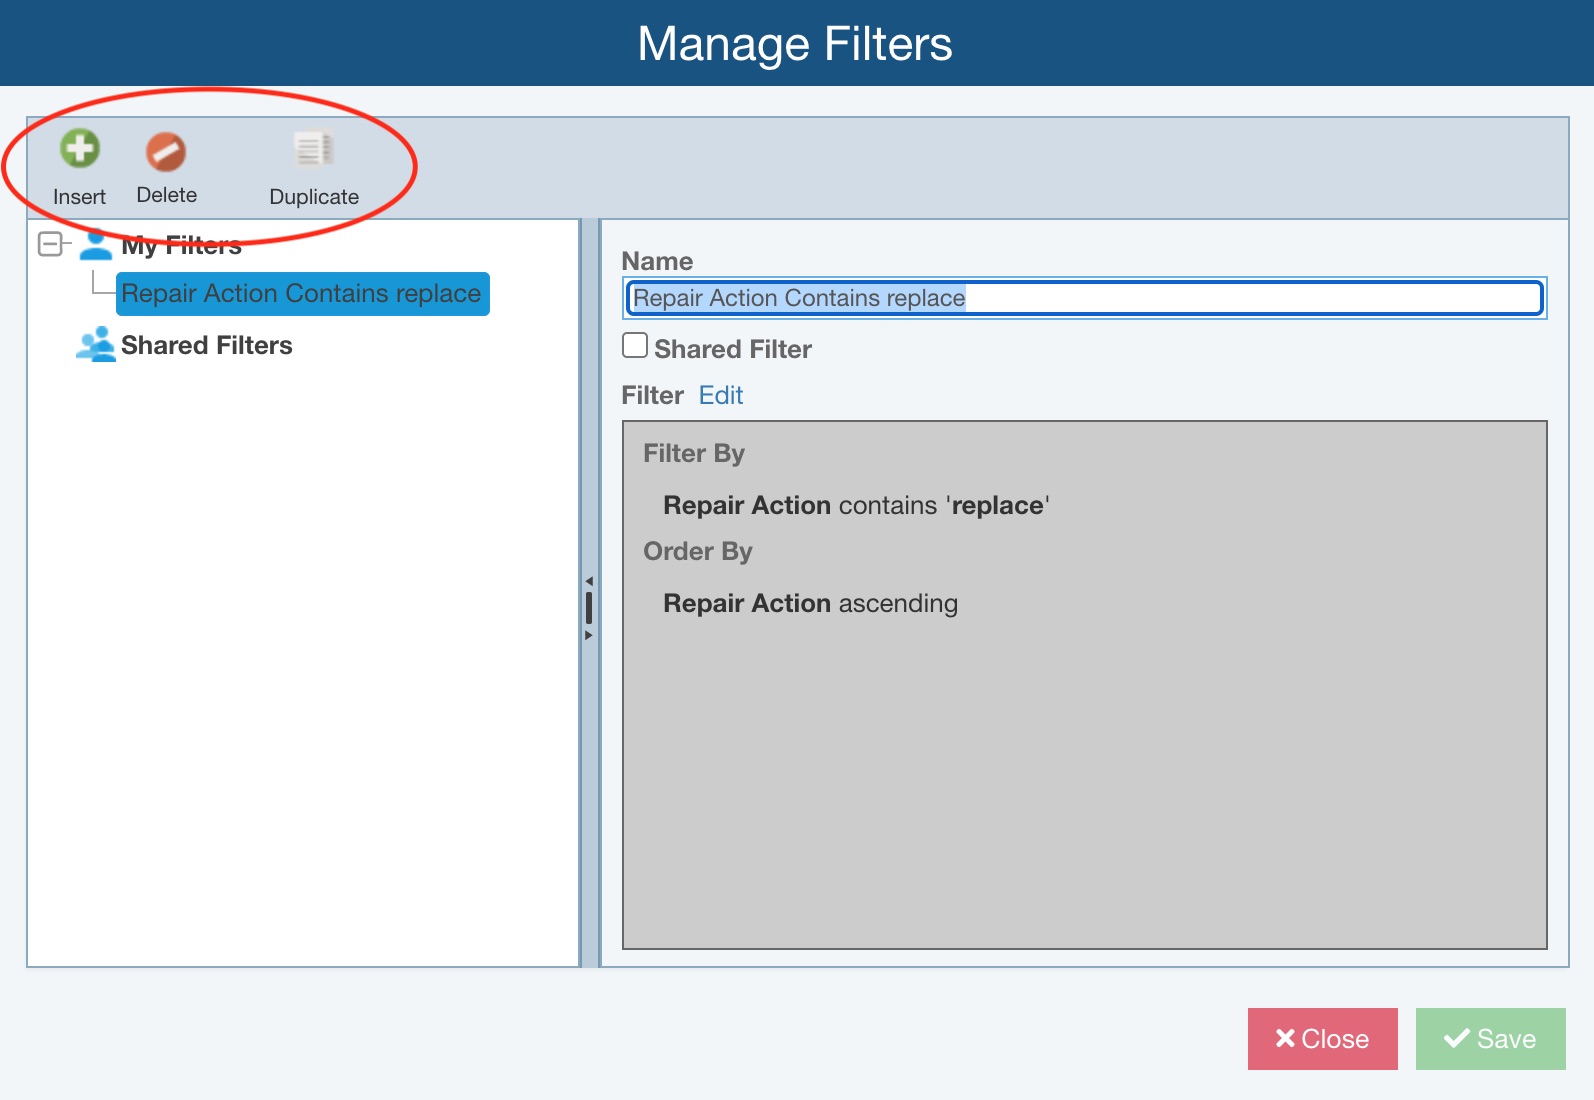
You can use the Manage Filters dialog to review, edit, add or delete filters. It is accessed from the Manage Filters button via the Filter button dropdown.
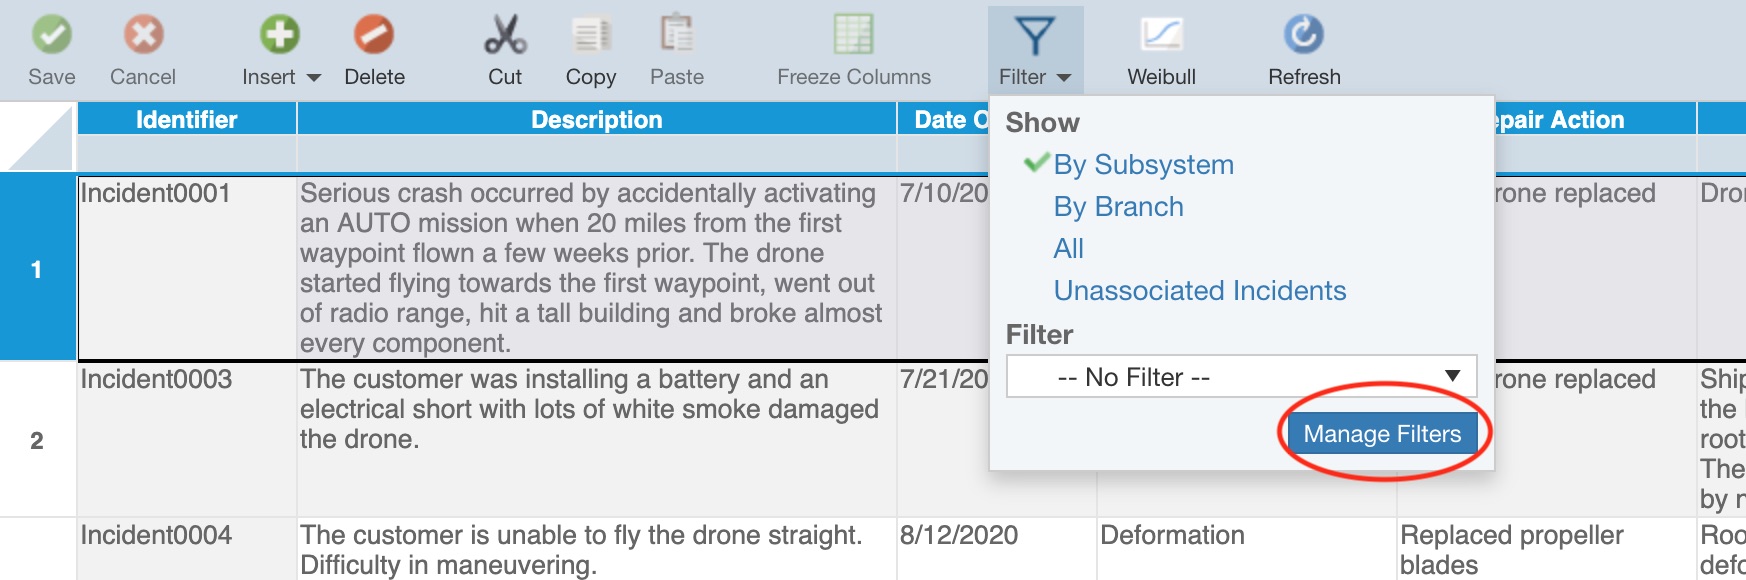
Once you select Manage Filters, the Manage Filters dialog appears.
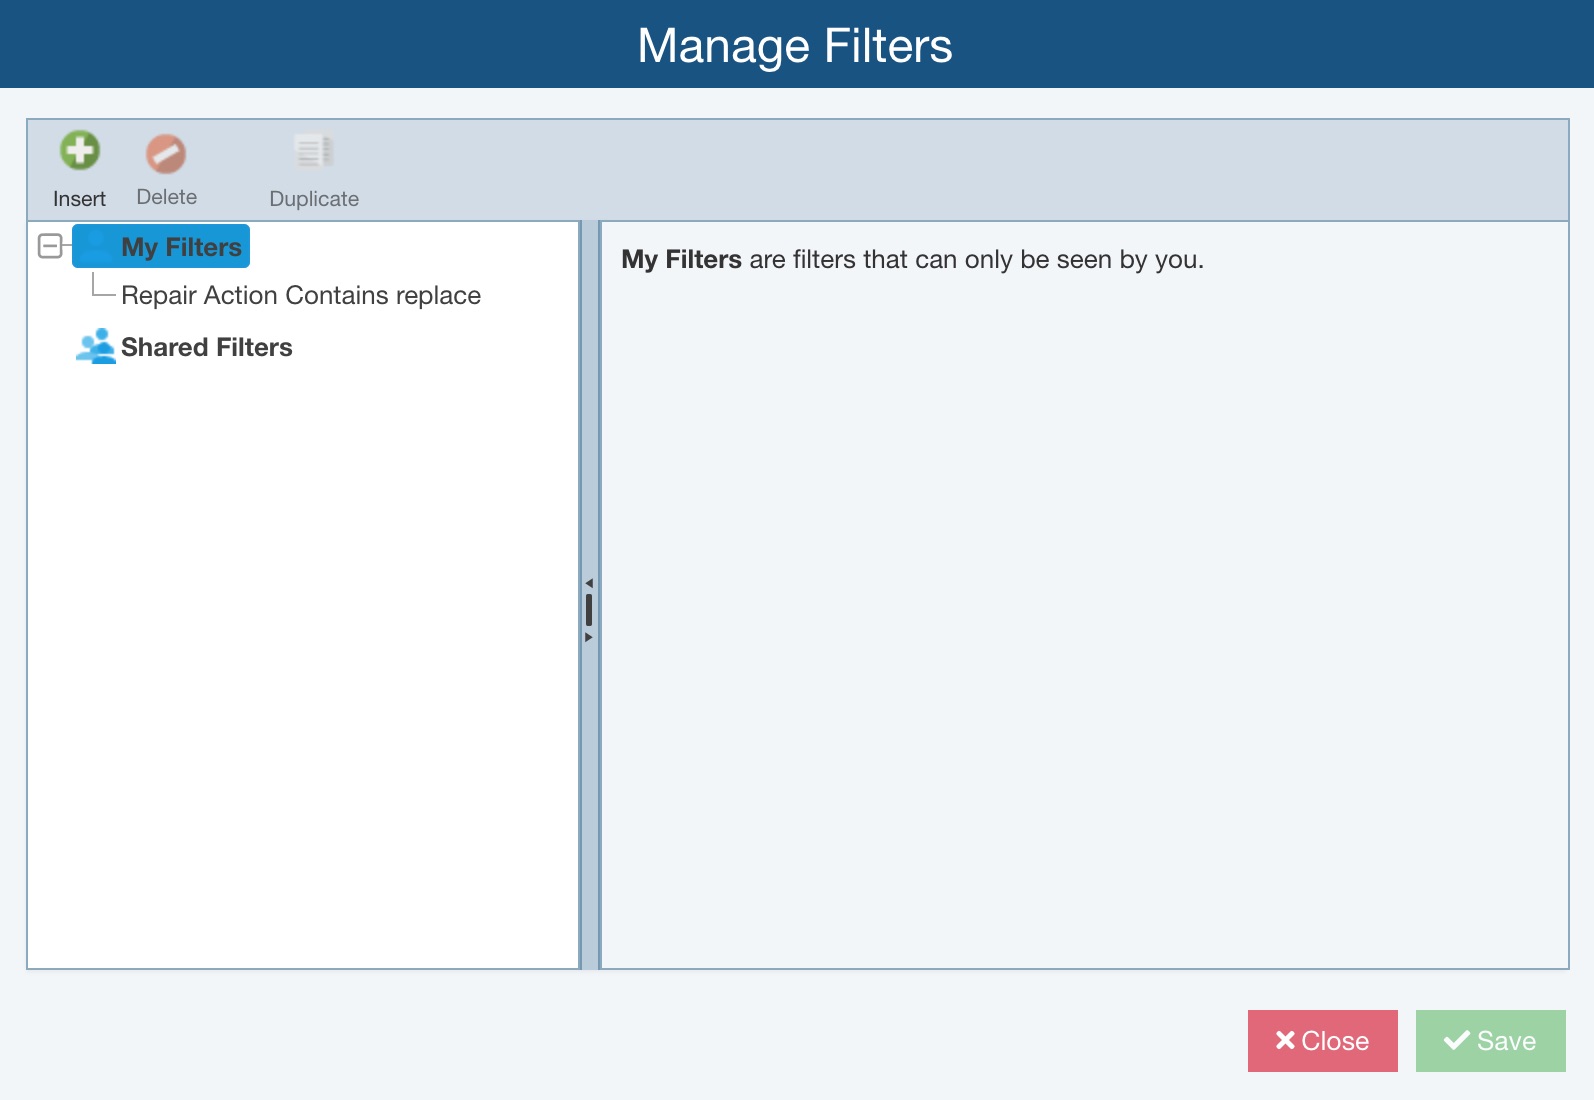
The Manage Filters dialog shows all filters for the individual user, My Filters, as well as any Shared Filters.
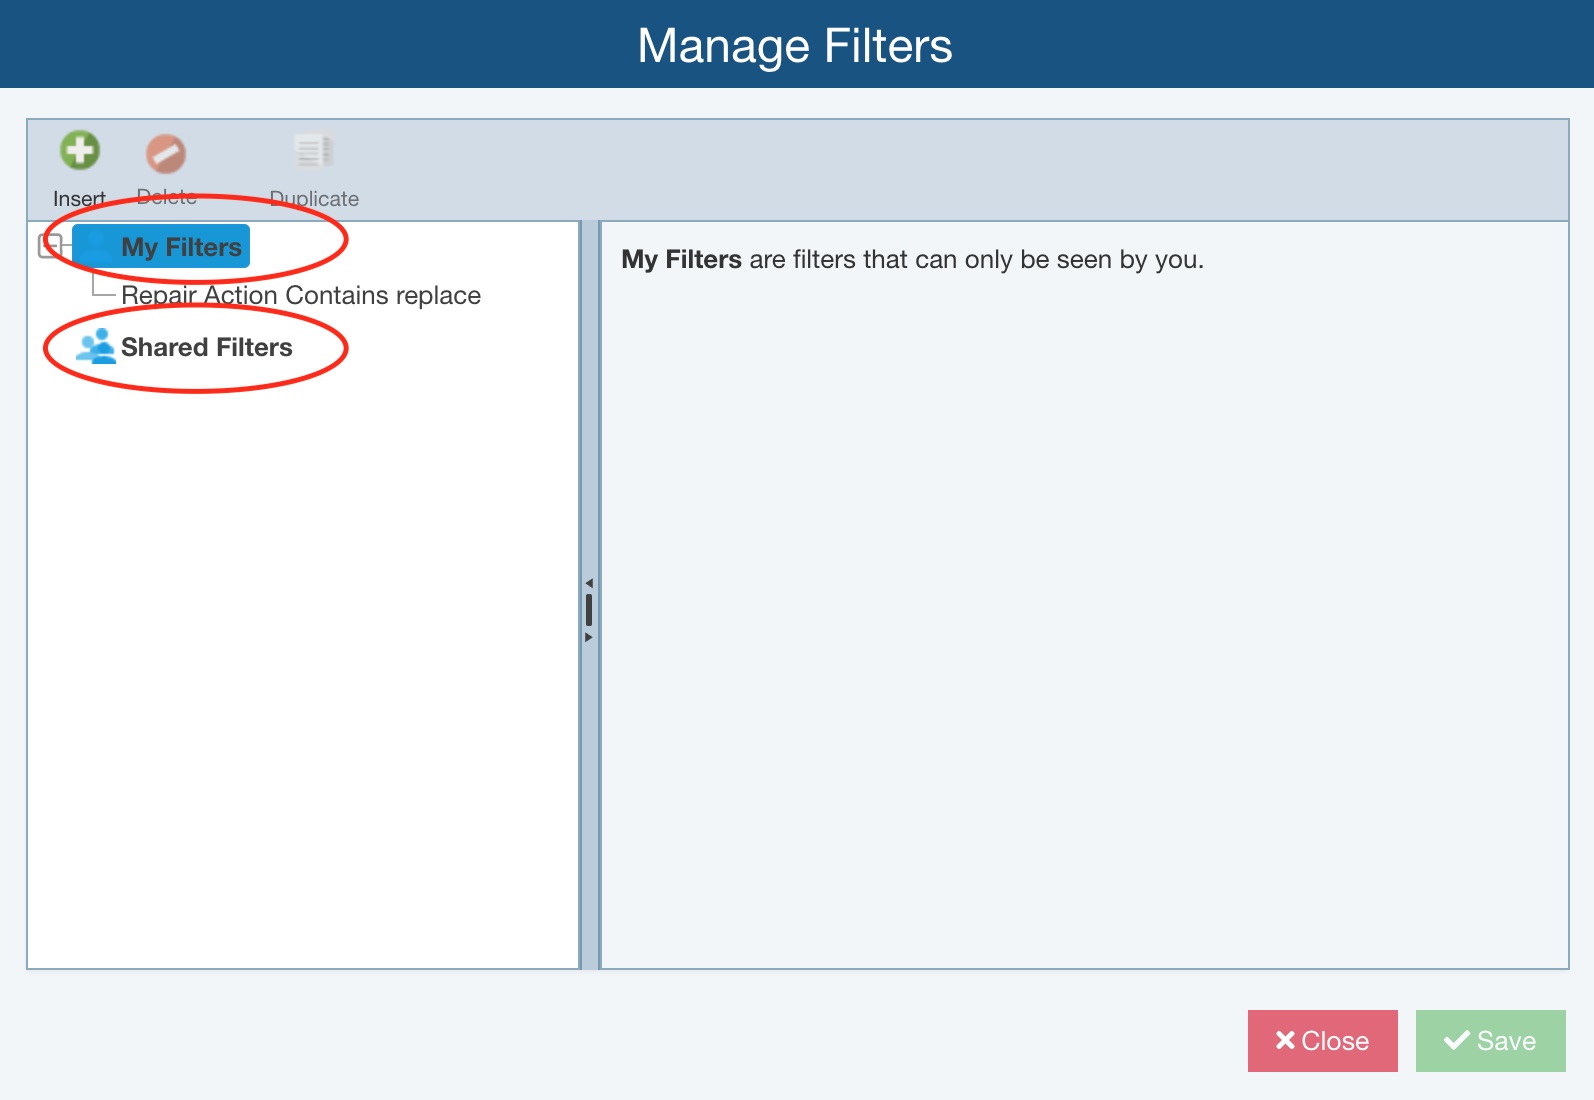
Note that you can change a My Filters filter to a Shared Filters filter using the Shared Filters checkbox.

To add a new filter, use the Insert button. To delete a filter, select it and click Delete. To make a copy of a filter, select it and click Duplicate.
When you click Insert, the Insert dialog appears where you can give the new filter a Name. Then click Insert. To define the filter, use the Edit feature described below.
When you click Delete, the Delete dialog appears and you are prompted if you are sure and can click Yes or No.
When you click Duplicate, the Insert dialog appears where the filter is given a unique Name based on the name of the selected filter. Then click Insert. To define the filter, use the Edit feature described below.
To edit any filter, select it on the left side of the Manage Filters pane and select Edit on the right side.
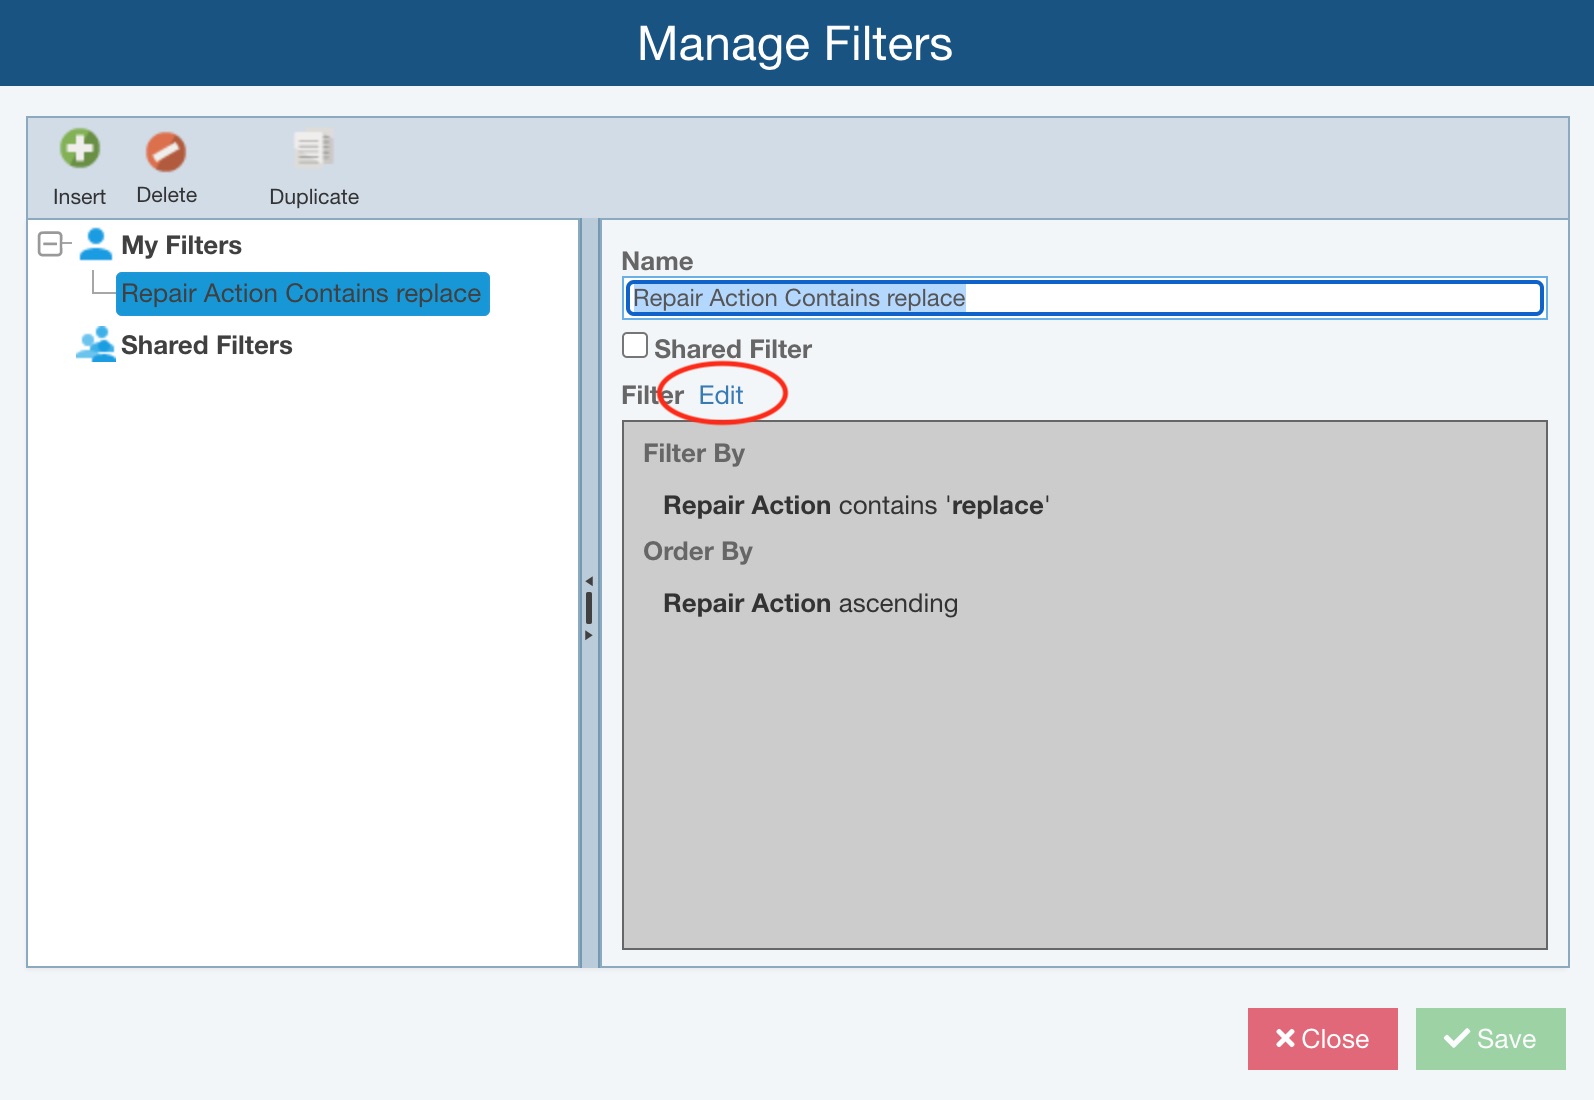
The Filter section changes from the display-only description of the filter to an editable view.
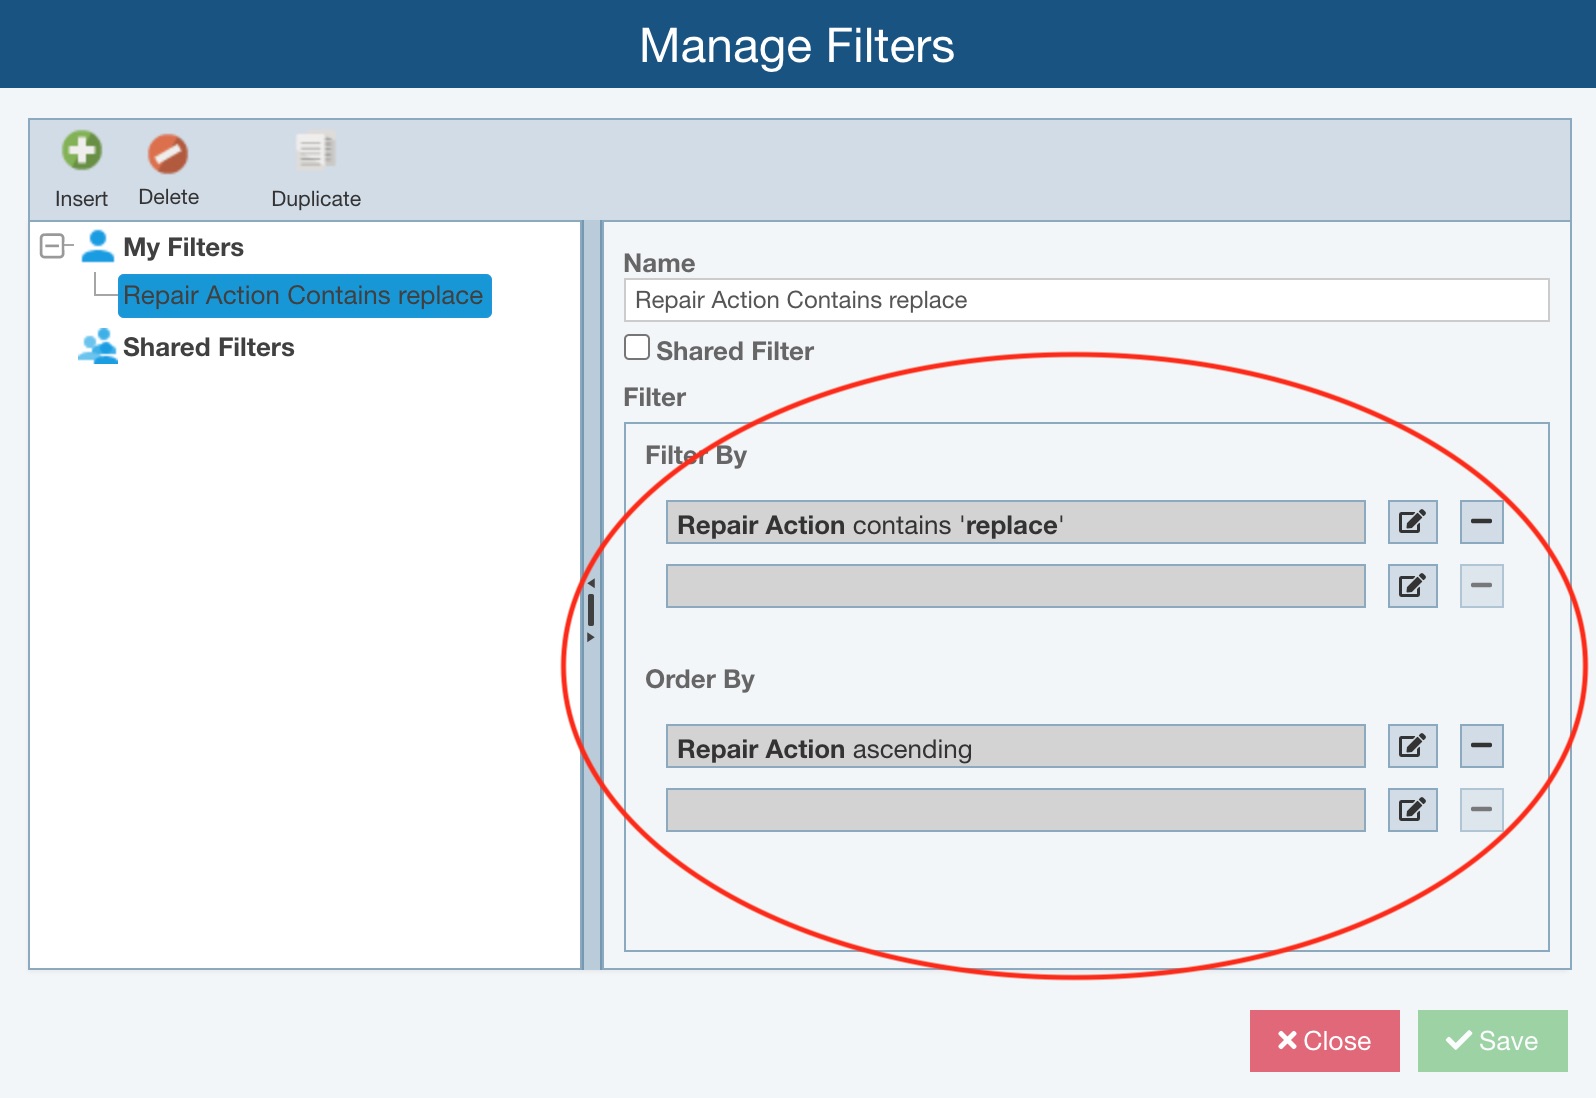
You can change or add Filter By criteria or Order By criteria using the Edit button.
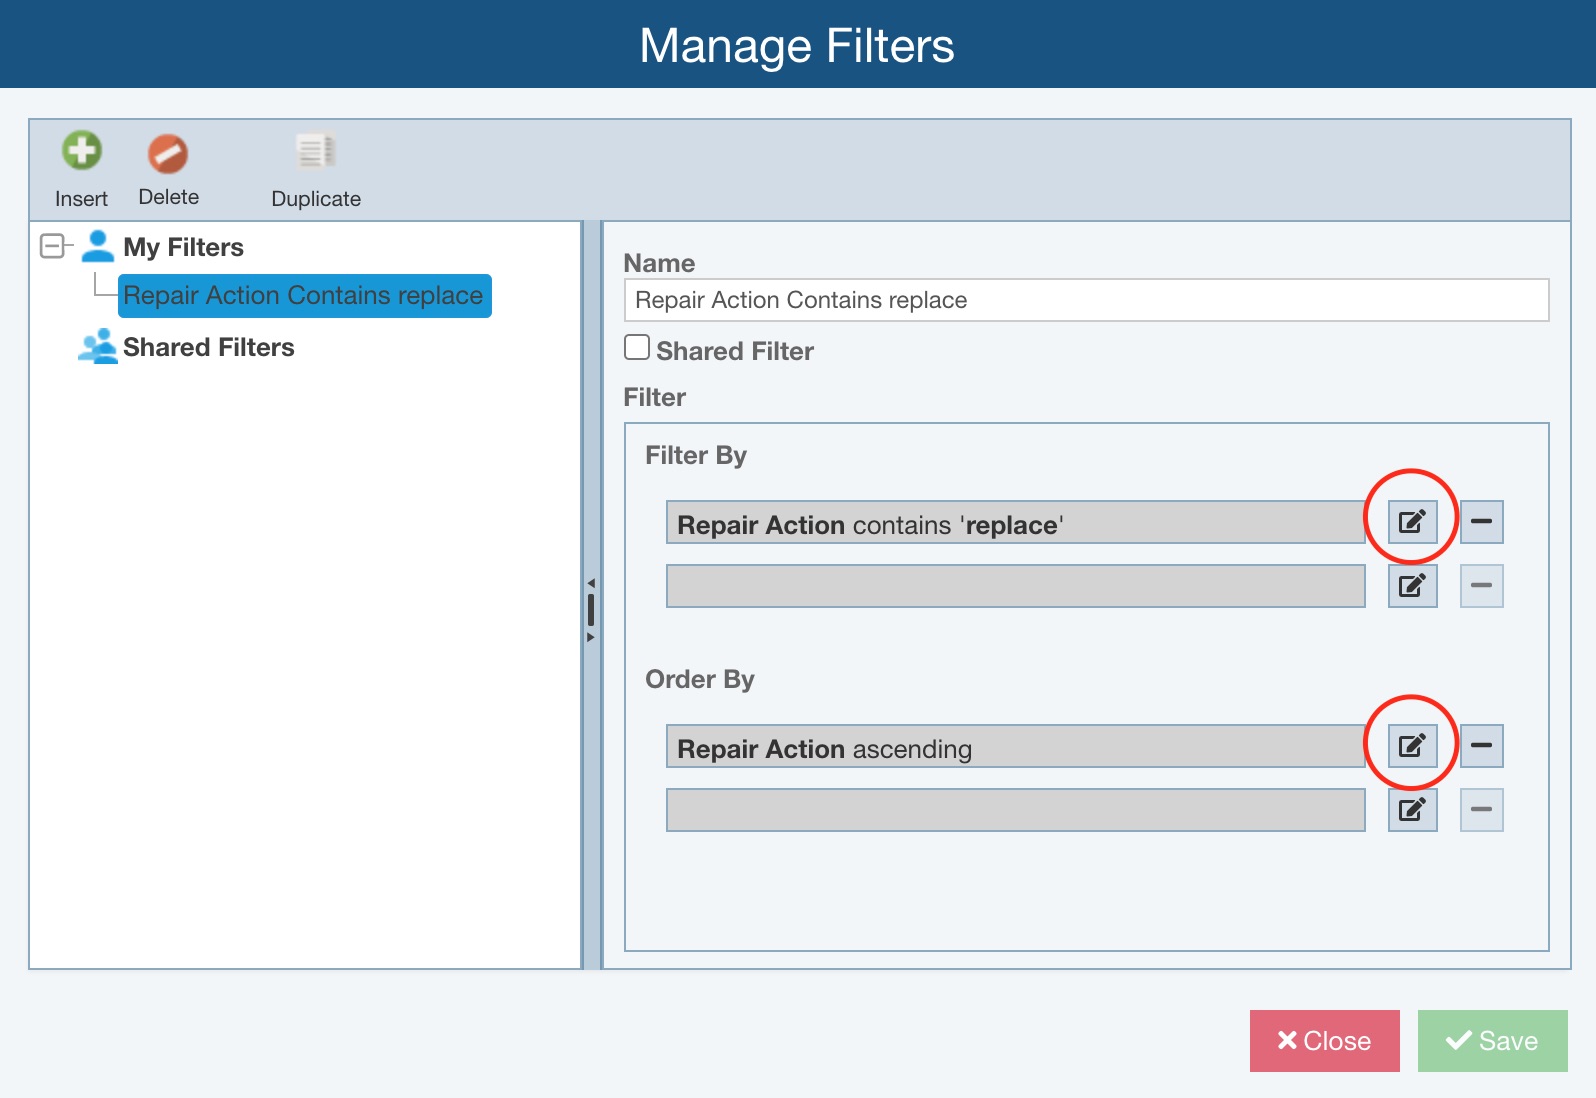
The Filter By or Order By dialog appears where you can set the Field, Filter, and Value or Field and Sort.
Click Cancel or OK, as needed.
Click Close or Save and then Close, as needed.