Managing Attachments in Reliability Prediction
If you would like to review a video overview about attachments, go to our online video for Using Attachments.
Attachments allow you to include large data elements, such as photos or videos, in your Analysis.
Attachments fields allow you to upload, and subsequently download, files of any type you want to store with your data records. For example, you may have a photo of an assembly you want to keep with your reliability prediction data. Using attachments, you can upload this photo and keep it with your Analysis.
Attachment fields are available for:
- Analysis Tree items
- Reliability Prediction Parts
Each Attachment field can contain multiple attachments.
Adding an Attachment field
The Attachment field for Analysis Tree items is shown in the Subsystem Data tab by default, you do not need to add it.
You can add attachment fields to your Parts Table by using the Customize View feature. Click Customize View under the Views dropdown menu in the upper right corner to access the customize function.
In the Customize window, from the dropdown list in the Field column, select Attachments.
Use the Move Up and Move Down fields to position the field where you want. Click Save and Close to save your changes.
Your Attachment field will appear in your Parts Table.
Uploading Attachments
To add attachments, click the Attachment icon to the right of the Attachments field. (Note that the name of the column is customizable and may not be Attachments as shown below.)
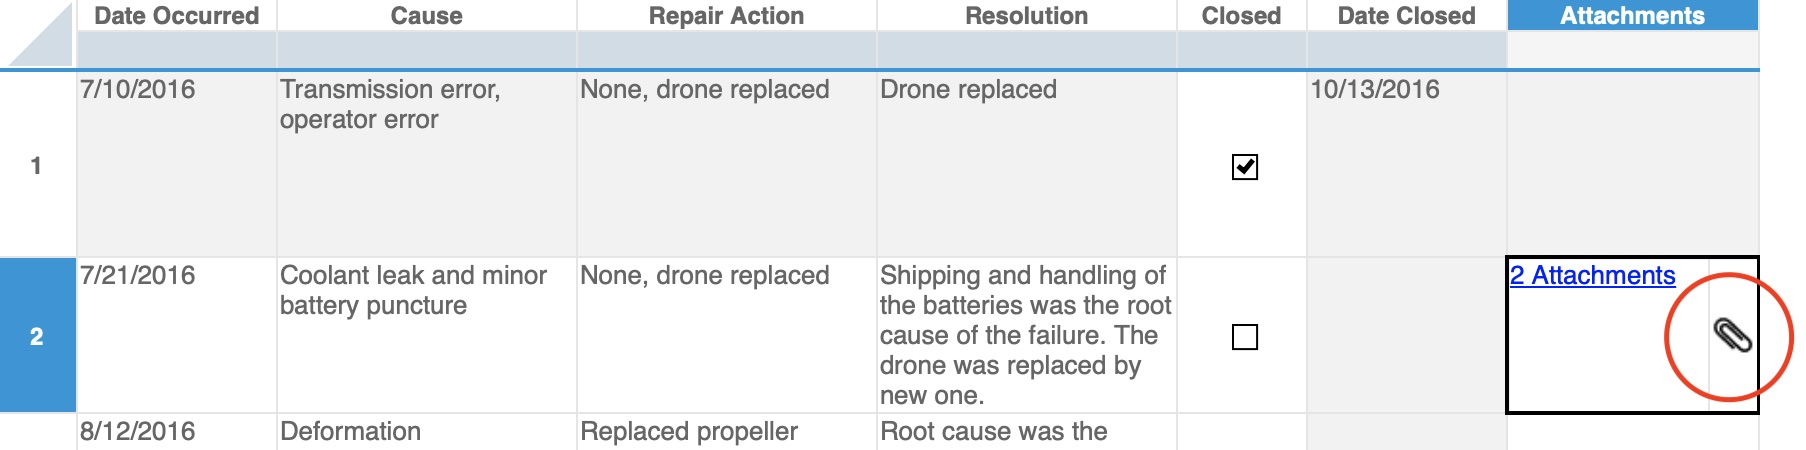
The Attachments dialog appears. (Note that the dialog title is the name of your Attachments field, so it may be customized to something other than Attachments as shown below.)

Click Add. The file selection dialog appears. Select the file or files you want to upload. When you have finished selecting the files, click OK. Note that you cannot add new attachments to a closed Incident or Problem.
When you click Save to save your edited data, your attachments will be uploaded. A progress indicator will appear in the lower right corner as your attachments are uploaded. You can continue working as the files are uploaded. Depending on the size and number of files you are uploading, this may take a few moments.
Downloading Attachments
To download any attachments that have been saved, click the Attachment icon to the right of the Attachment field to bring up the Attachments dialog. In the list of filenames, click on the filename you want to download. The attachment will be downloaded to your default download directory. Depending on the size of the file, this may take a few moments.
Deleting Attachments
To delete any attachments, click the Attachment icon to the right of the Attachment field to bring up the Attachments dialog, Click the Delete icon to the right of the file you want to delete.
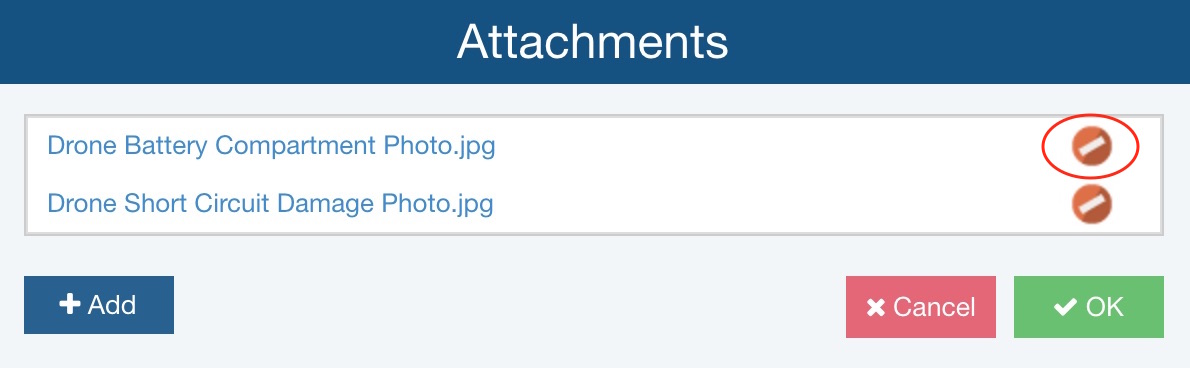
Click Yes when asked if you are sure you want to delete the selected attachment.
Renaming Attachments
To rename an attachment, click the Expand [...] button to the right of the Attachment name to bring up the actions list and click Rename.
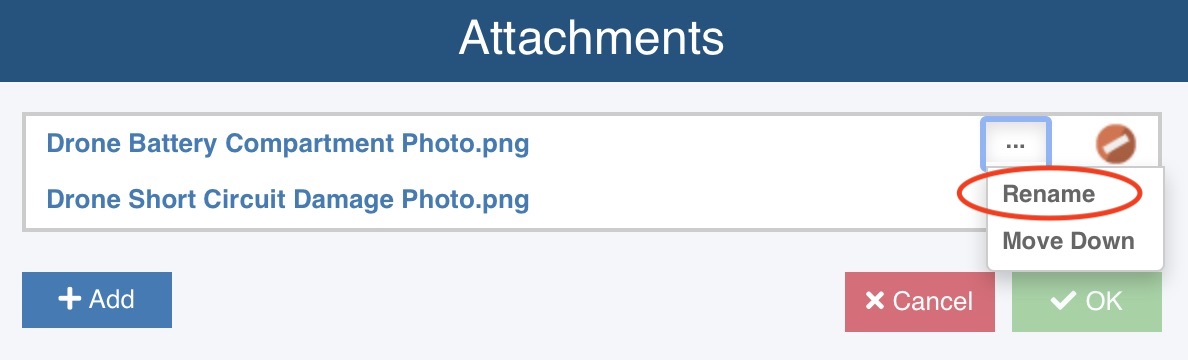
Enter the new name for the Attachment and click Rename.
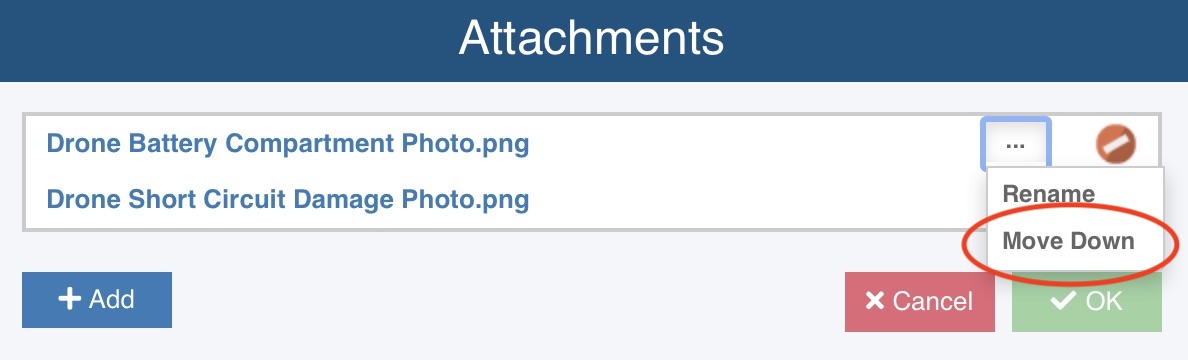
Reordering Attachments
To reorder the list of attachments, click the Expand [...] button to the right of the Attachment name to bring up the actions list and click Move Down.