Sign In Log
The Sign In Log provides a way to track usage of your Relyence products. If you are licensed for this option, the Sign In Log will be available in the Manage Users and Groups function.
To track usage, you must enable Sign In Log in order for Relyence to track all users who sign in. You can generate a report of this information and view a graph of the Sign Ins over time in the Relyence Dashboard.
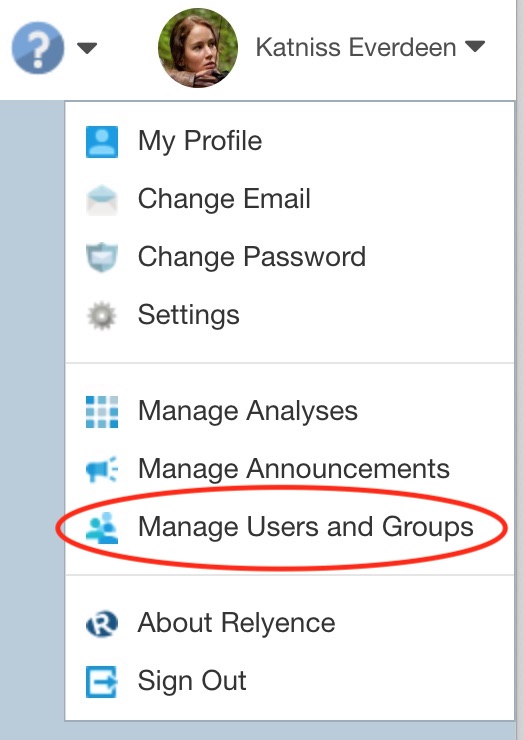
To use Sign In Log, click Manage Users and Groups from the Account menu.
Enable Sign In Log
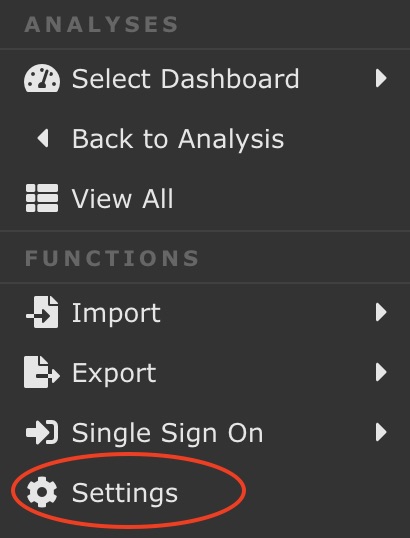
In the Manage Users and Groups window, click Settings from the Sidebar menu.
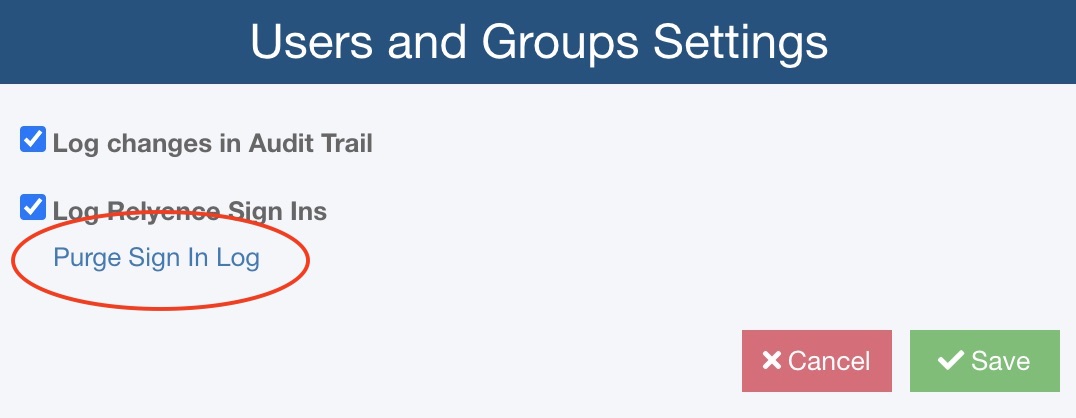
The Users and Groups Settings dialog appears.
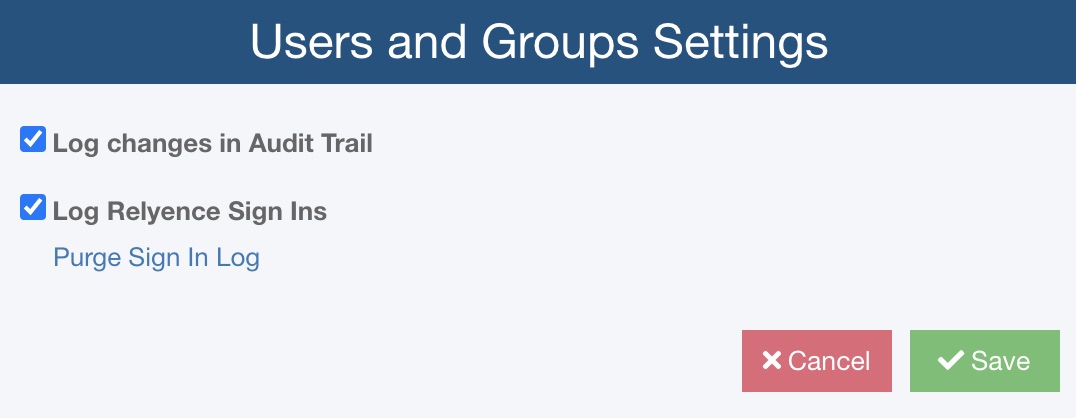
Select Log Relyence Sign Ins to enable tracking. Click Save to save your setting.
Viewing Sign In Logs Data
You can view the Sign In Logs data as an Excel-based report file and as a chart on a Relyence Dashboard.
Creating a Sign In Log Report
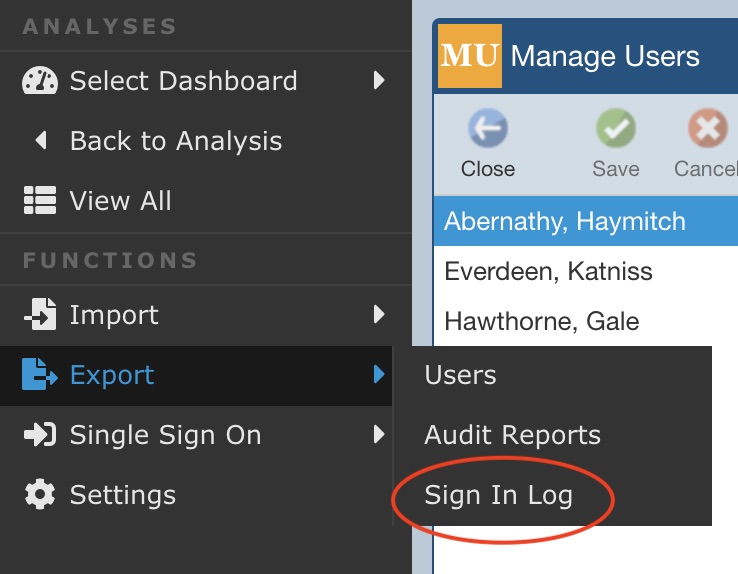
To generate a report of your Sign In Log data, click Export>Sign In Log from the Sidebar menu in the Manage Users and Groups window.
The Export Options dialog appears.

Enter the Export File Name you want to use for the report. The report will include all Sign Ins from the specified Start Date until today.
Using the Report Type field, you can specify what sign in details to include on the Sign In Log Report from the following choices:
- Sign Ins - includes records of all sign ins
- Sign Ins and Sign Outs - includes records of all sign ins and sign outs
- Sign Outs - includes records of all sign outs
- Licenses unavailable at Sign In - includes records of all sign ins that did not acquire all requested licenses
Click Export to generate the report.
The Exporting Progress indicator will appear in the lower right. Once complete, the report will be automatically downloaded to your default downloads folder.
Viewing the Sign In Logs Data on a Dashboard
To see the Sign In Log as a chart on a Relyence Dashboard, either create or edit a Relyence Dashboard, and click the Customize button. For details on using Relyence Dashboards, see the Relyence Dashboard section of this guide.
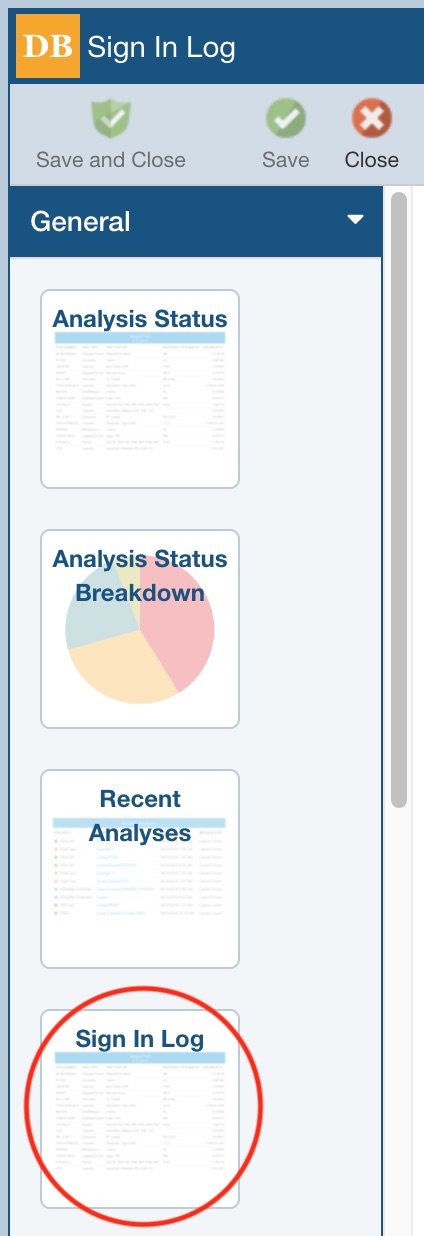
To add and customize the Sign In Log widget, expand the General widget section and drag and drop the Sign In Log widget on to your Dashboard.
The Properties dialog appears.
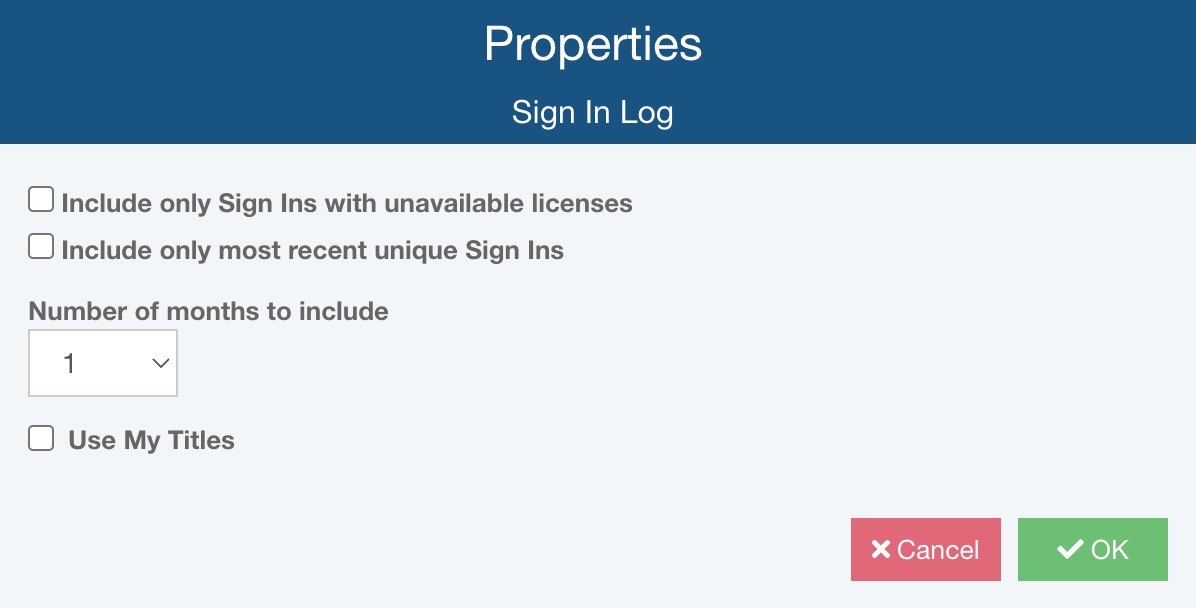
If you only want to see sign ins with unavailable licenses, select Include only Sign Ins with unavailable licenses.
If you only want to view recent unique Sign Ins, select the Include only unique Sign Ins; clear it to see all Signs Ins.
Select the Number of months to include. You can include from 1 to 12 months prior.
If you want to customize the titles for your graph, select Use My Titles and enter your preferred Title and Subtitle.
Click OK when complete.
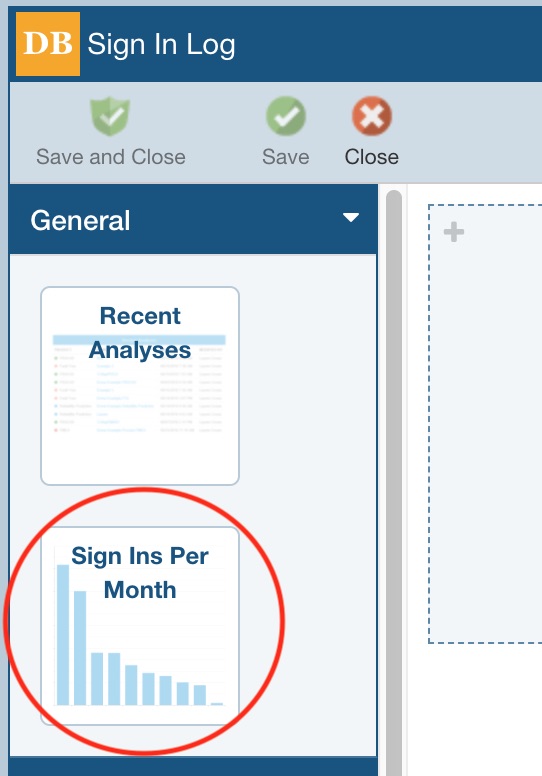
To add and customize the Sign Ins Per Month widget, expand the General widget section and drag and drop the Sign Ins Per Month widget on to your Dashboard.
The Properties dialog appears.
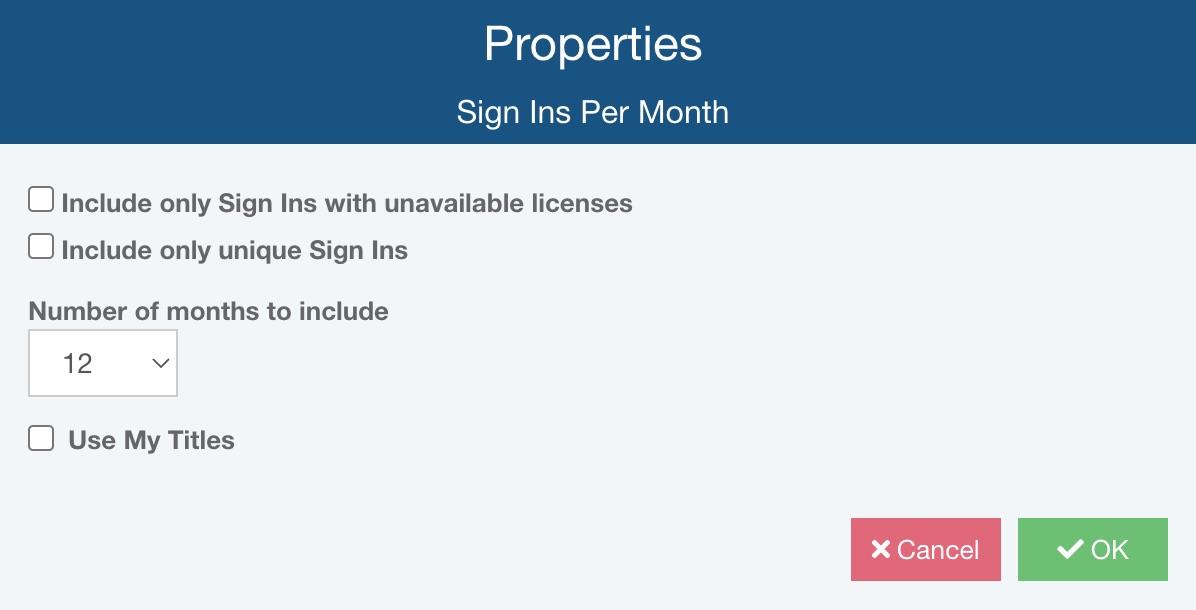
If you only want to see sign ins with unavailable licenses, select Include only Sign Ins with unavailable licenses.
If you only want to view unique Sign Ins, select the Include only unique Sign Ins; clear it to see all Signs Ins.
Select the Number of months to include. You can include from 1 to 12 months prior.
If you want to customize the titles for your graph, select Use My Titles and enter your preferred Title and Subtitle.
Click OK when complete.
Click Save and Close in the toolbar to exit from customizing and view the resulting Dashboard.
Purging the Sign In Log
You can clear out the Sign In Log to delete all information that is more than one year old. Use the Manage Users and Groups function to purge Sign In Log data.
Click Manage Users and Groups from the Account menu.
Click Settings from the Sidebar menu in the Manage Users and Groups window.
The Users and Groups Settings dialog appears. Click the Purge Sign In Log link to purge old data.
You will be asked if you are sure you want to purge the data. Click Yes to clear out data all over a year old.