Using Hyperlink and Image Data Fields in Reliability Prediction
Using a Hyperlink Data Field
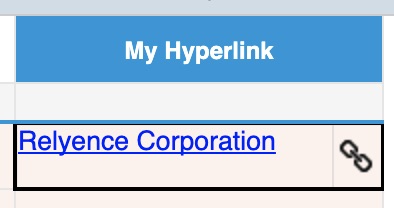
Hyperlink controls allow you to add a data field that contains a URL link that can be clicked on as a navigation mechanism. A Hyperlink data field appears on a Table or Form with a text hyperlink and a link icon.
To edit the hyperlink, click the Link icon. The Edit Hyperlink dialog appears.
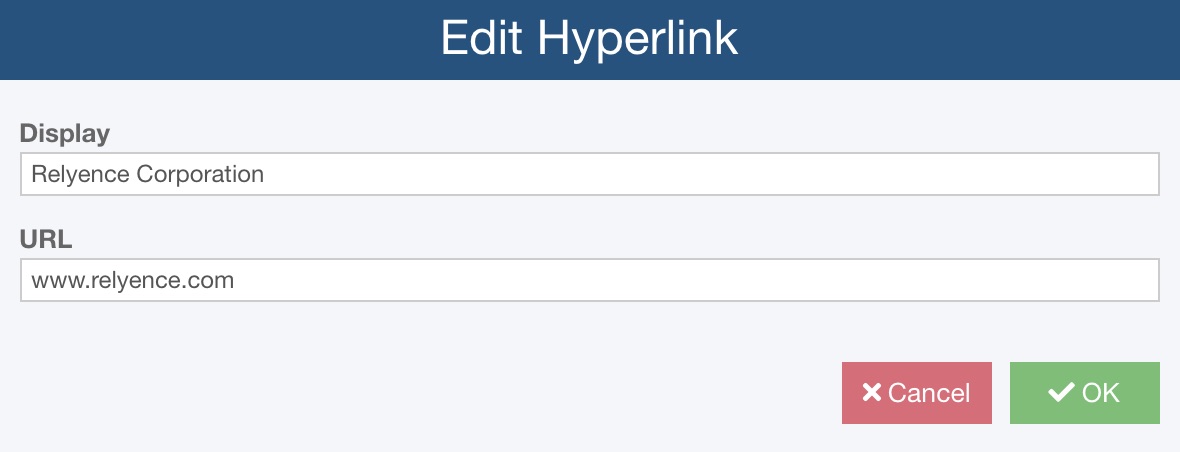
Enter the text you want to display for the link in the Display field. It will automatically appear in underlined in blue to indicate that it is a hyperlink. If you leave the Display field blank, the URL will be displayed.
Enter the URL to navigate to. You can enter the http:// or https:// prefix; however, if it is not there, Relyence will prepend it.
When the Display text is clicked, another browser tab will open to the specified URL location.
Using an Image Data Field
Image controls can be used to add images to a data record. You can include any number of images you would like in a single Image control.
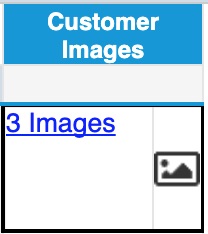
When an Image control is used in a Table, the Images column displays the number of images uploaded and an image icon.
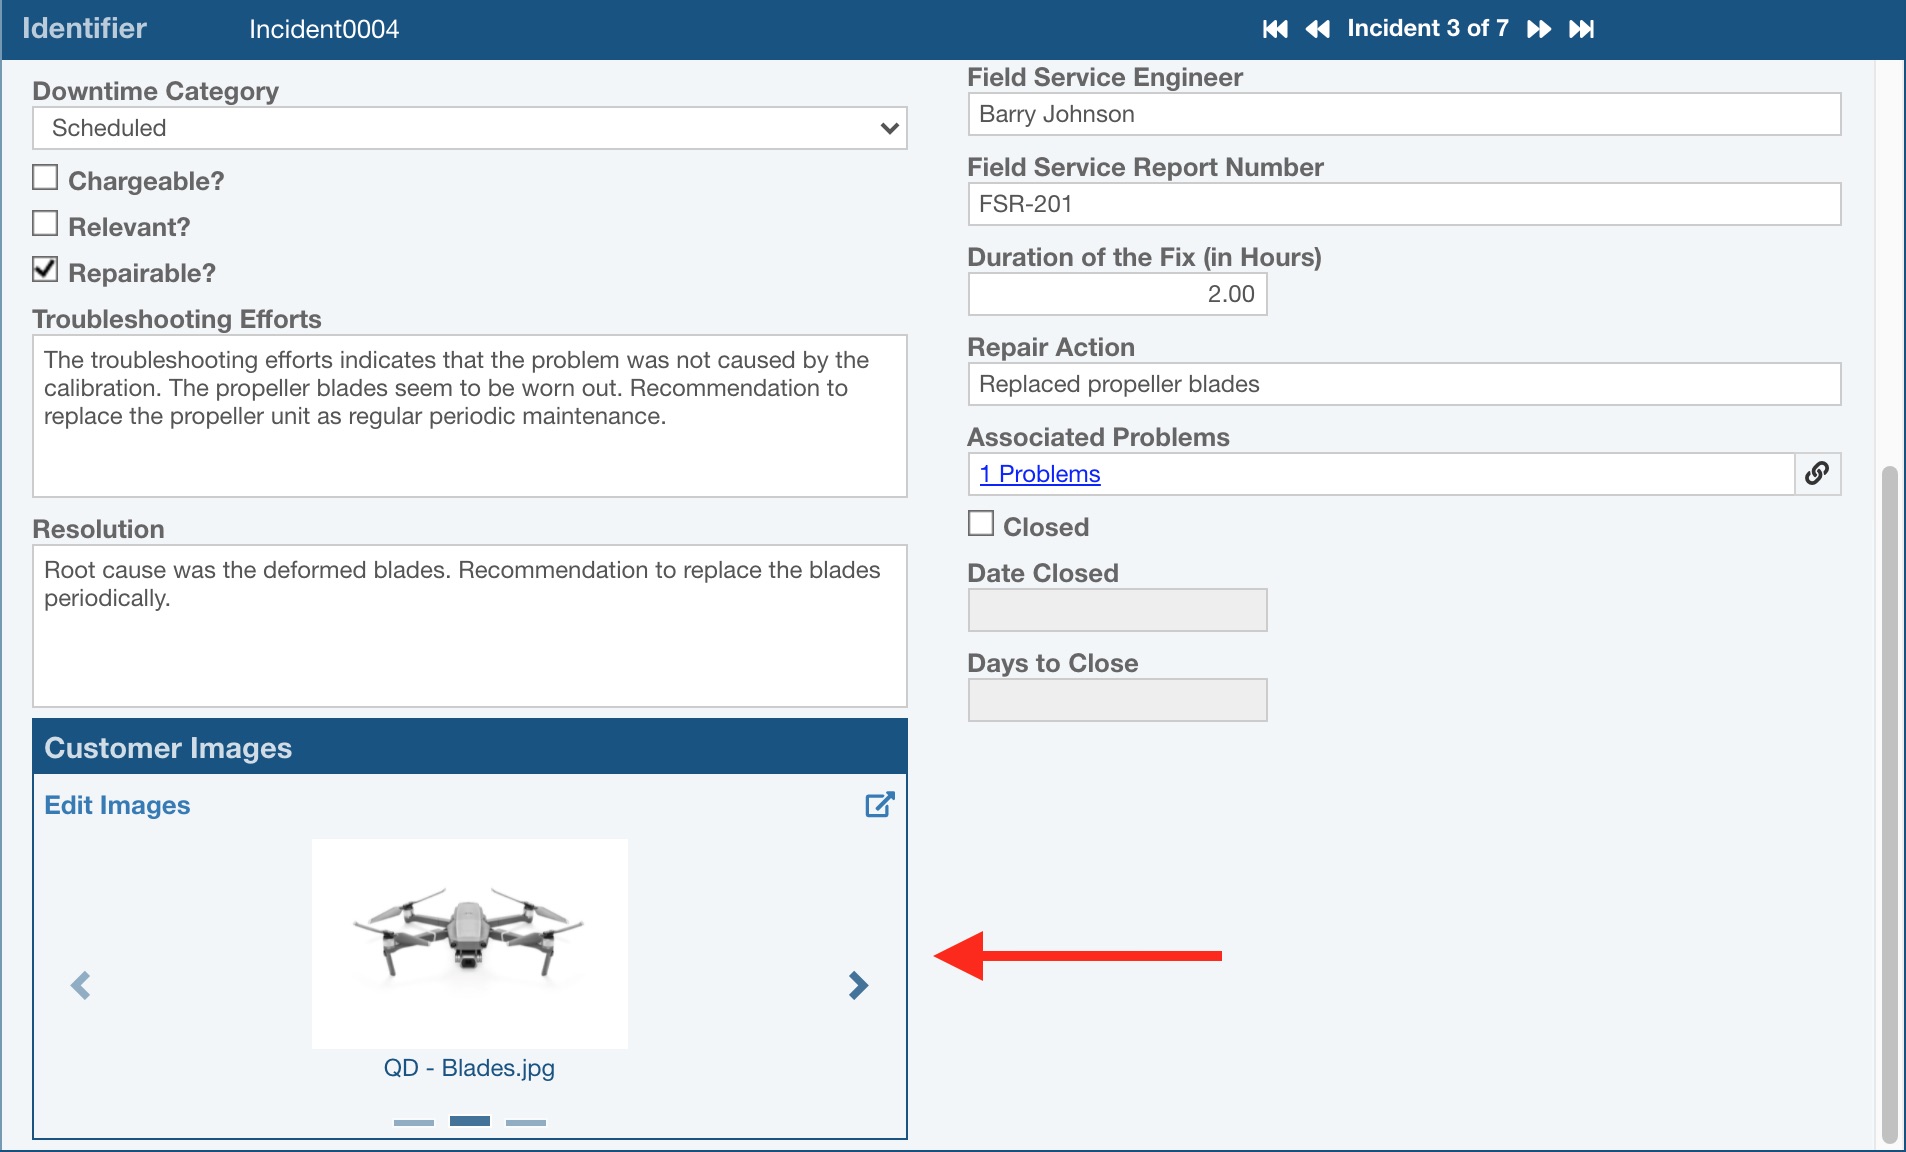
When an Image control is used on a Form, the Images control appears on the Form.
On a Table, click in the Images data field to bring up the Images control.
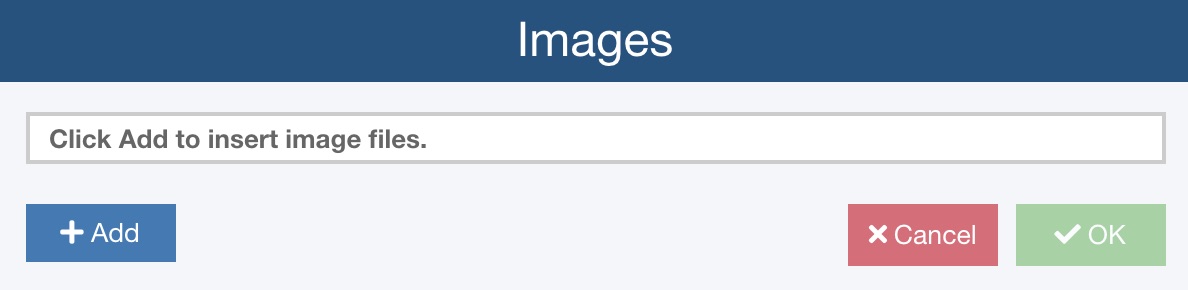
If no images have been added, an empty Images control appears. Click the Add Images button to start adding your images. Go to Managing Images for more details.
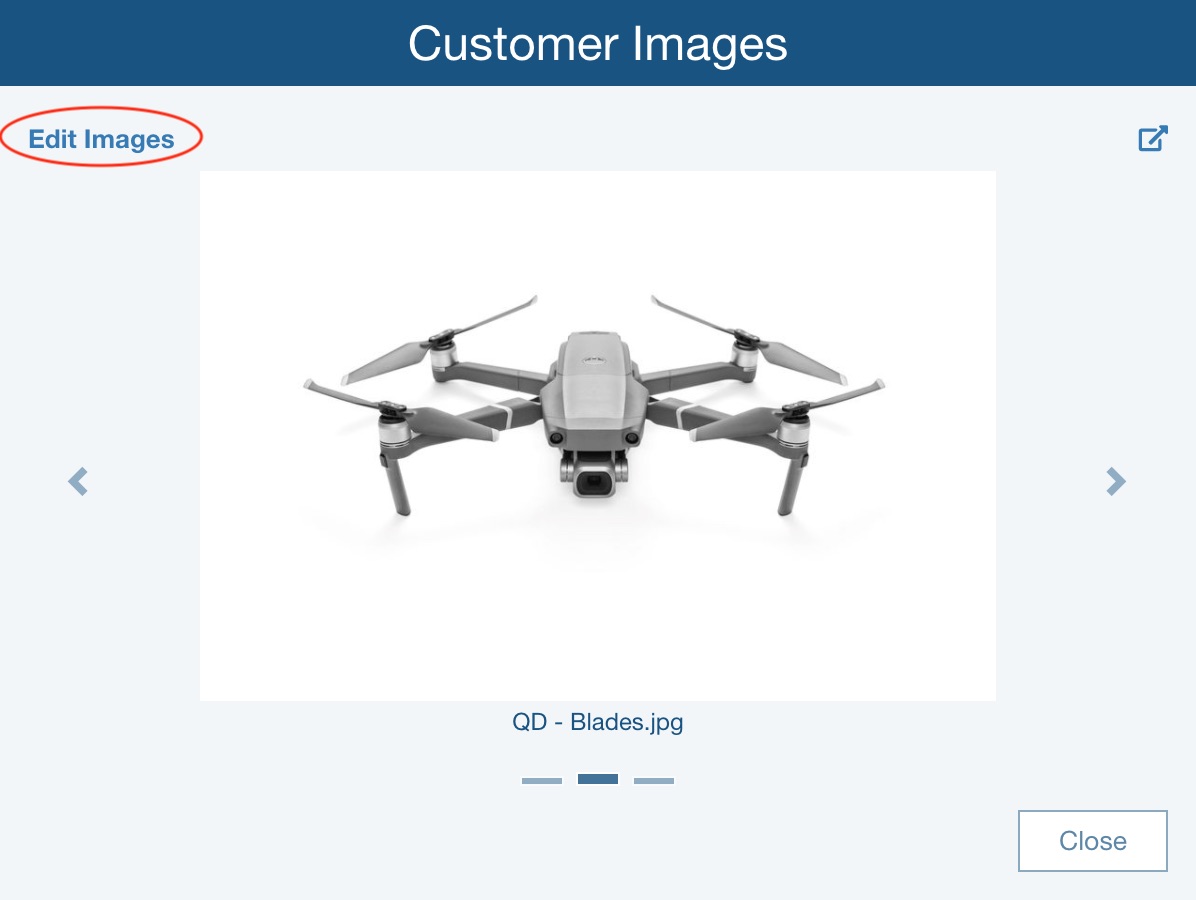
If images are present, the Images control displays the images.
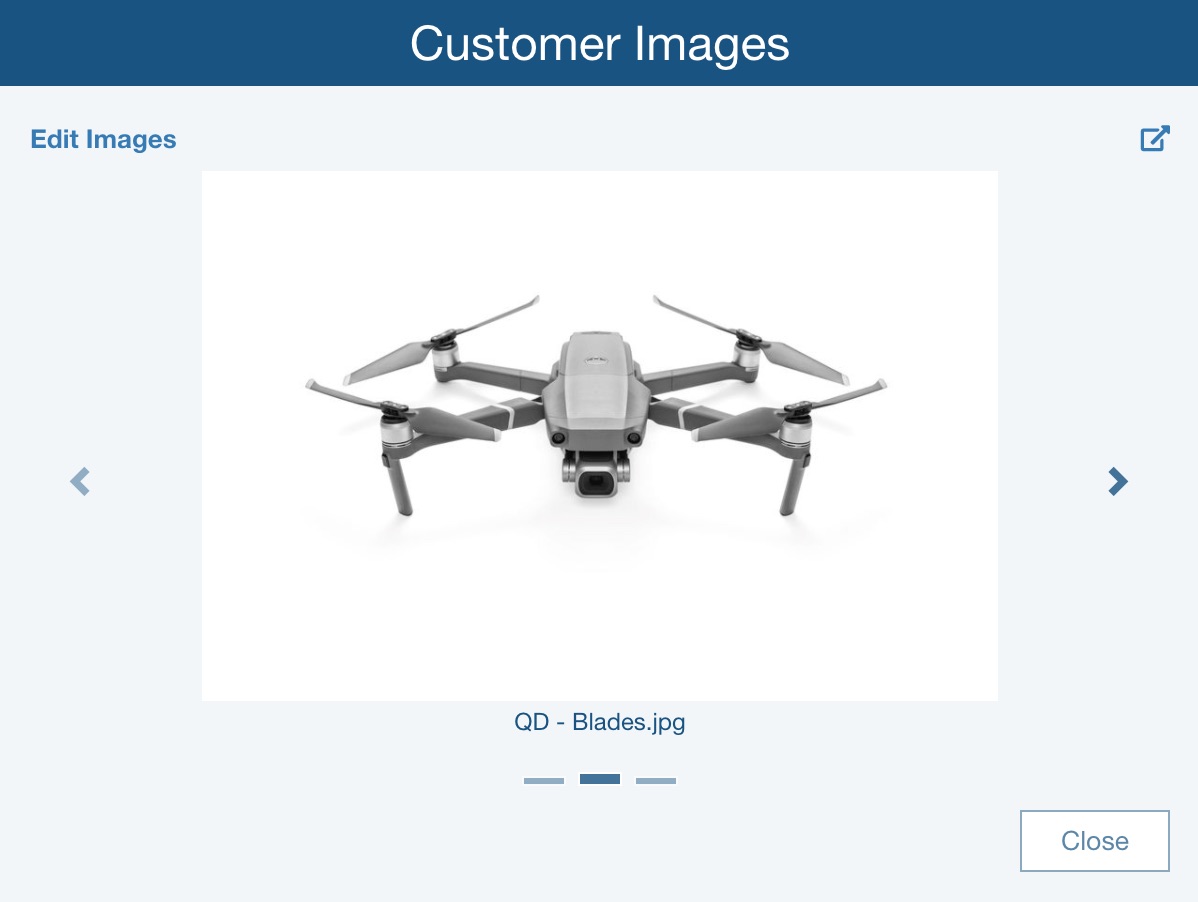
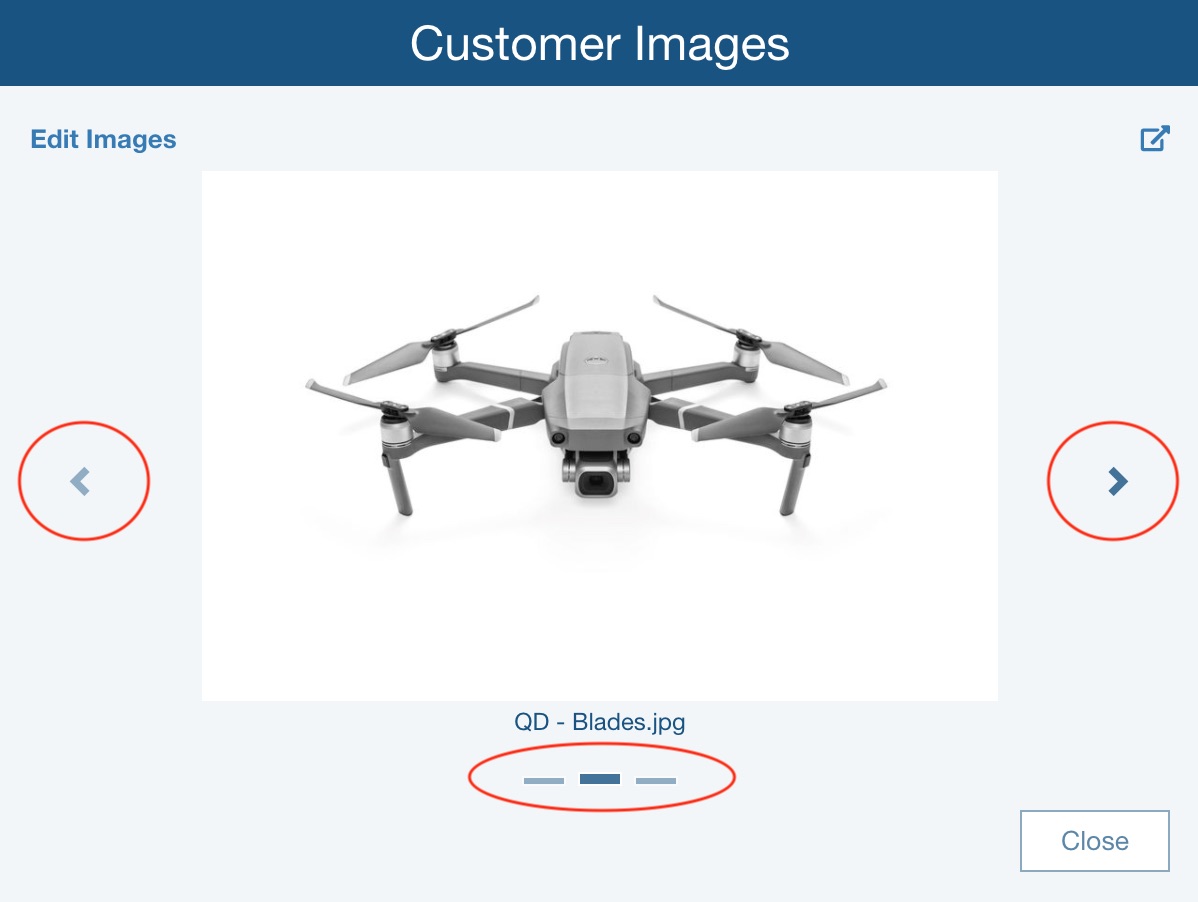
If more than one image is present, navigation controls appear in the Image control. You can use the navigation buttons to scroll through the images.
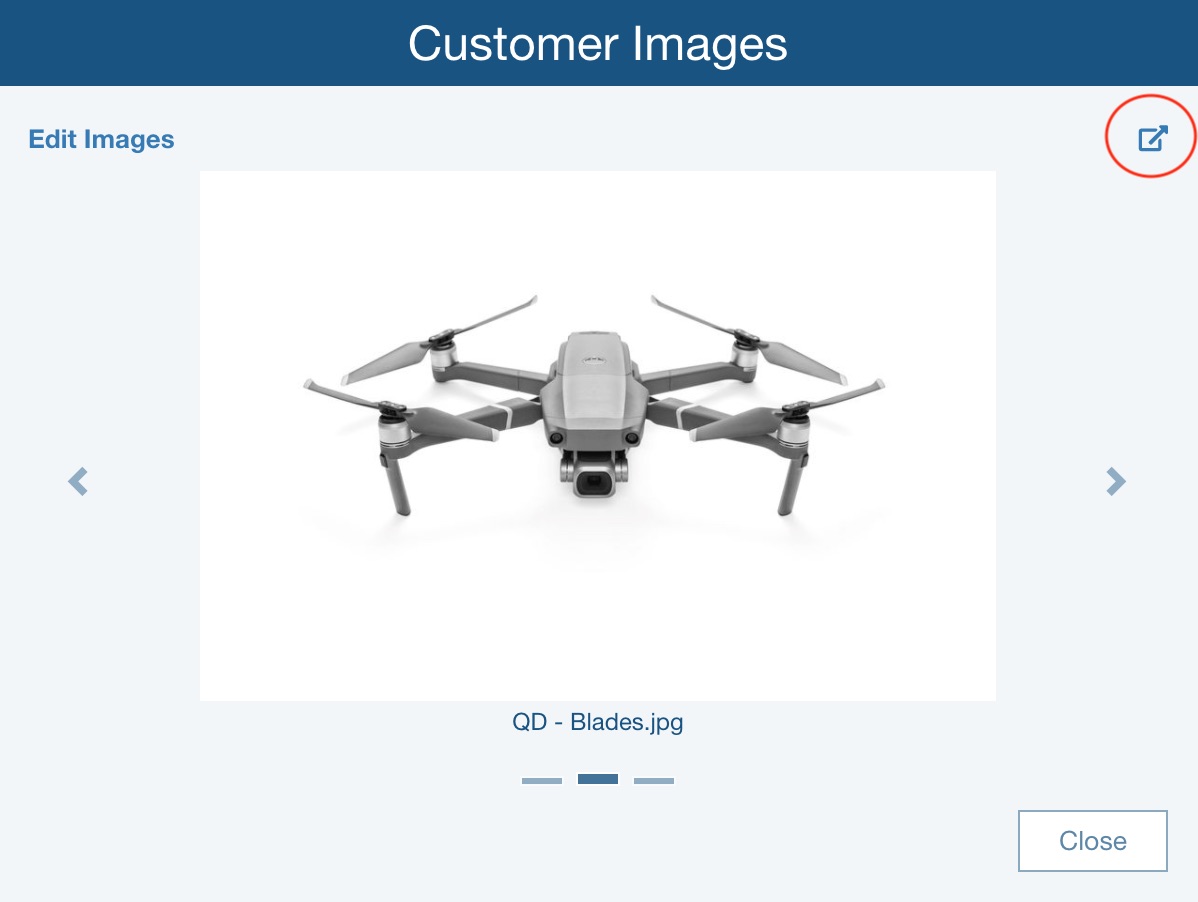
You can zoom the Image control to full screen by clicking the Full Screen button in the upper right.
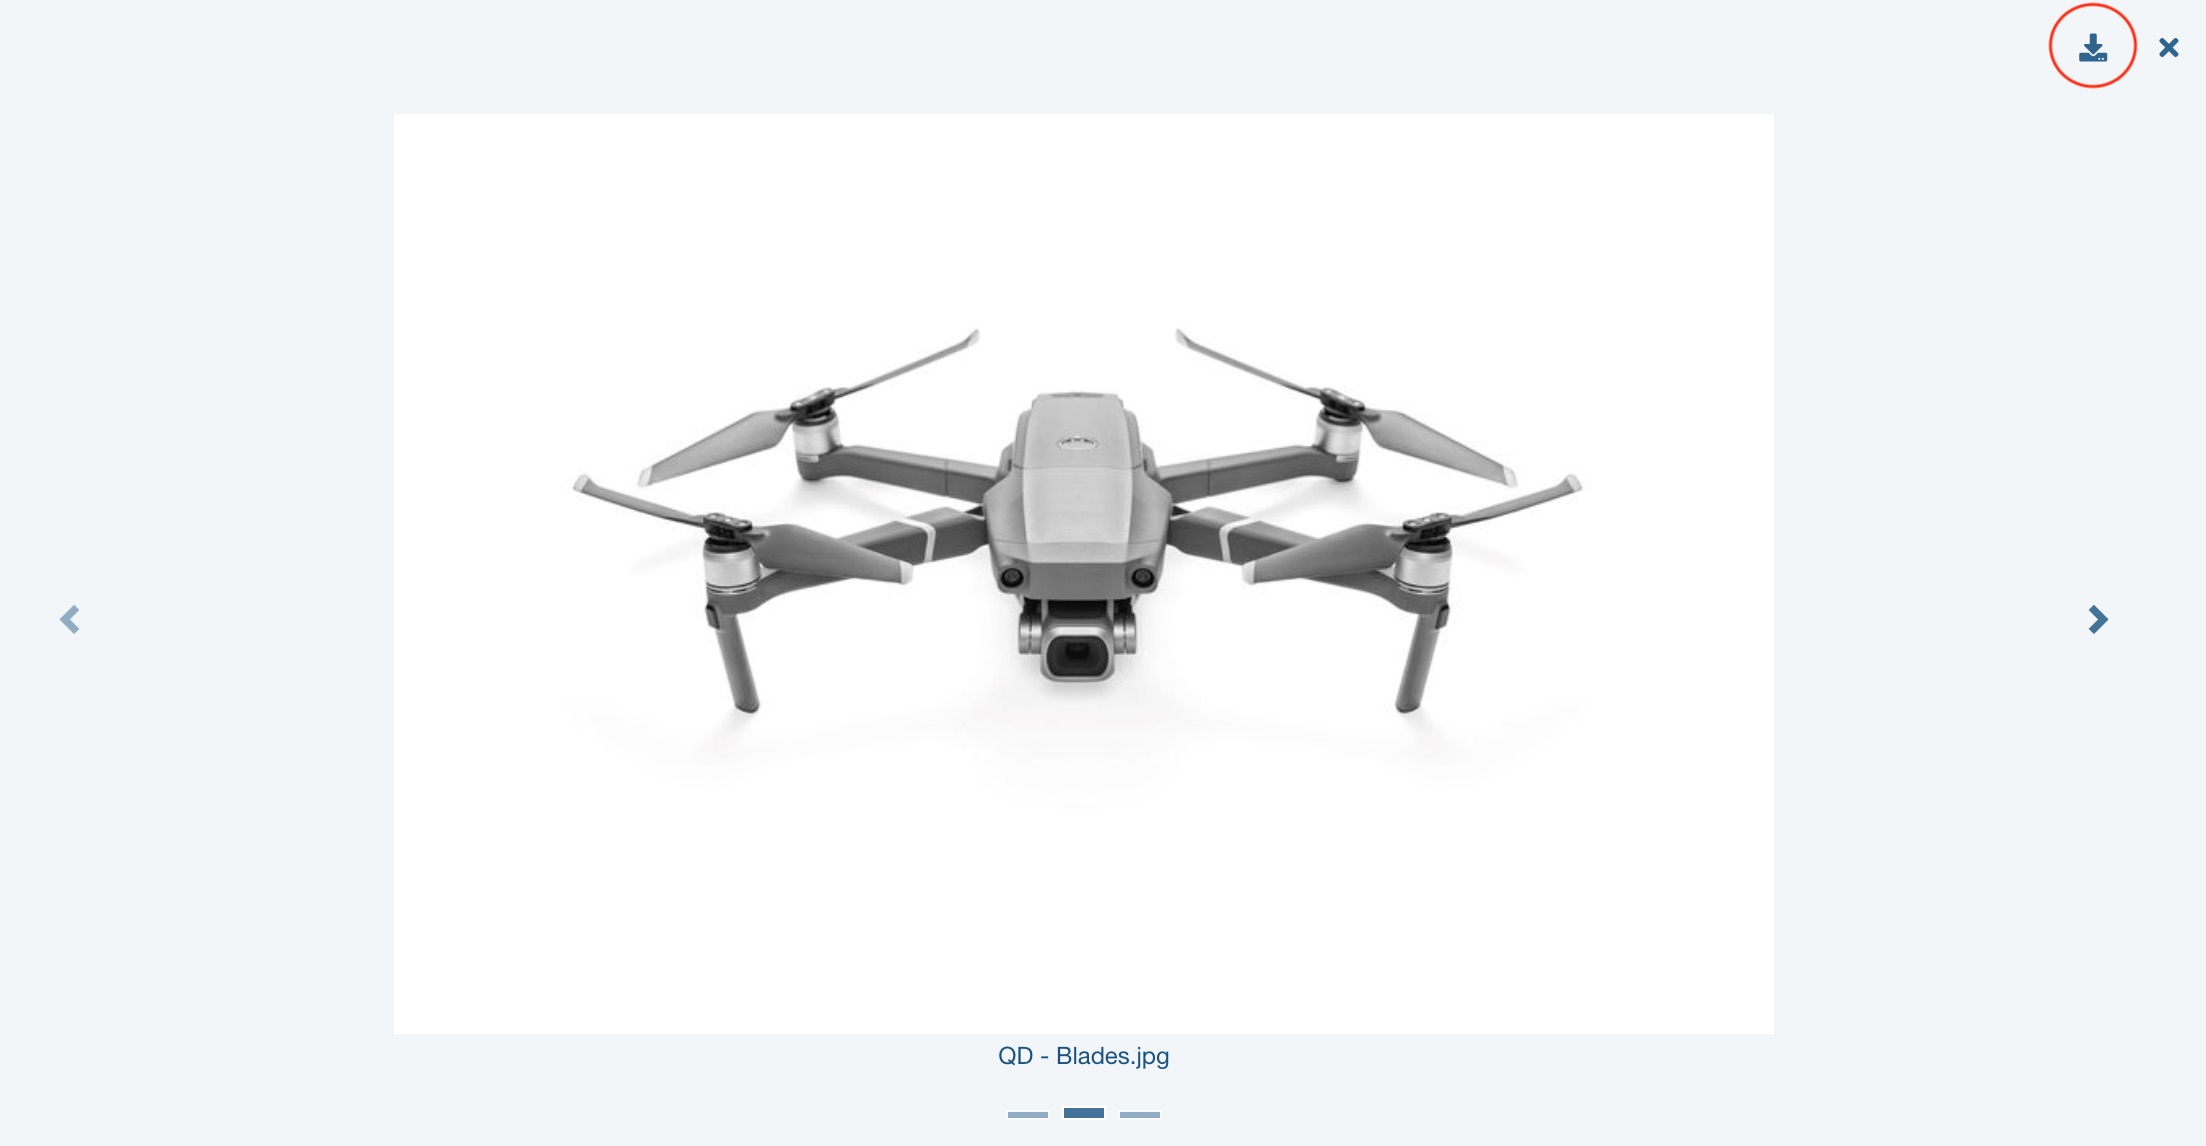
From the full screen view, you can download an image by scrolling to it and clicking the Download button in the upper right. Note that only images that have already been uploaded by leaving the Images dialog and clicking Save on the toolbar can be downloaded. The image will be downloaded to your default download directory. Click the Close 'x' button in the upper right to close the full screen view.
To modify the list of images, click the Edit Images link in the upper left.
Managing Images
When clicking the Add Images button from an empty Image data field, the Images dialog appears.
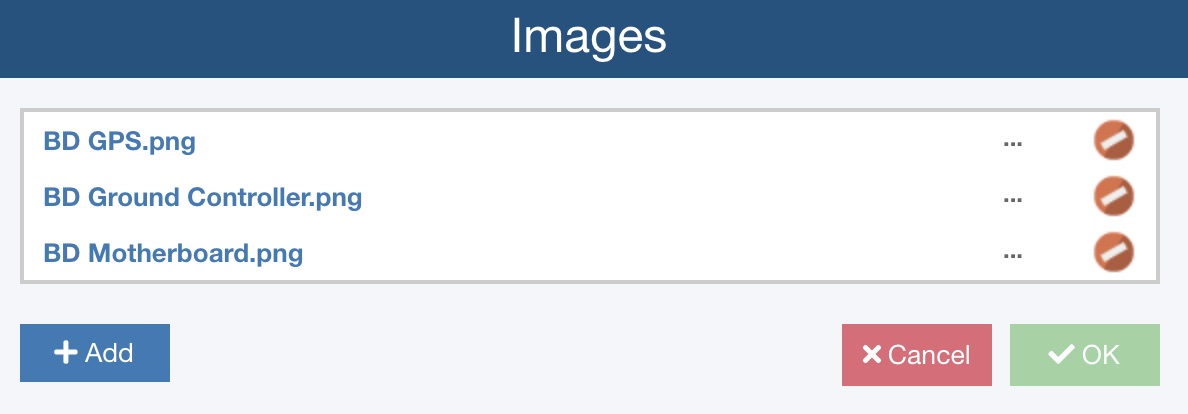
When clicking Edit Images button from a non-empty Image data field, the Images dialog appears listing the existing images.
Adding Images
To add images, click the Add button. The file dialog appears to allow you select the images you want to upload. You can select one or more images.
Deleting Images
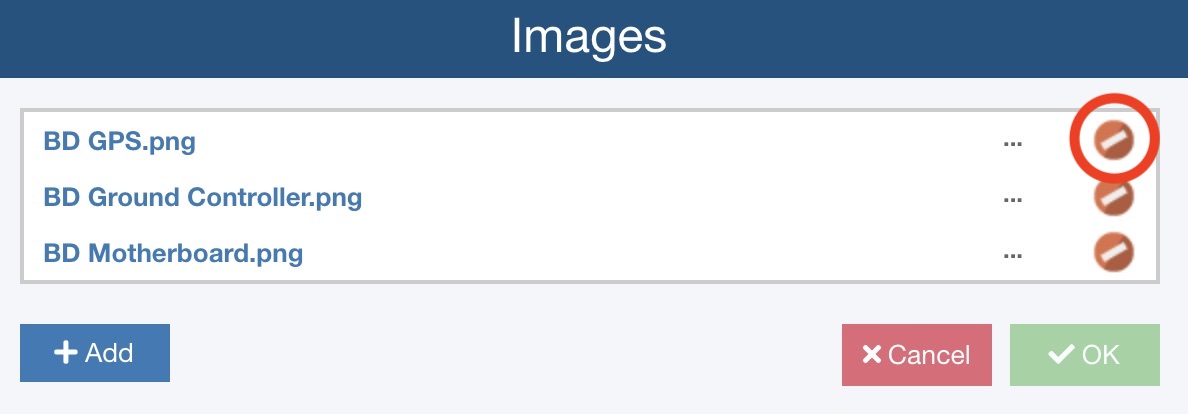
To delete an image, click the Delete button by the image name, and click Yes to the Are you sure? message.
You can also view, rename, and reorder the images in the list.
Viewing Images
Images that have already been uploaded by leaving the Images dialog and clicking Save on the toolbar can be viewed. To view an image, click the image name in the list. The image will be downloaded to your default download directory and opened for viewing in your default image viewer, such as a new browser tab.
Renaming Images
To rename an image, click the Expand [...] button to drop down the list of actions and click Rename.

The Rename File dialog appears. Enter a Name and click Rename.
Reordering Images
To reorder the list of images, click the Expand [...] button to drop down the list of actions and click Move Up or Move Down.
When you have completed all actions, click OK.
Images Uploading
 Note that your images are not uploaded until you click Save on the toolbar to save your changes. At that time, a progress dialog appears as the uploaded proceeds.