Creating Multiple Fault Trees in an Analysis
Within your Analysis, you can have as many Top Gates as you would like. For example, you may want to use one Analysis for your Fault Tree Analyses (FTAs) related to a single product. To use multiple Fault Trees in an Analysis, use the All Trees pane.
Using the Fault Tree All Trees Pane
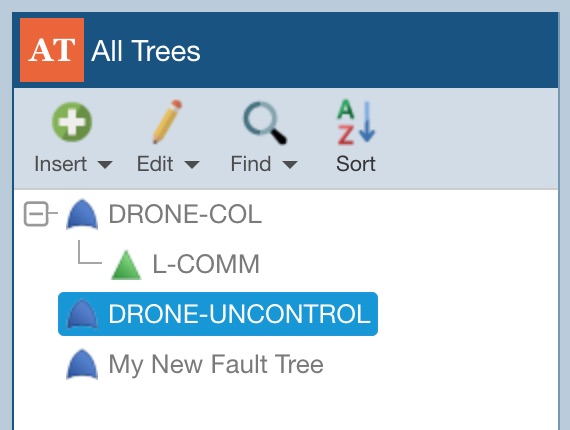
The All Trees Pane is the leftmost pane in the Relyence Fault Tree main window.
It allows you to insert new Fault Trees, edit existing Fault Trees, search for items in Fault Trees, and sort fault trees.

The All Trees pane is used to add, edit, delete, and organize your fault trees. It is also used for navigating through all your FTAs.
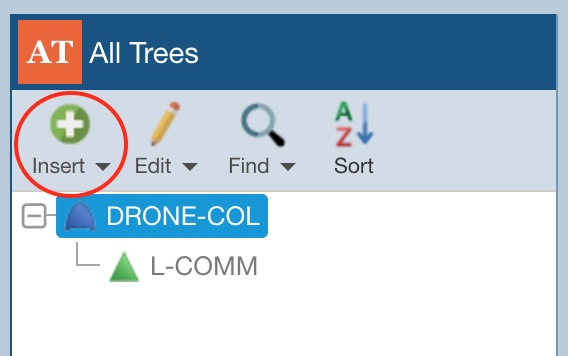
Insert Button
Click the Insert button to insert a new Top Gate and start a new fault tree diagram.
The Insert Top Gate dialog appears.
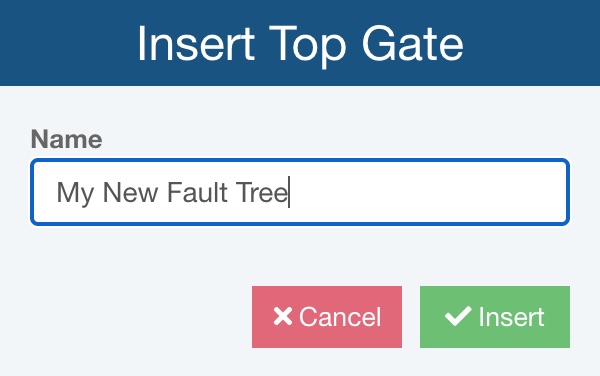
Enter the Name for your Top Gate and click Insert.
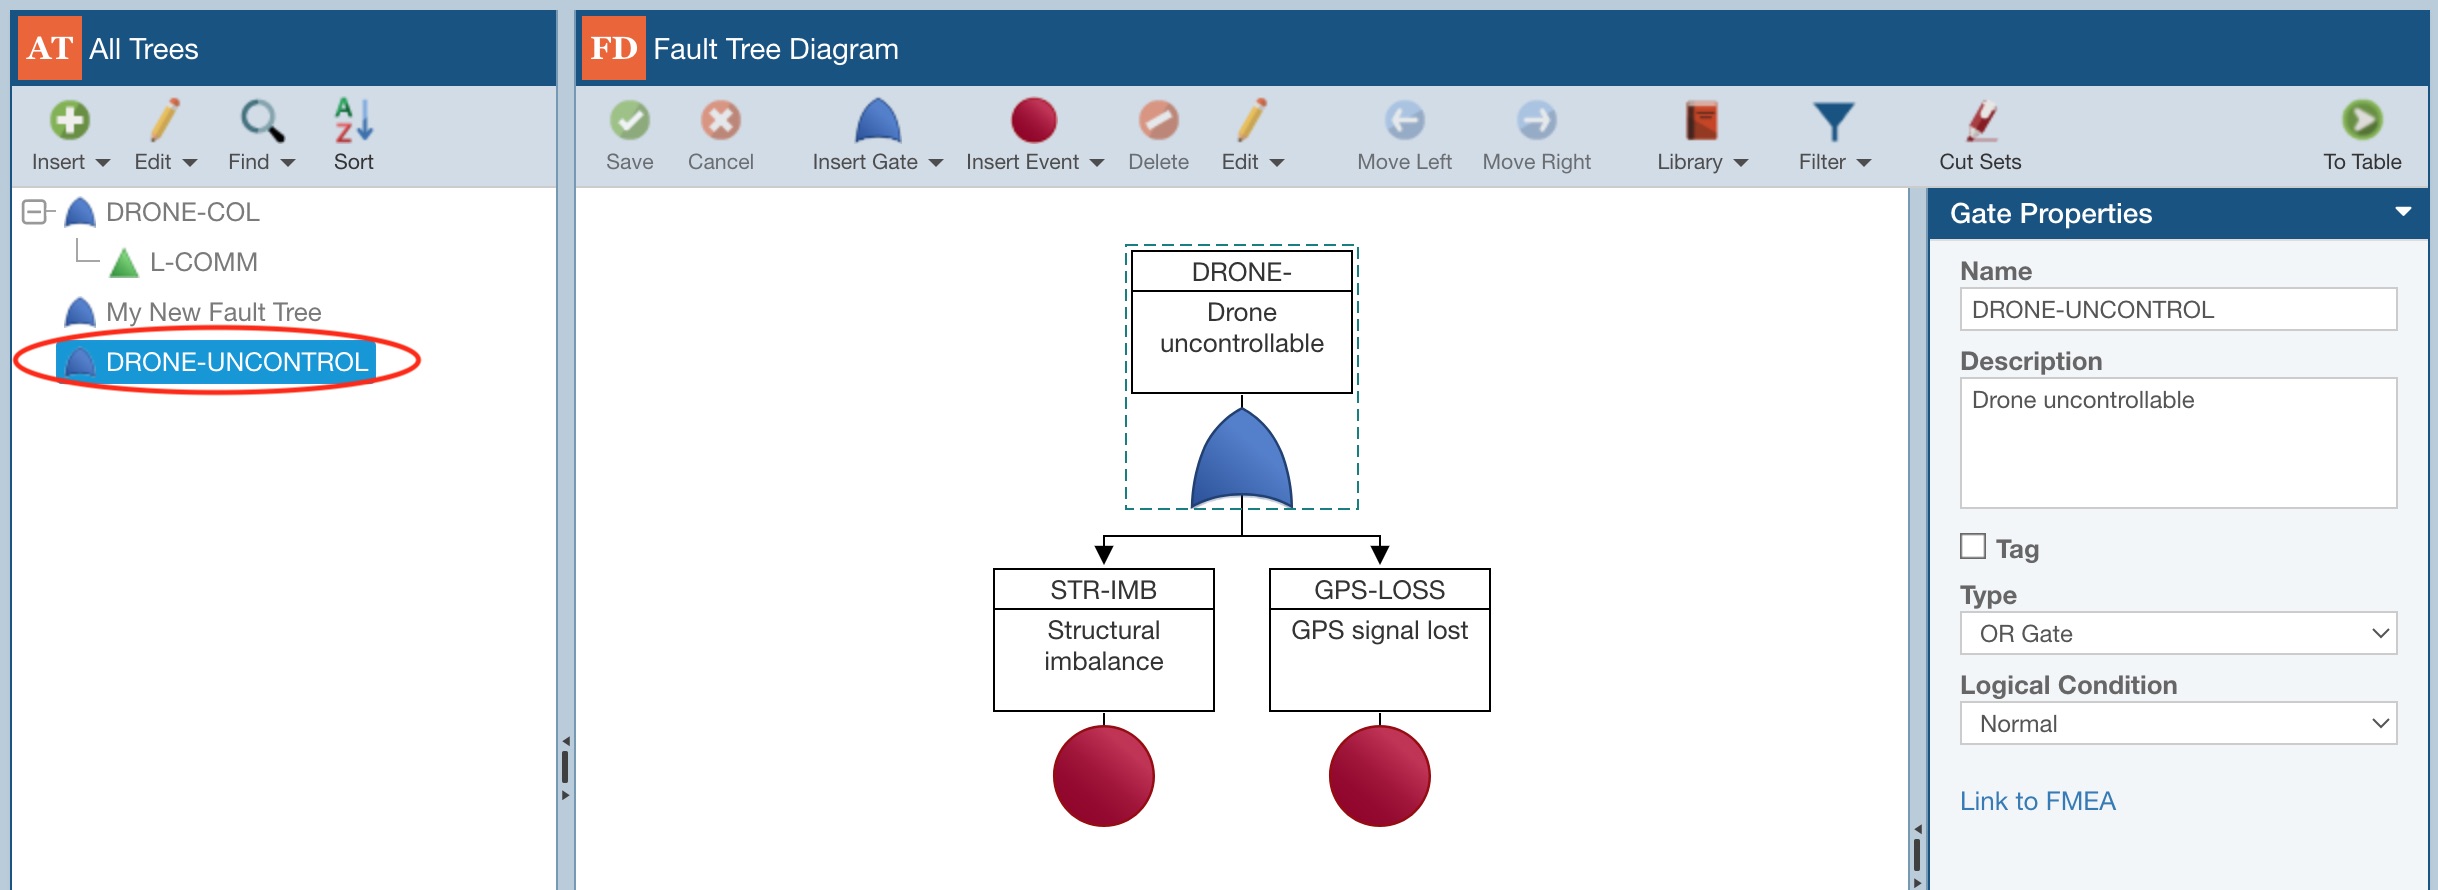
Your new Top Gate will appear in the All Trees hierarchical tree and the new gate appears in the Fault Tree Diagram pane.
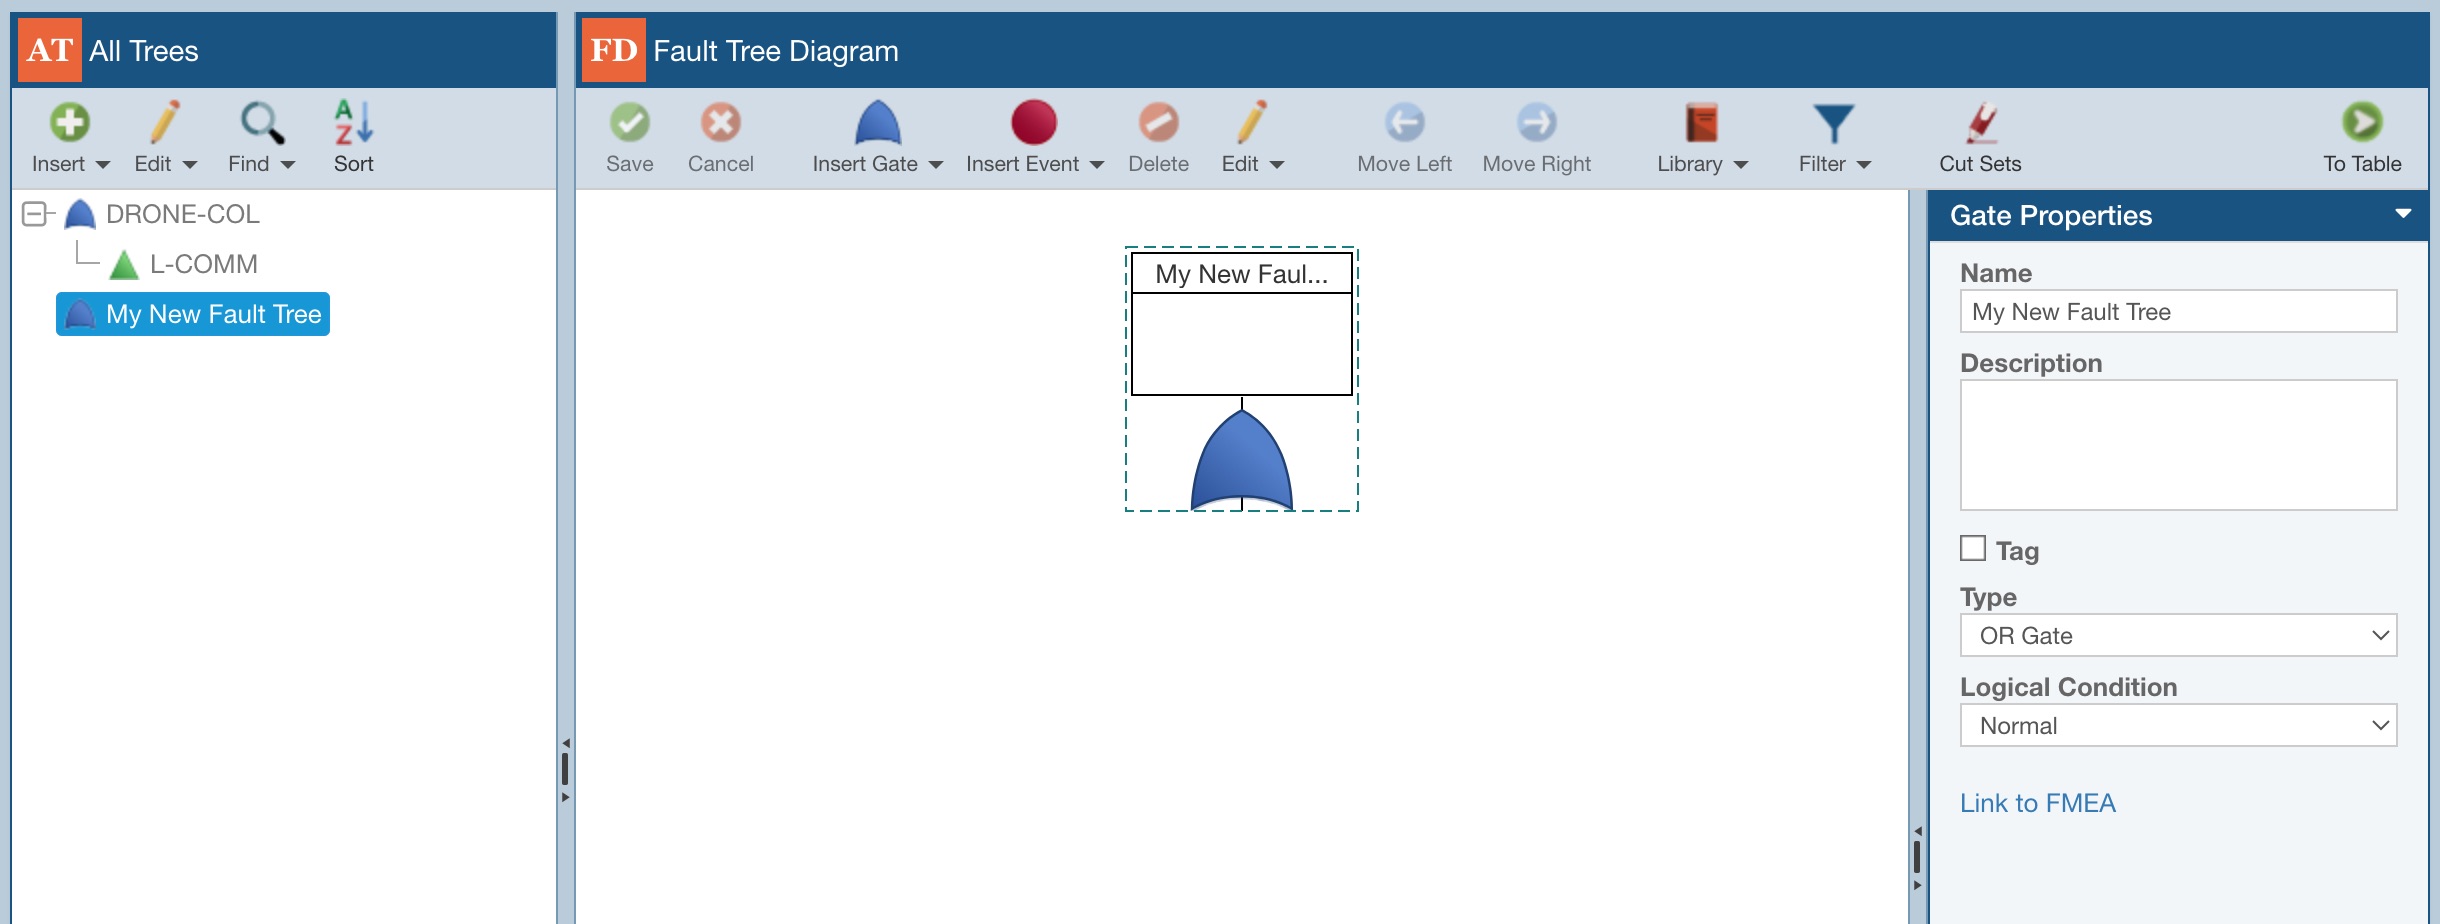
You can begin constructing your fault tree.
You can also use the Insert button to create a new fault tree, or new top gate, from a Fault Tree Library. For more details about using a Fault Tree Library, see the Fault Tree Libraries topic.
To add a new top gate from a Fault Tree Library, click the dropdown arrow next to the Insert button and select Top Gate from Library.
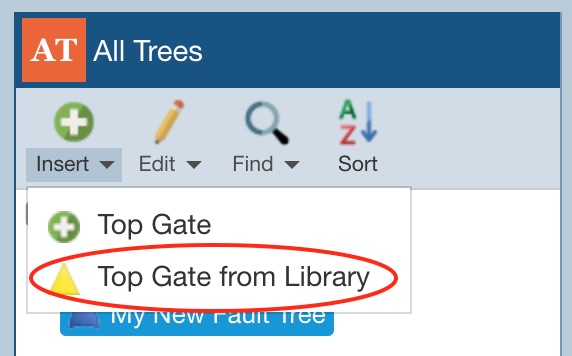
The Search Fault Trees dialog appears.
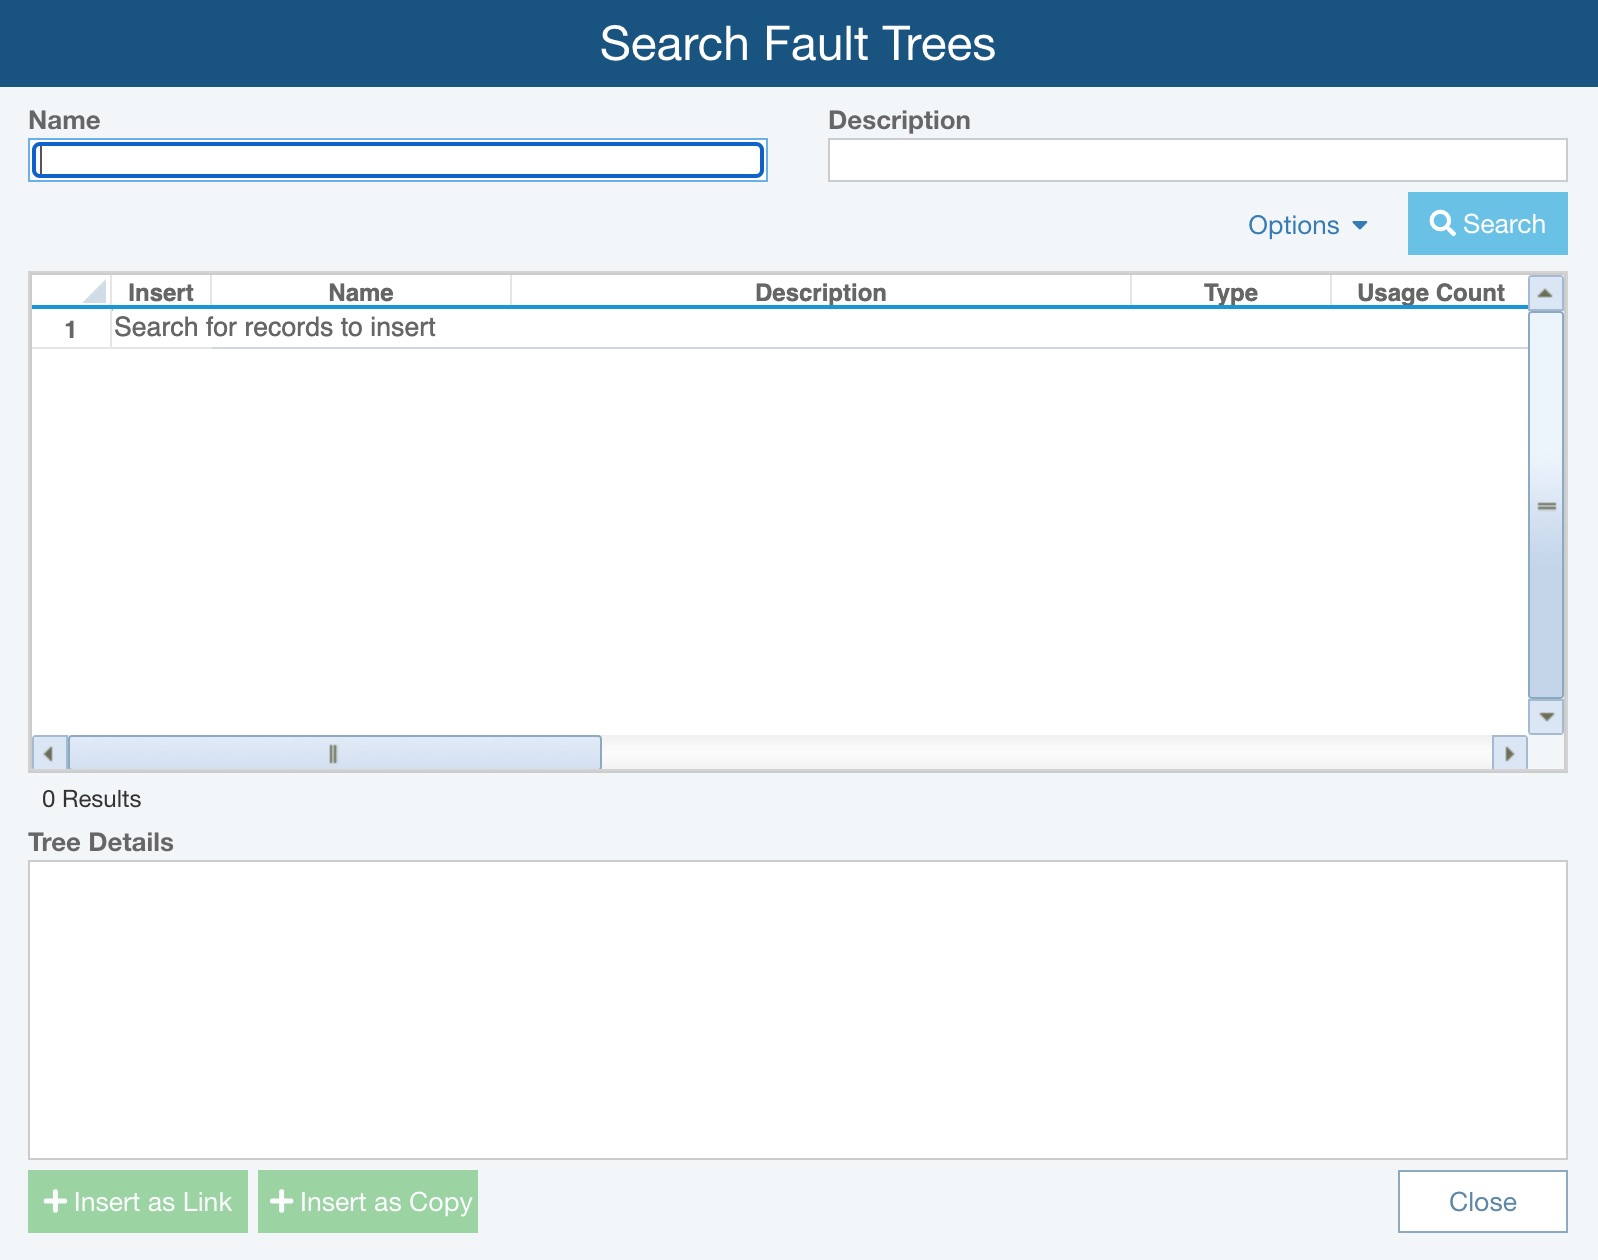
You can perform a Fault Tree Library search using Name and/or Description. Enter in a portion of the text, or the full text, in the Name and/or Description fields.
As needed, use the Options link to establish your preferred sorting option.
Use the Sort By options to select your preferred sort order:
- Usage Count - sorts based on the count of number of times the library item is use across Analyses
- Name - sorts alphabetically based on the library item Name
Click Search to start the Fault Tree Library search. The list of matches will appear in the table. The search results table includes other information: other related event data, the usage count (the number of times the particular event is used in your fault trees), and which Fault Tree Library the match is from. The table is sorted by Usage Count in descending order by default, unless you opt to sort by Name.
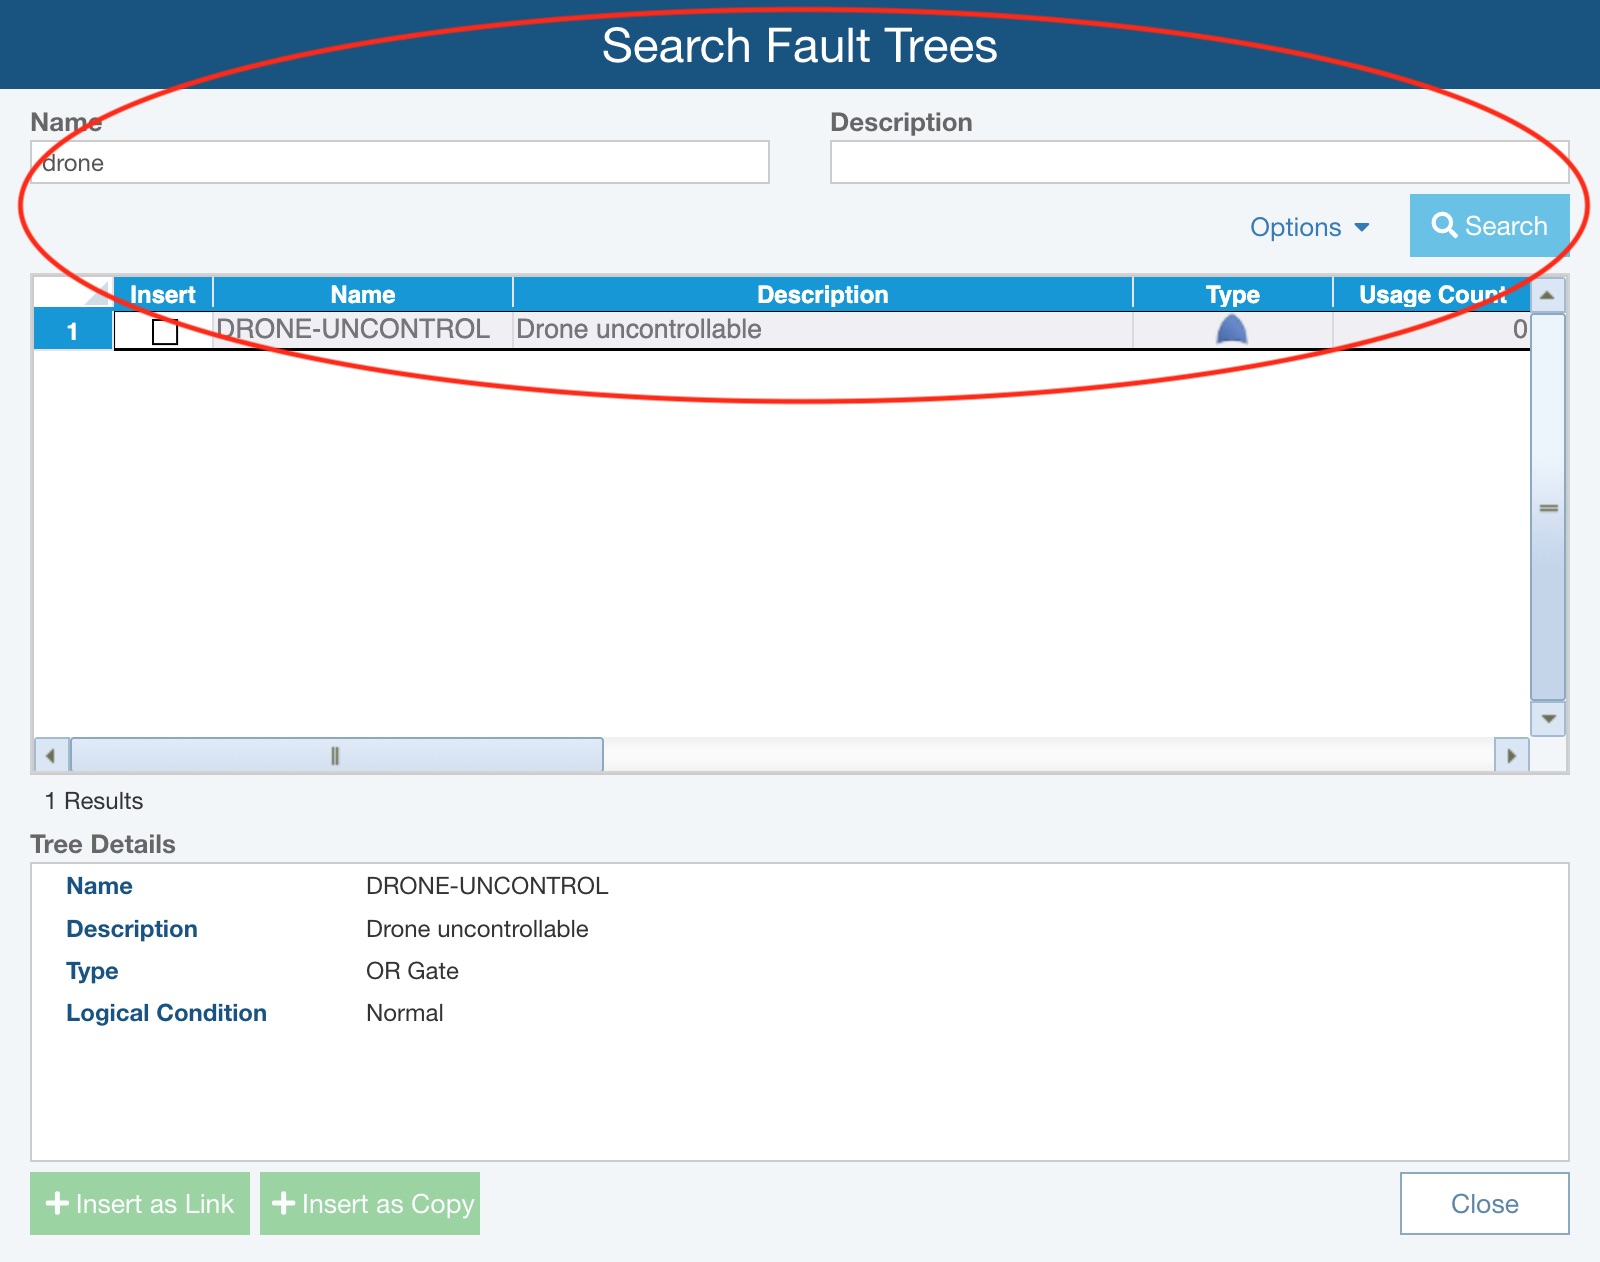
Select the fault tree or branch you wish to insert as a new top gate by selecting the Insert checkbox. Click one of the Insert buttons to add the fault tree as a top gate to your Analysis.
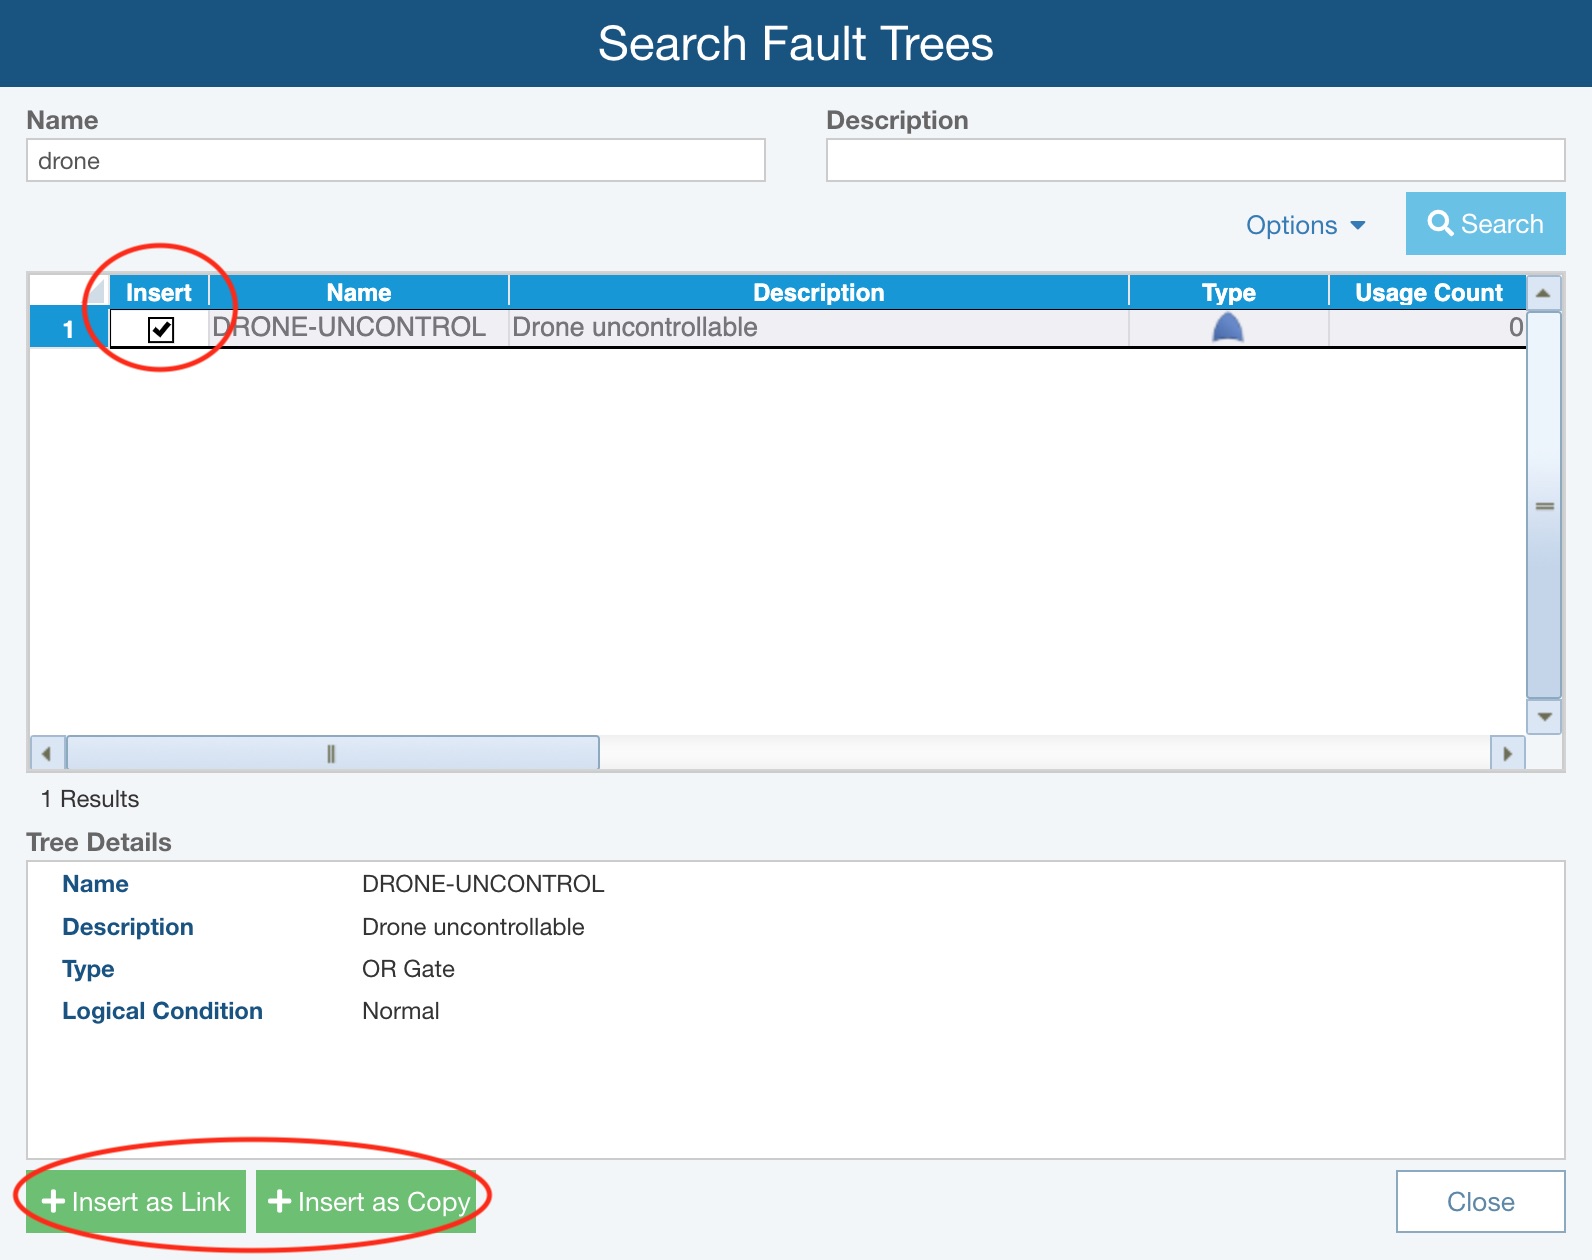
Click Insert as Copy if you want to insert the selected gate (including all gates and events below it) as a new top gate branch which is not linked to the branch in the Fault Tree Library. When the branch is inserted as a copy, is it not linked to the content in the Fault Tree Library and you can make any necessary changes to it after its insertion.
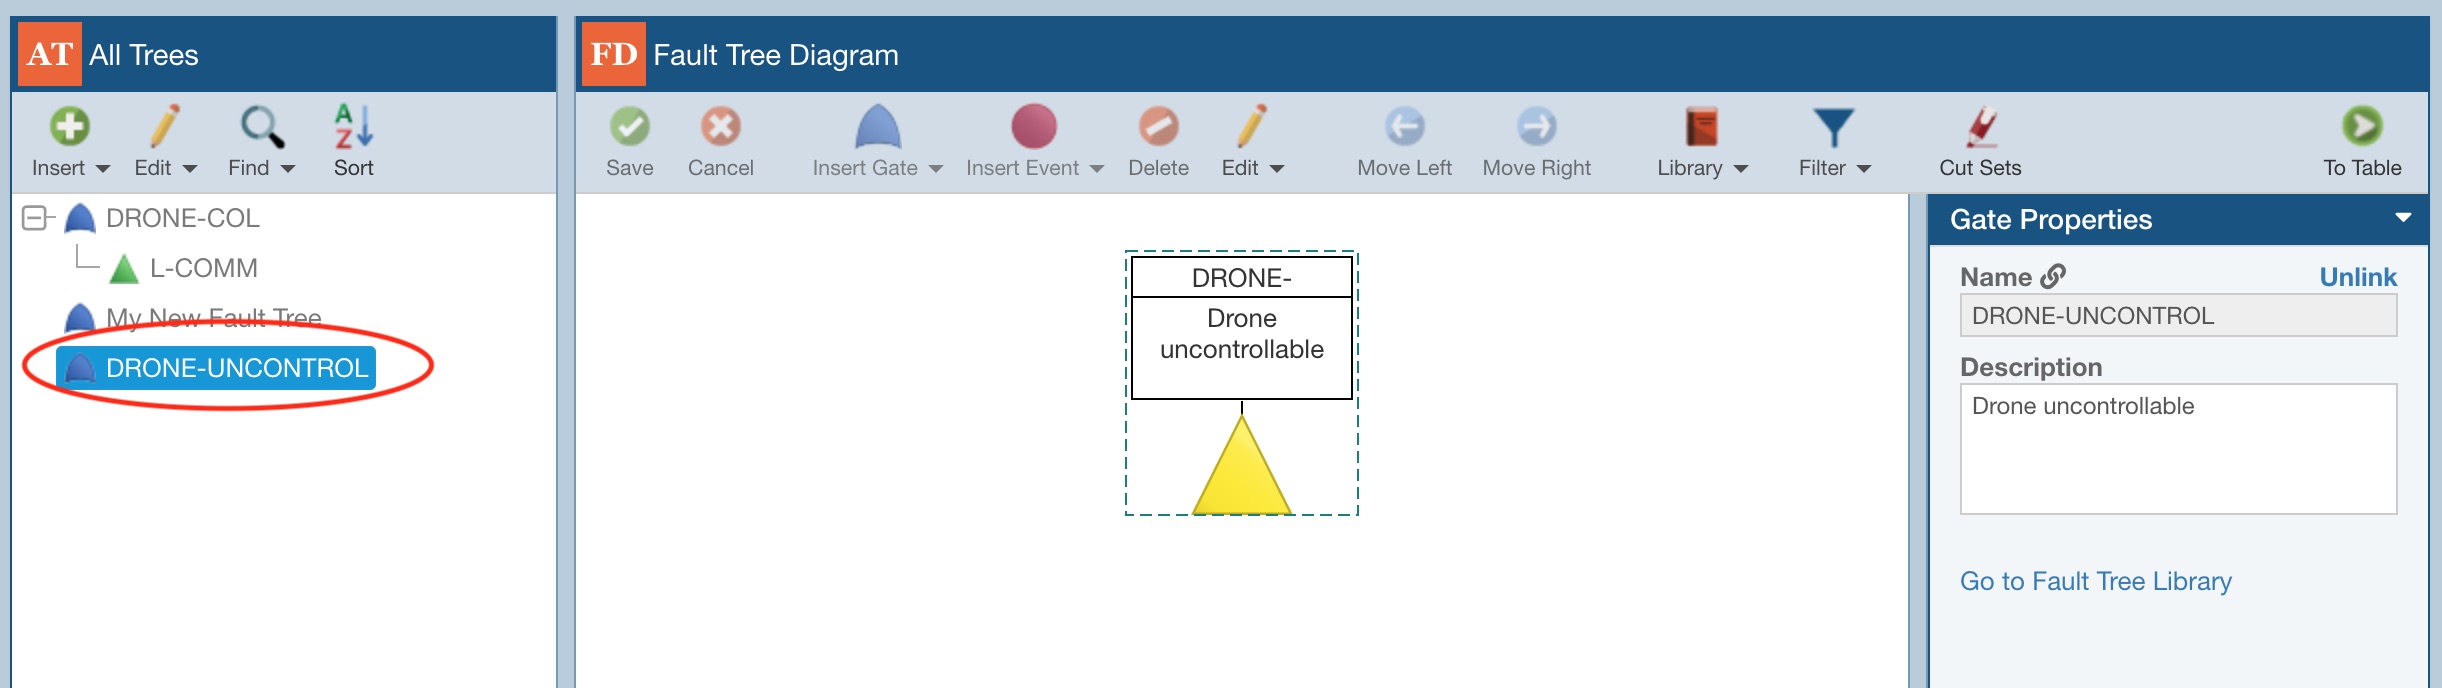
Or, click Insert as Link if you want to insert the selected gate (including all gates and events below it) as a new top gate branch linked to the gate in the Fault Tree Library. When the branch is inserted as a link, it is linked to the original in the Fault Tree Library and it can only be modified by pushing updates from the Fault Tree Library.
Edit Button
The Edit toolbar button is a dropdown with several functions.
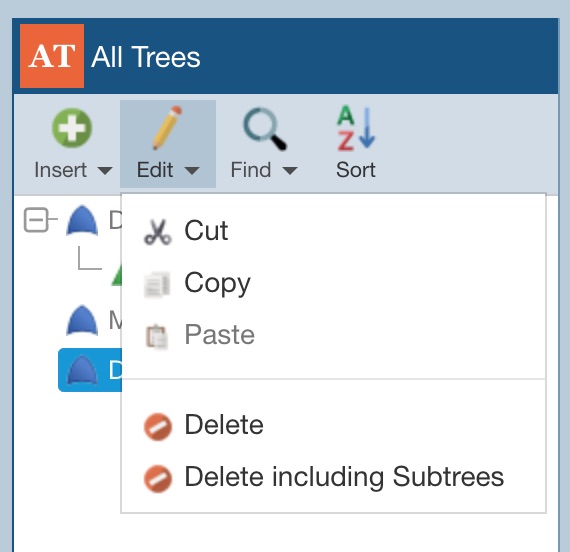
Cut: Cuts the currently selected Fault Tree in the All Trees tree and copies it to the clipboard. Select Paste to paste the Fault Tree elsewhere.
Copy: Copies the currently selected Fault Tree in the All Trees tree to the clipboard. Select Paste to paste a copy of the Fault Tree elsewhere. The original remains in place.
Paste: Pastes the Fault Tree in the clipboard from a Cut or Copy command to the selected location in the hierarchical tree.
Delete: Deletes the selected Fault Tree, but not any of its Subtrees.
Delete including Subtrees: Deletes the selected Fault Tree and all its Subtrees, or all Fault Trees below the Fault Tree connected through Transfer Gates.
Find Button
The Find toolbar button provides access to the Find in Fault Tree dialog and the Find Gates and Events with Duplicate Names dialog.
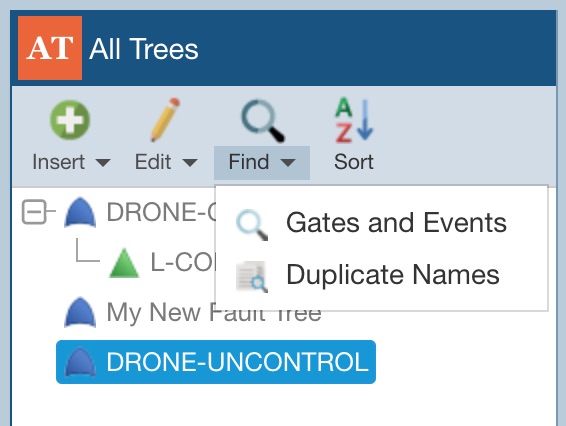
Click Find>Gates and Events to look for Gates and Events in your Fault Trees.
On the Find in Fault Tree dialog, you can search for specific Gate or Event and then locate it in the Analysis.
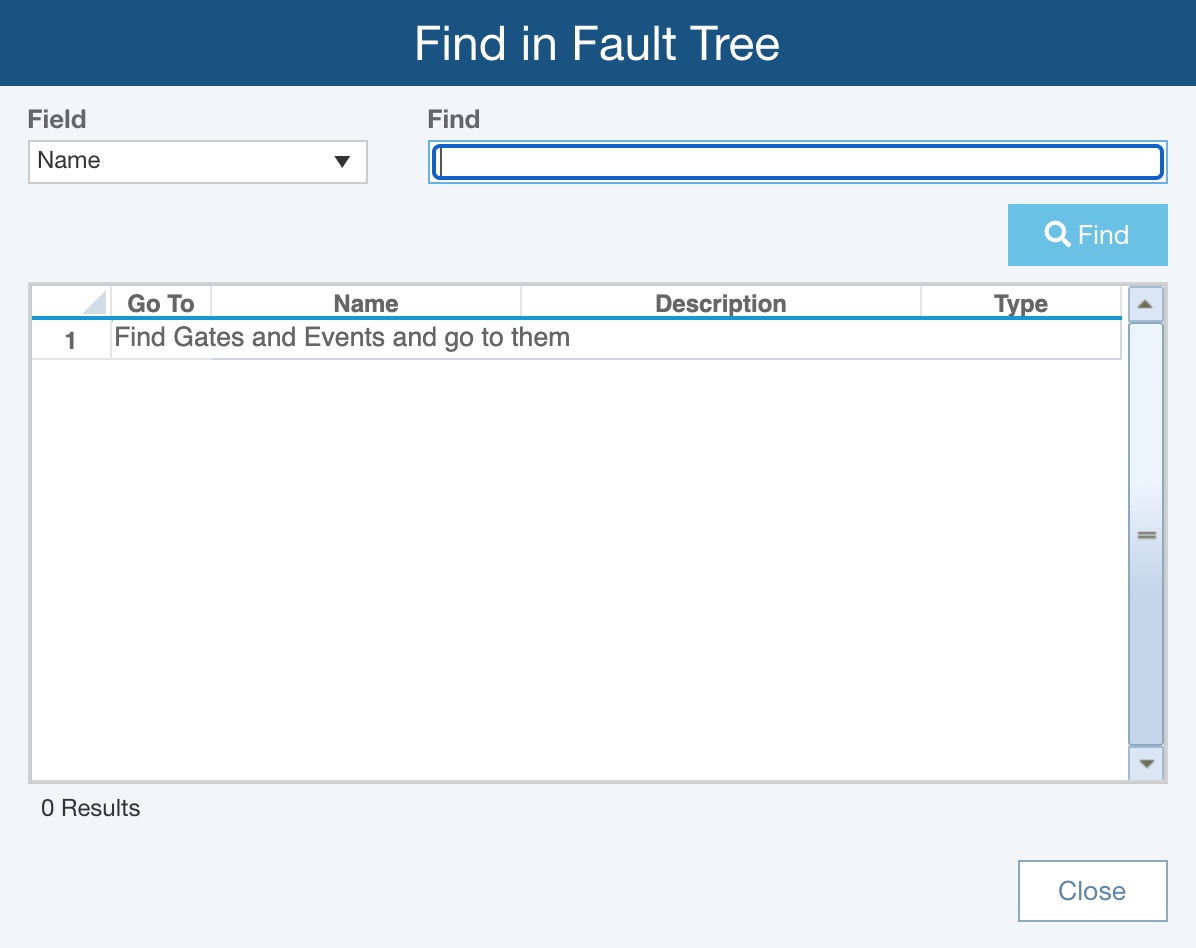
Select the Field to search and enter the text of interest for the gate or event in the Find field; click Find.
Review the details in the table.
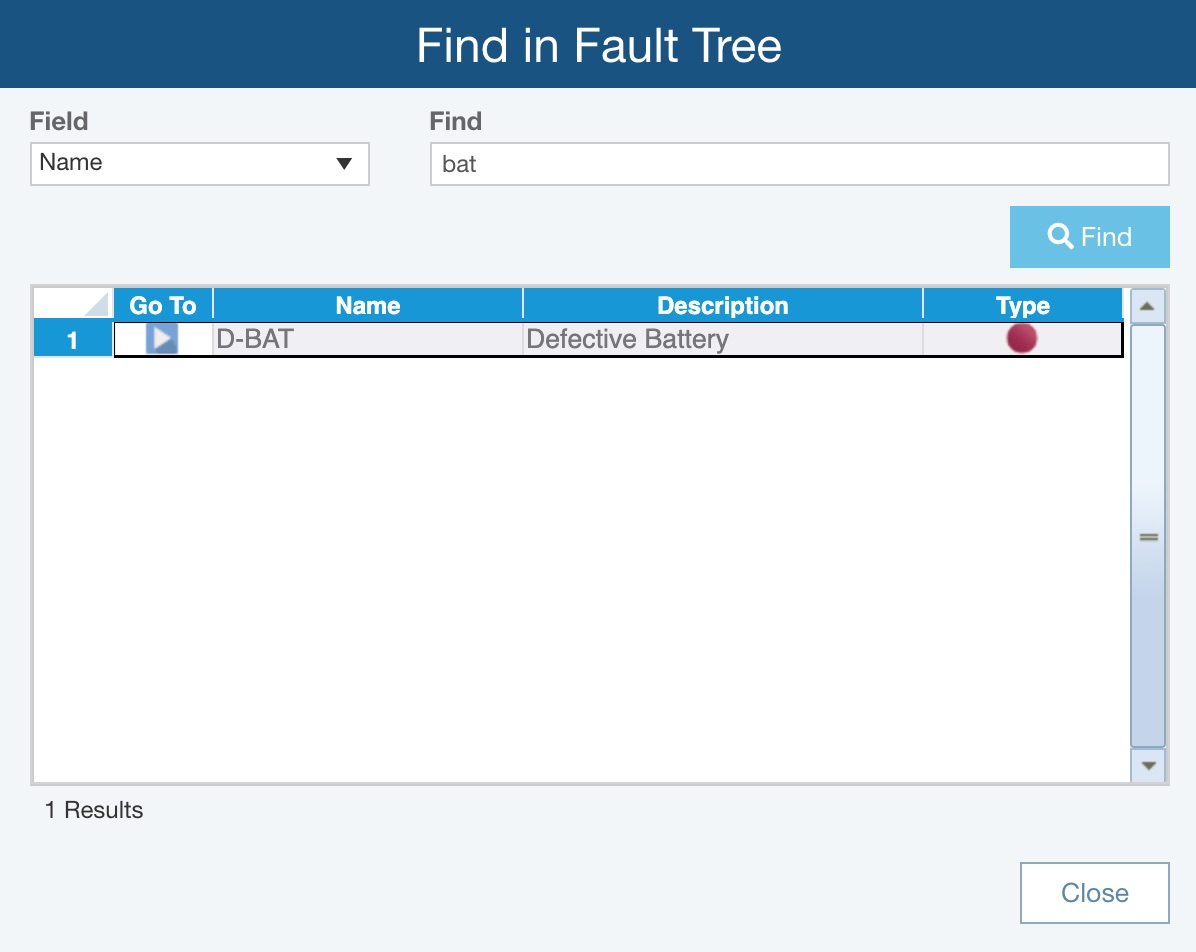
Note: If the search results include a Repeat Event or Transfer Gate, there will also be a header row denoting the repeat or transfer status and then separate rows for each instance of the Repeat Event or Transfer Gate. Note that the header row will not have details in the Go To or Type columns.
Click the arrow button in the Go To field.
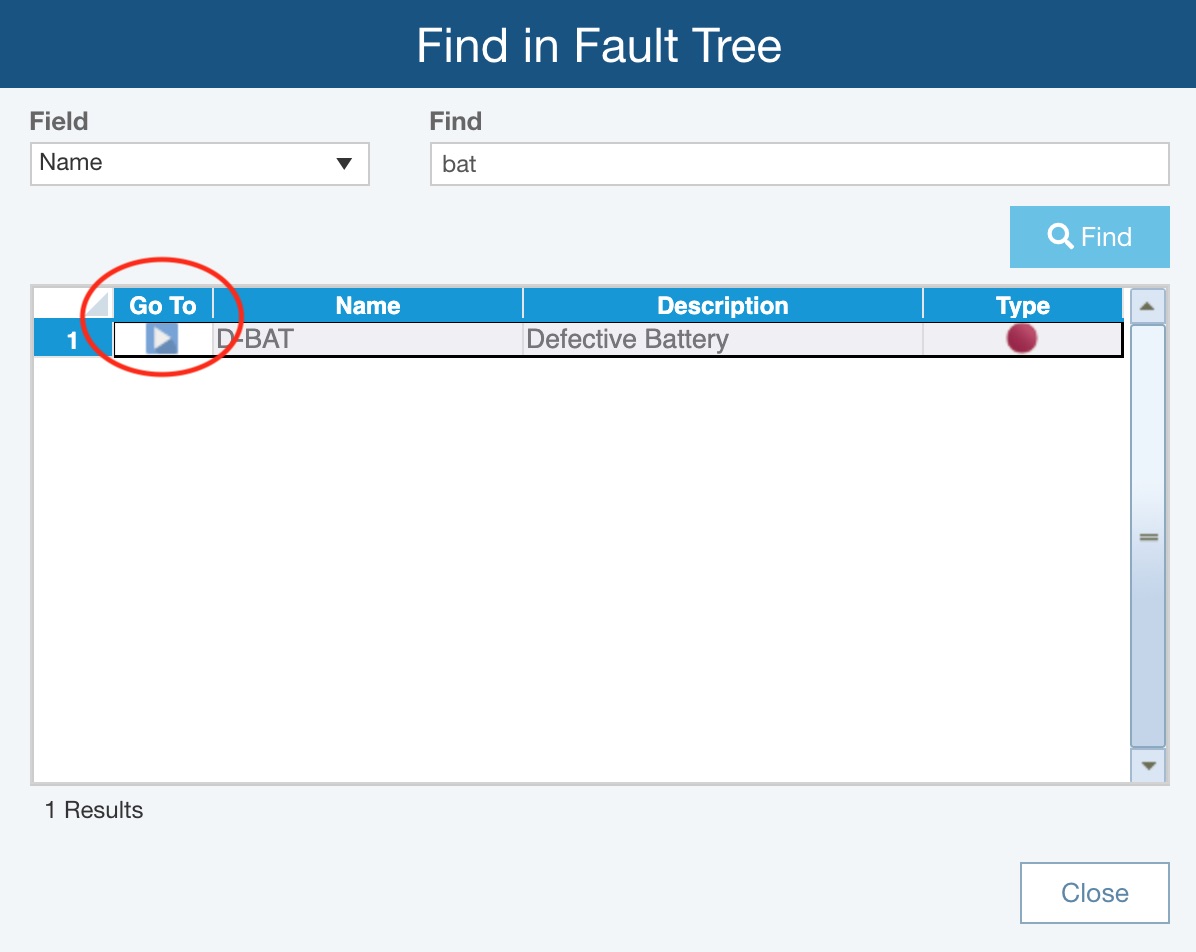
Behind the Find in Fault Tree dialog, the gate or event of interest will be selected.
To close the Find in Fault Tree dialog, click Close.
Select Find>Duplicate Names, the Find Gates and Events with Duplicate Names dialog appears.
.jpg)
Relyence Fault Tree identifies any Gates and Events with duplicate names, provides basic details about each item and the option to Go To to find the item in the Analysis.
Sort Button
The Sort toolbar button provides the option to sort the Top Gates in the All Trees pane alphabetically.
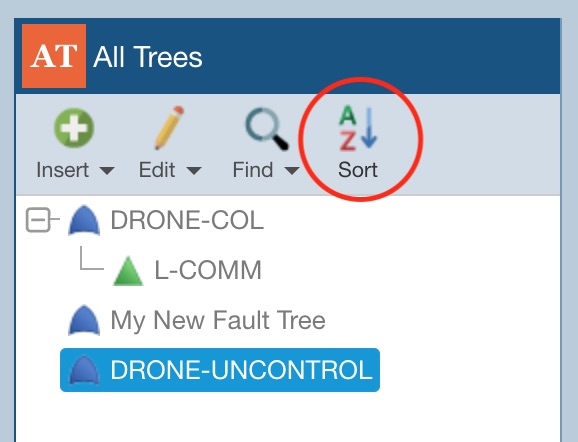
Select Sort to sort your Top Gates.
The Sort Top Gates dialog appears.

 Note that the sort operation is permanent and cannot be undone.
If you click No, the Top Gates remain in original order.
If you click Yes, the Top Gates are sorted alphabetically, such as below.