Fault Tree Libraries
Fault Tree Libraries in Relyence Fault Tree enable you to store entire fault trees or fault tree branches for streamlined usage in your Fault Tree Analyses.
Fault Trees stored in a Fault Tree Library can be small, large or any size in between. For each fault tree in the Fault Tree Library, all gate and event Properties are stored. Once a fault tree is stored in the Fault Tree Library, it can be used in any Fault Tree Analysis.
You can update the Fault Tree Library as needed and then push those changes out to all your Analyses that use the Library fault trees. Data Pushes are controlled by you, and you can also set permissions as to who can update Libraries and perform Pushes.
Opening a Fault Tree Library
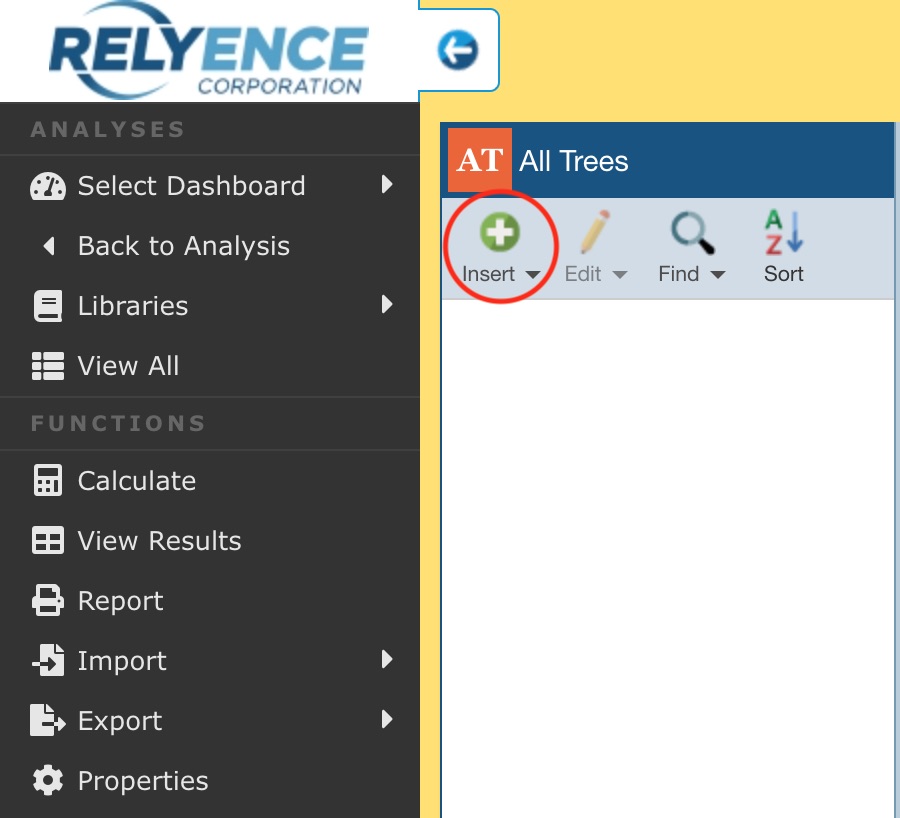
To open the Fault Tree Library, click Libraries in the Sidebar and select Fault Tree.

Note that if you have more than one Fault Tree Library, the Fault Tree option will expand to show them and simply click the one you want to open.
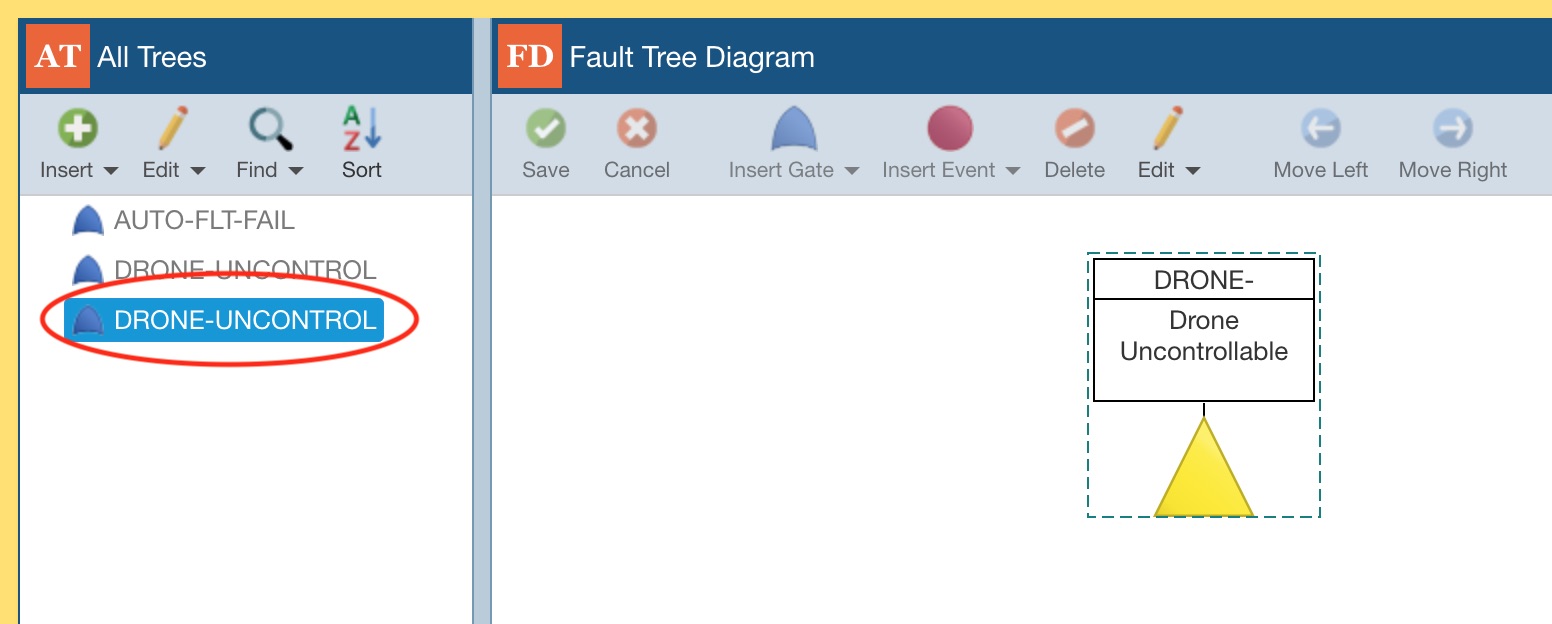
The Fault Tree Library displays the All Trees pane on the left with a list of all fault trees included in the Fault Tree Library and the Fault Tree Diagram pane on the right with the image of the selected fault tree and the properties of the selected gate or event.
Notice that the background when you are in your Fault Tree Library is yellow to make it easy to distinguish from your fault tree in your Analysis, which has a blue background.
![]()
Setting Fault Tree Properties in a Fault Tree Library
To set Fault Tree Properties in any Fault Tree Library, click Properties from the Sidebar menu when the Fault Tree Library is open.
The Fault Tree Properties dialog appears.
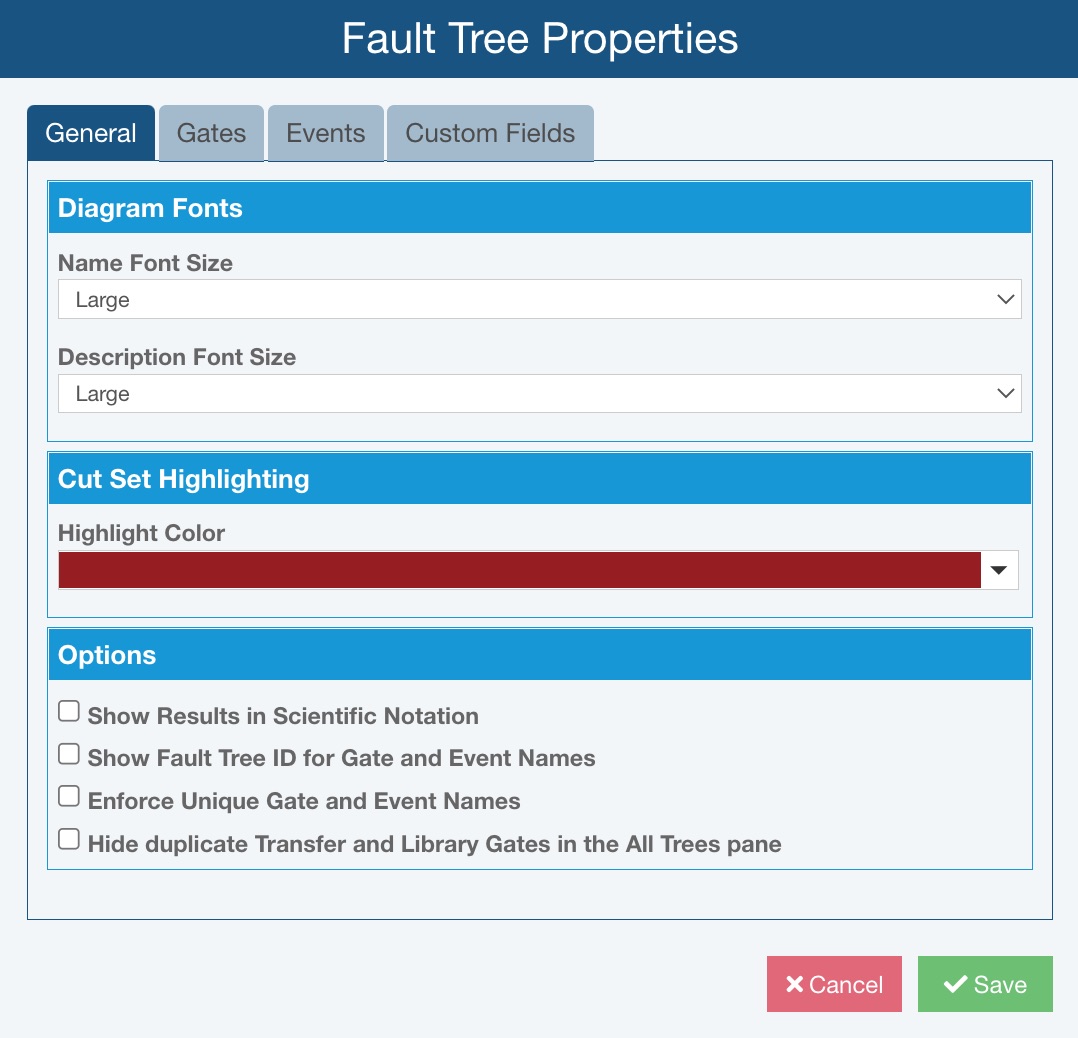
For details on how to customize the Fault Tree Properties settings in the Fault Tree Library, see the Fault Tree Library Properties topic.
Adding Fault Trees Directly to a Fault Tree Library
To insert a fault tree, in the All Trees pane, select Insert.
The Insert Top Gate dialog appears.
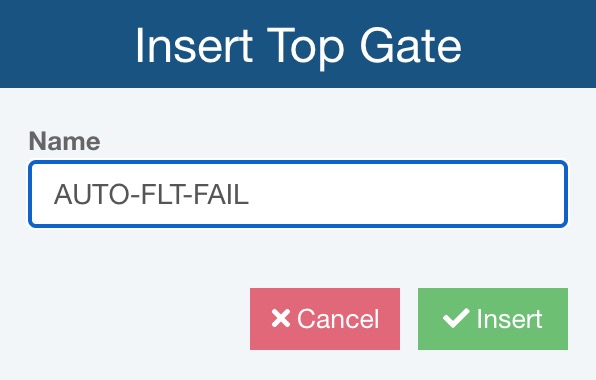
Enter a Name for the new fault tree and click Insert. The new fault tree is created and displayed in the All Trees pane with an OR gate as the starting point. You can build this fault tree just as you would build any fault tree or branch in an Analysis. See the Creating a Fault Tree Diagram topic of this guide for more details.
You can also use the Insert button to create a new fault tree, or new top gate, from a Fault Tree Library.
To add a new top gate from a Fault Tree Library, click the dropdown arrow next to the Insert button and select Top Gate from Library.
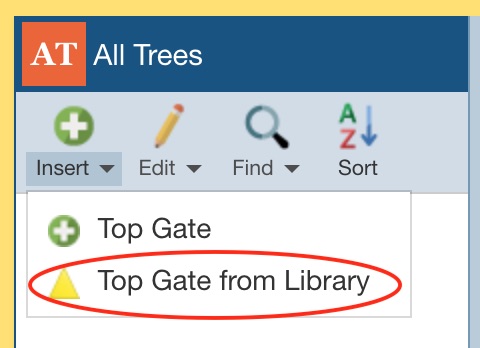
The Search Fault Trees dialog appears.
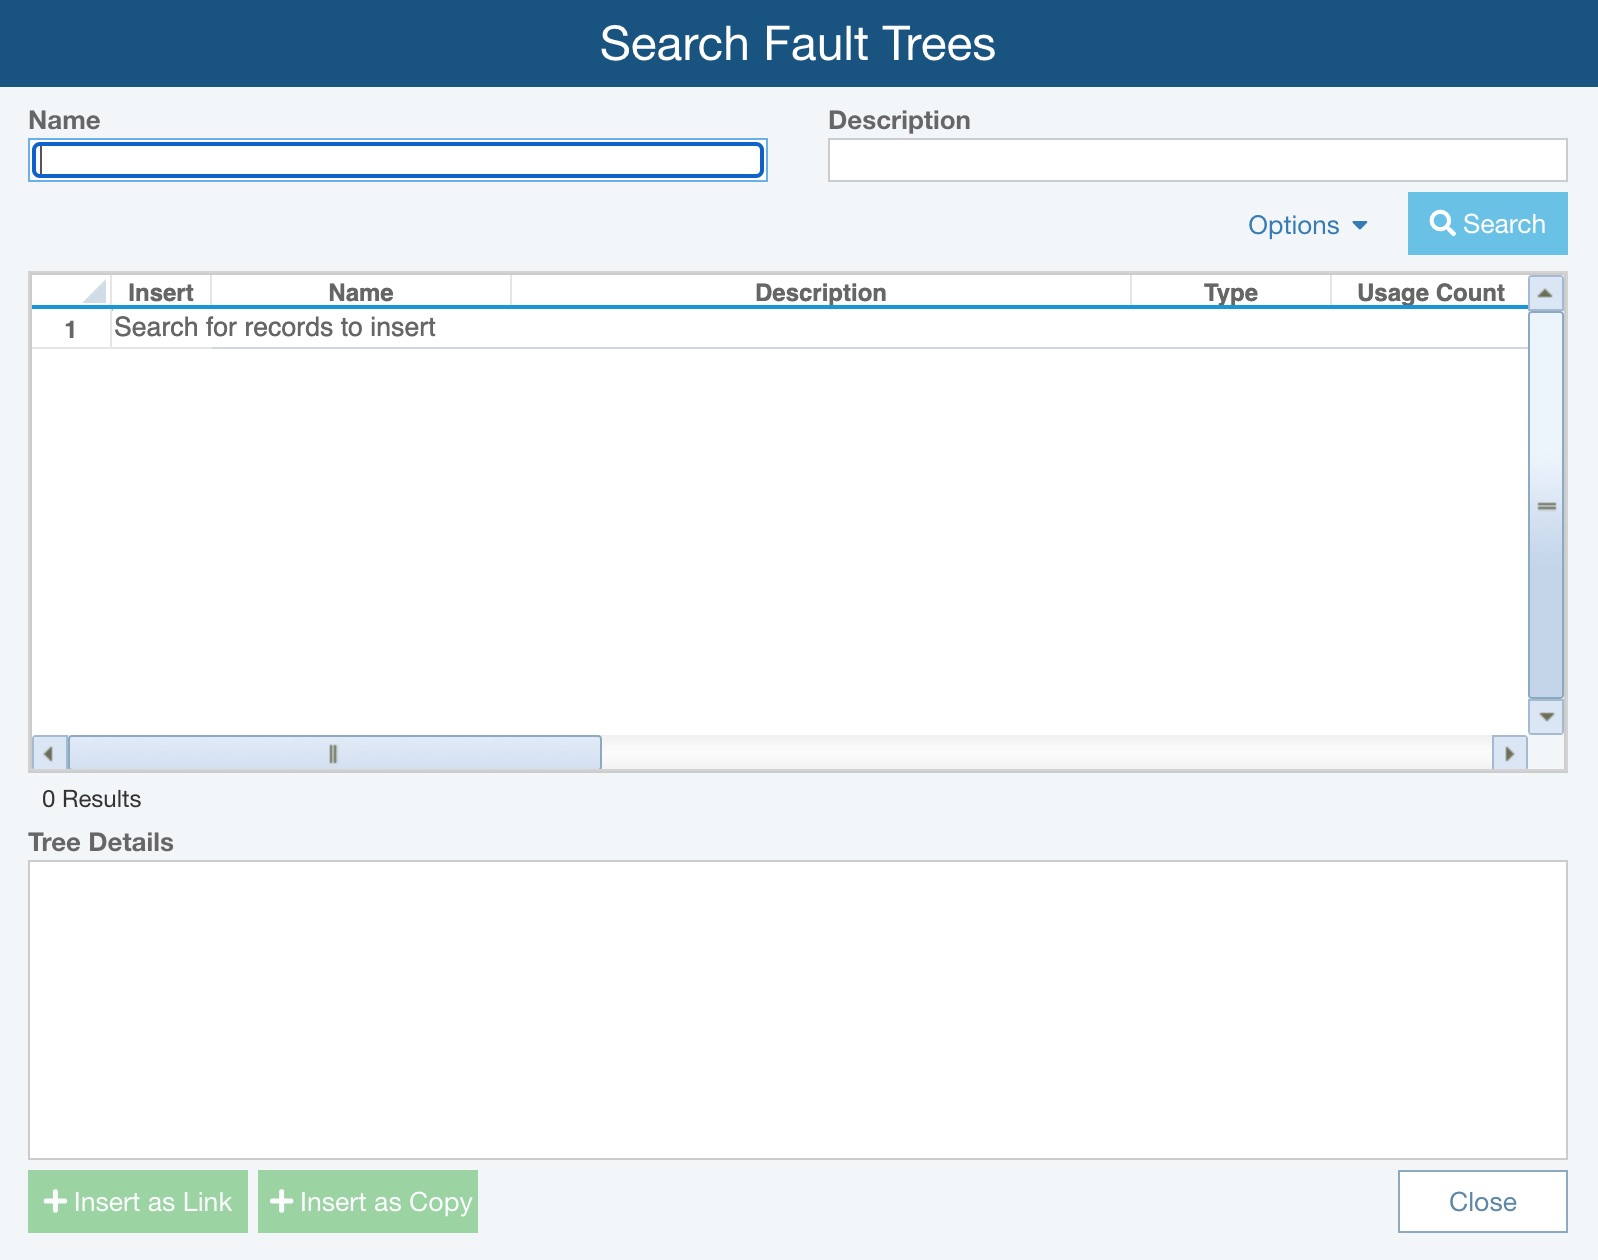
You can perform a Fault Tree Library search using Name and/or Description. Enter in a portion of the text, or the full text, in the Name and/or Description fields.
As needed, use the Options link to establish your preferred sorting option.
Use the Sort By options to select your preferred sort order:
- Usage Count - sorts based on the count of number of times the library item is use across Analyses
- Name - sorts alphabetically based on the library item Name
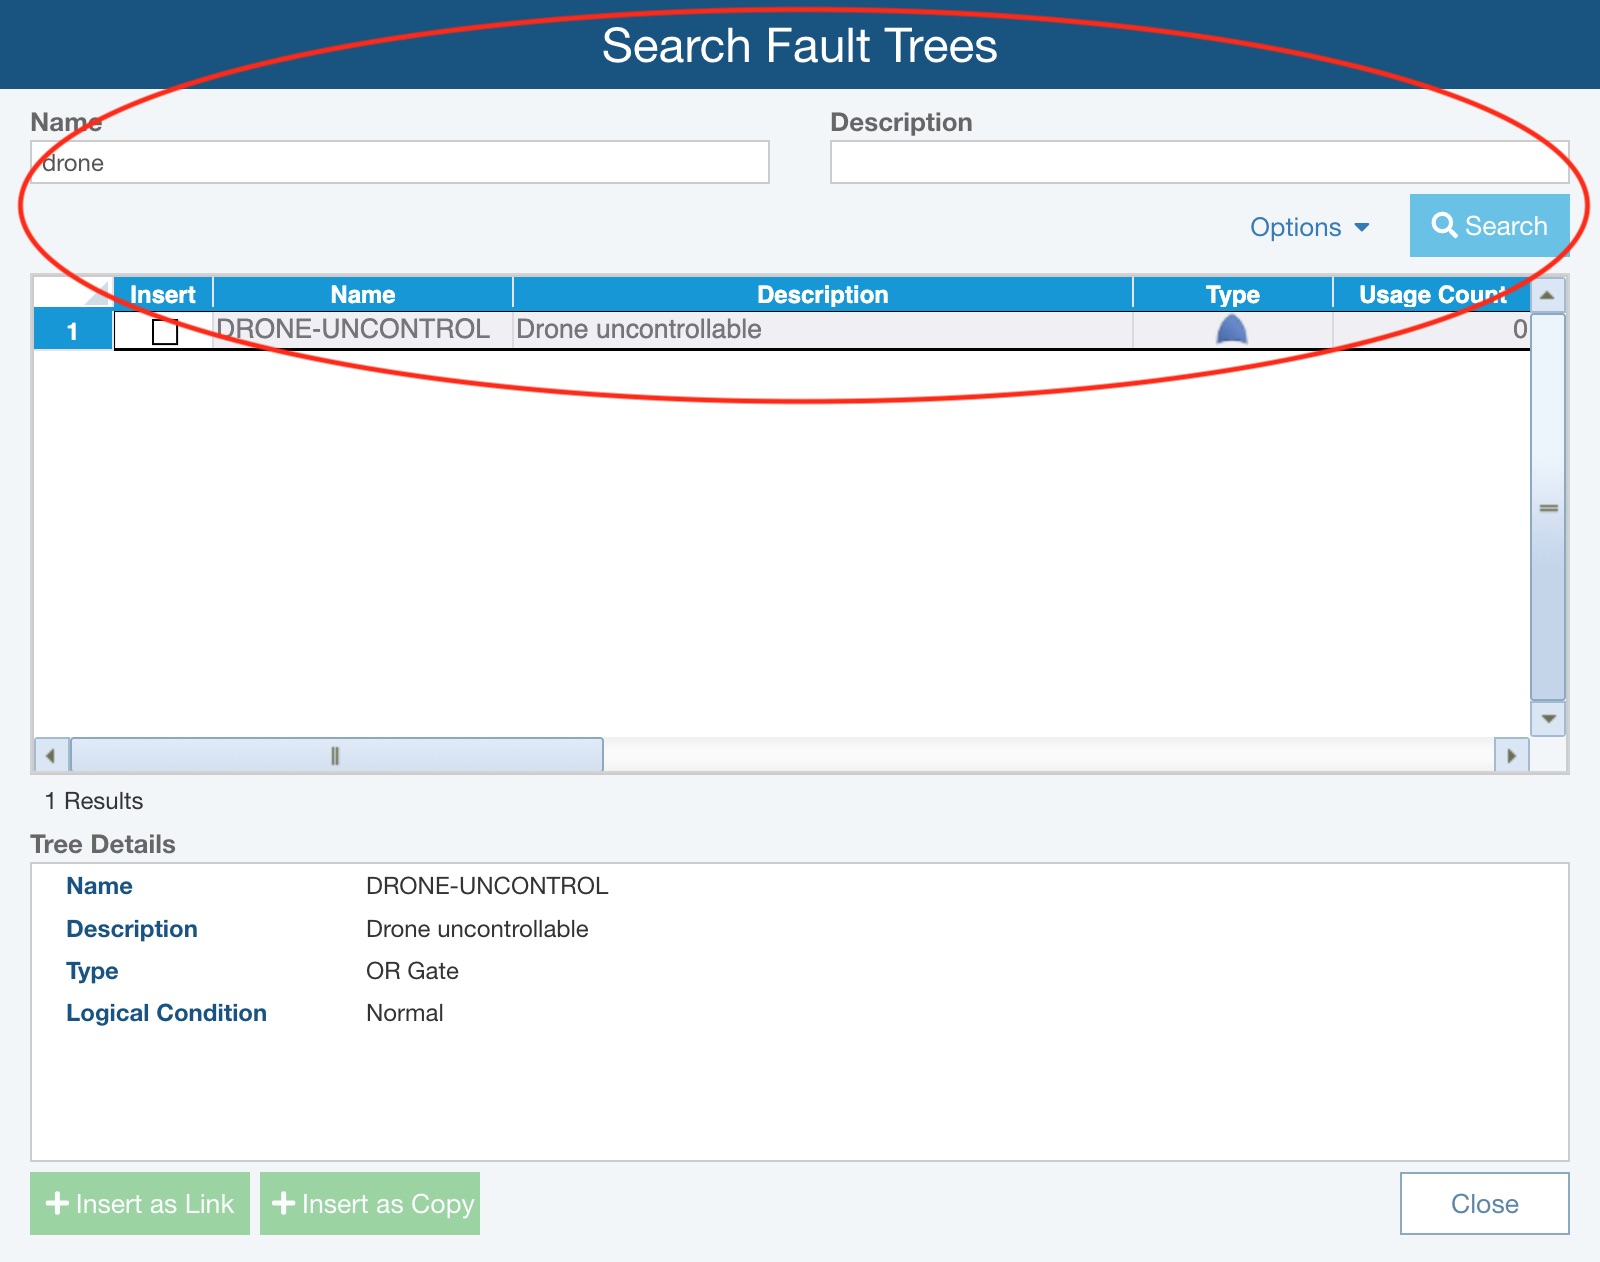
Click Search to start the Fault Tree Library search. The list of matches will appear in the table. The search results table includes other information: other related event data, the usage count (the number of times the particular event is used in your fault trees), and which Fault Tree Library the match is from. The table is sorted by Usage Count in descending order by default, unless you opt to sort by Name.
Select the fault tree or branch you wish to insert as a new top gate by selecting the Insert checkbox. Click one of the Insert buttons to add the fault tree as a top gate to your Analysis.
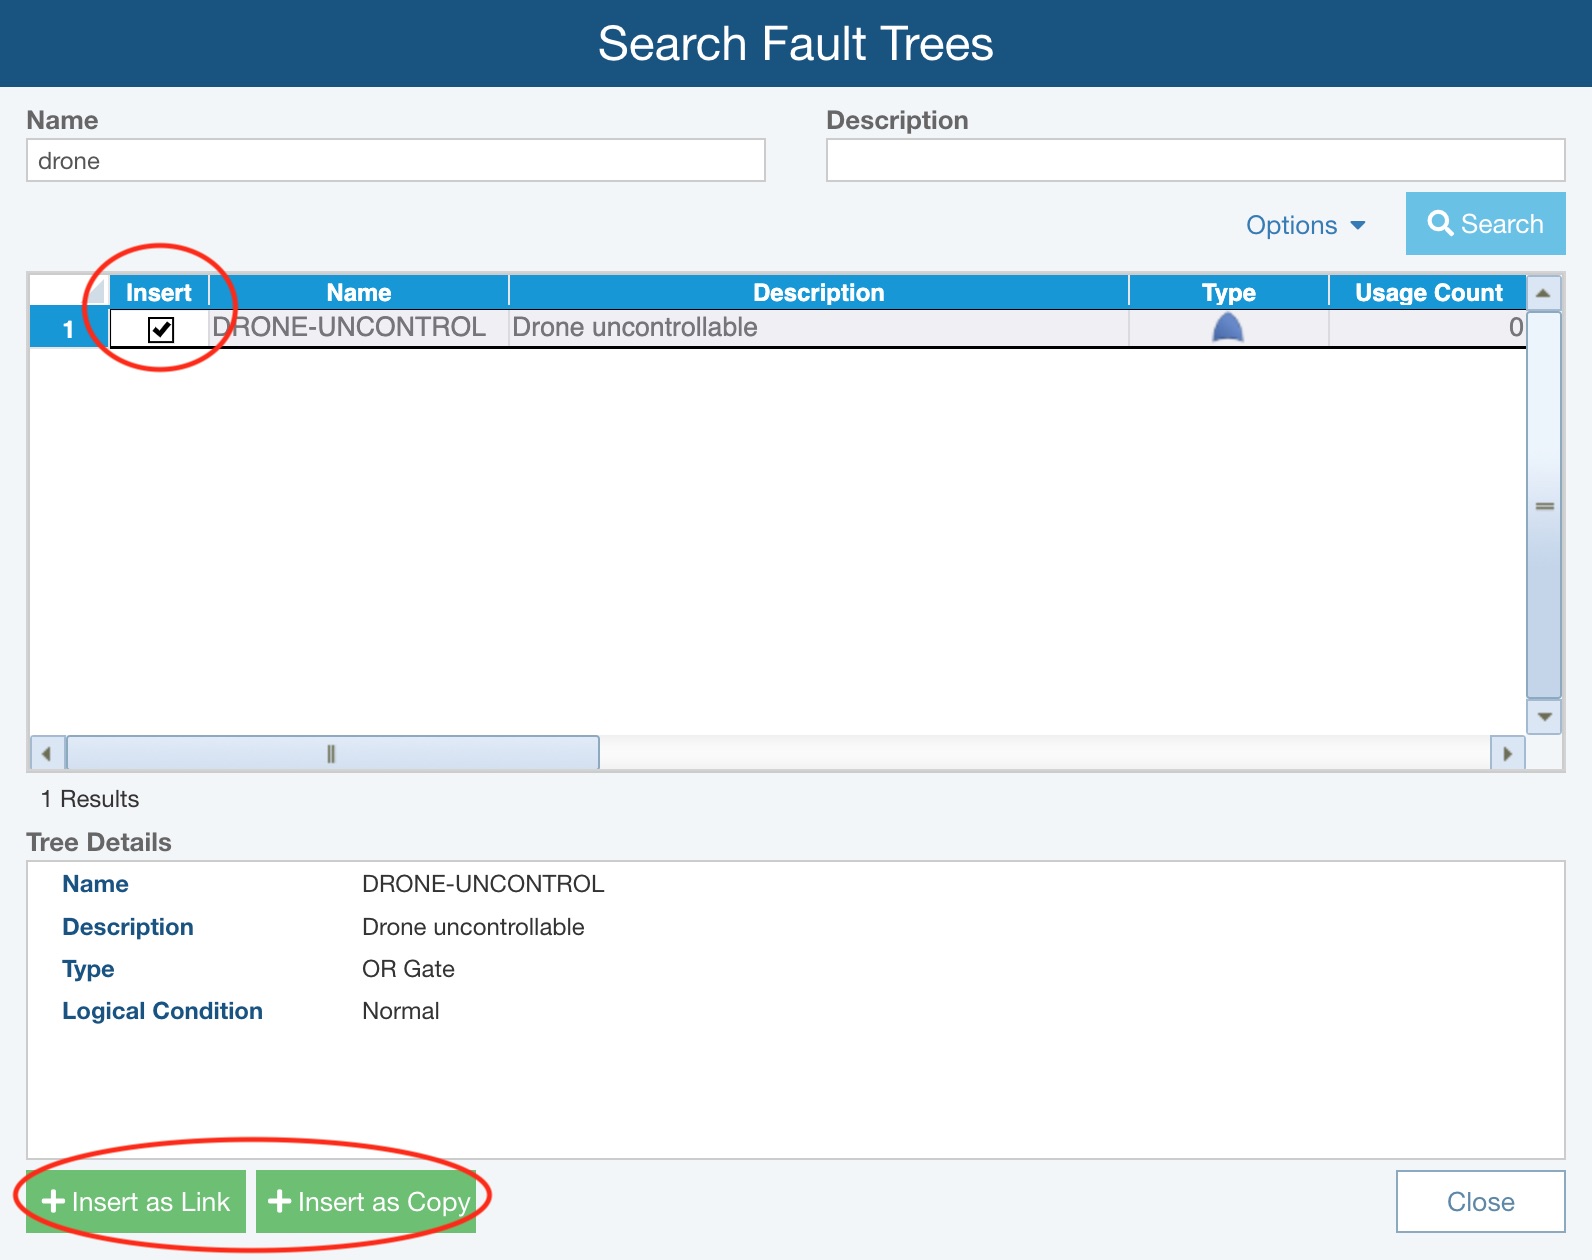
Click Insert as Copy if you want to insert the selected gate (including all gates and events below it) as a new top gate branch which is not linked to the branch in the Fault Tree Library. When the branch is inserted as a copy, is it not linked to the content in the Fault Tree Library and you can make any necessary changes to it after its insertion.

Or, click Insert as Link if you want to insert the selected gate (including all gates and events below it) as a new top gate branch linked to the gate in the Fault Tree Library. When the branch is inserted as a link, it is linked to the original in the Fault Tree Library and it can only be modified by pushing updates from the Fault Tree Library.
Click Back to Analysis in the Sidebar menu to return to your Analysis.
Building up the Fault Tree Library from your Fault Tree
The most common method of building up your Fault Tree Library is adding information from a completed fault tree analysis to it.
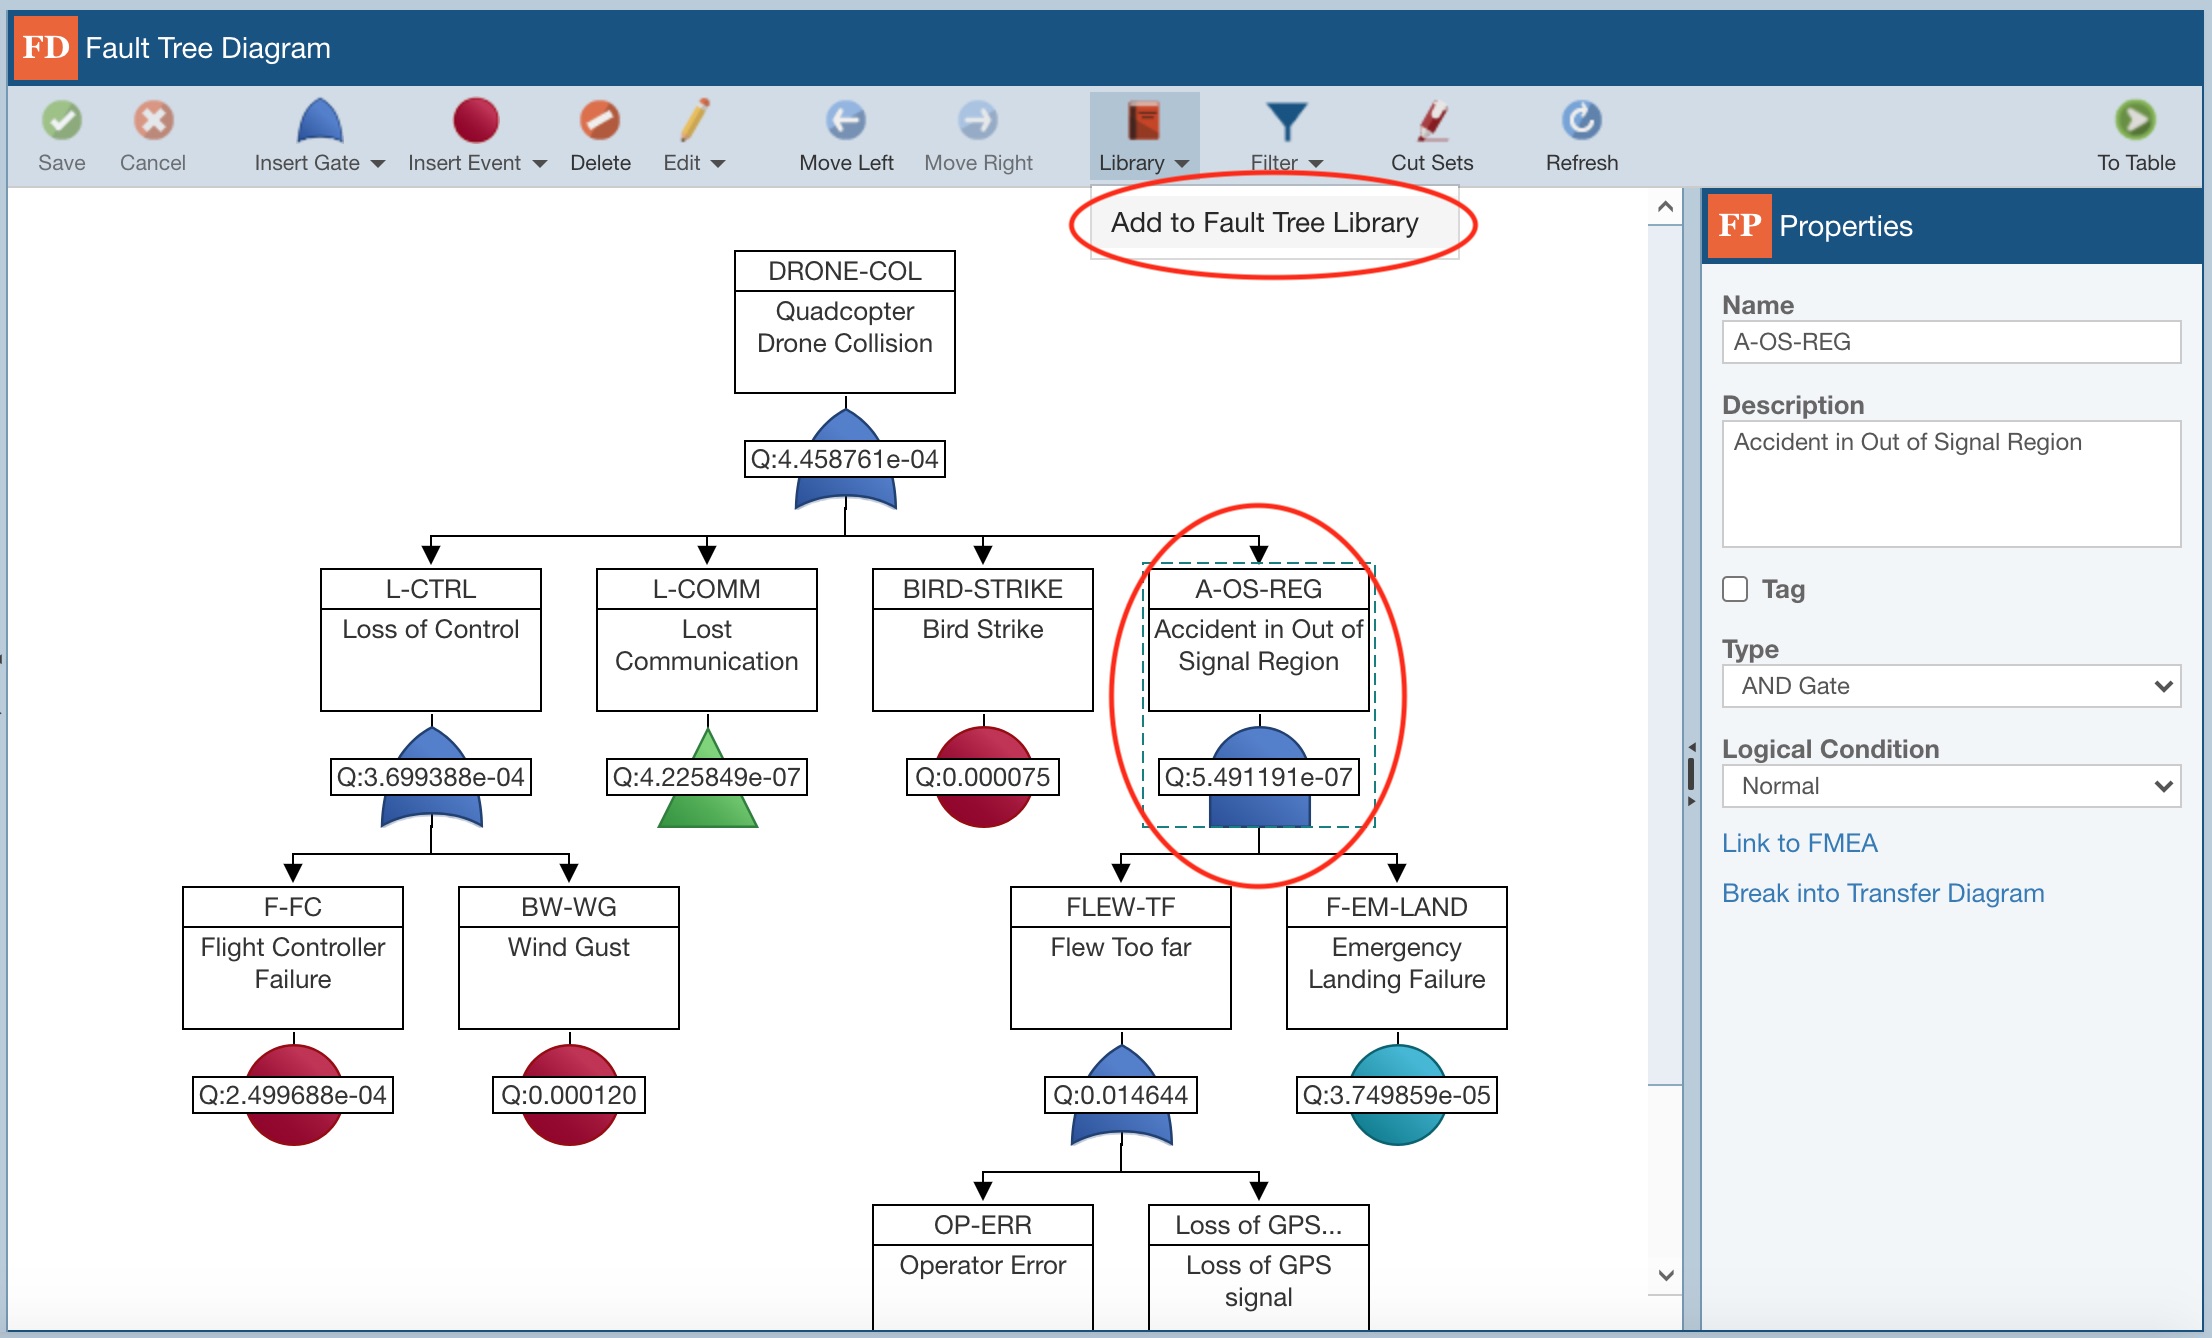
To add fault tree data to a Fault Tree Library, select the top gate of the fault tree or fault tree branch you wish to add, and click Add to Fault Tree Library from the Library toolbar button drop down.
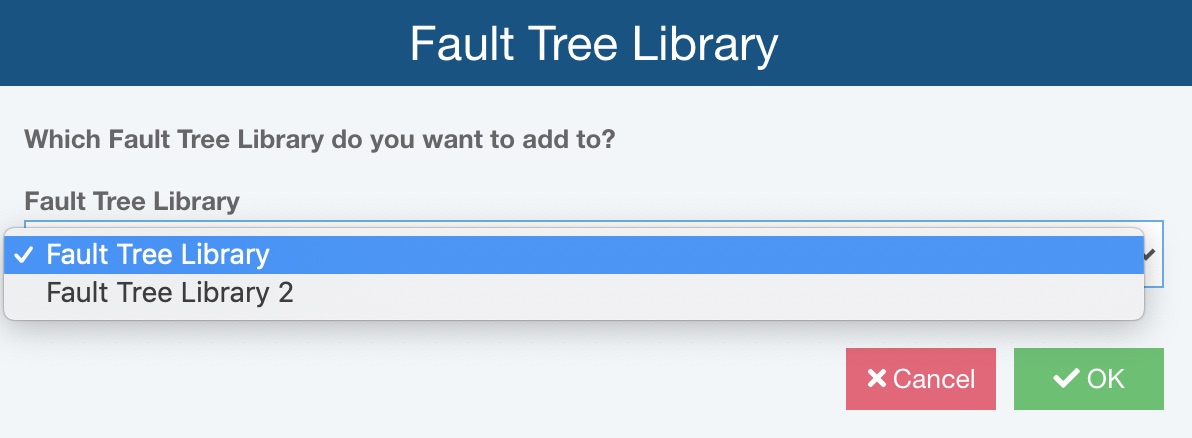
If you have more than one Fault Tree Library, the Fault Tree Library dialog appears, which allows you to select the preferred Fault Tree Library. Once selected, click OK.
Otherwise, the Add to Fault Tree Library dialog appears.
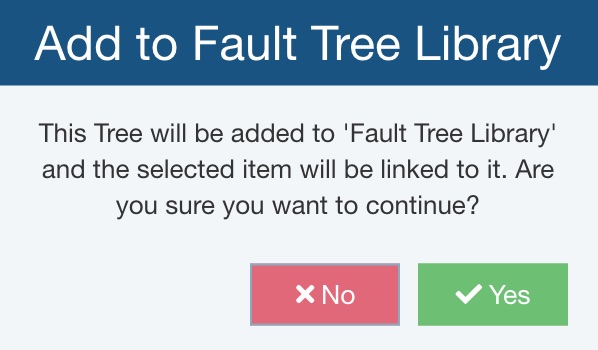
Click Yes to add the fault tree to the Fault Tree Library.
If any gates or events have links to other Relyence products, such as Reliability Prediction or FMEA, the Add to Fault Tree Library dialog appears and confirms that such links will be removed.
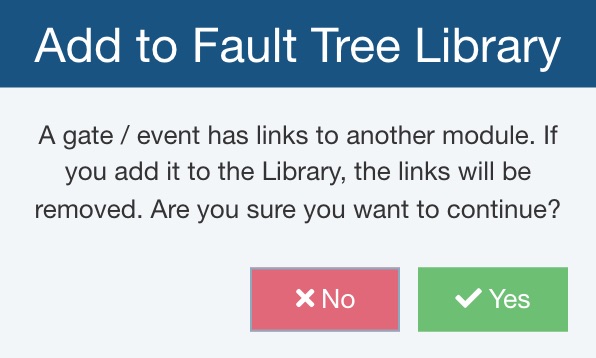
Click Yes to continue.
The Add to Fault Tree Library dialog appears once the data in the Fault Tree Library has been updated.
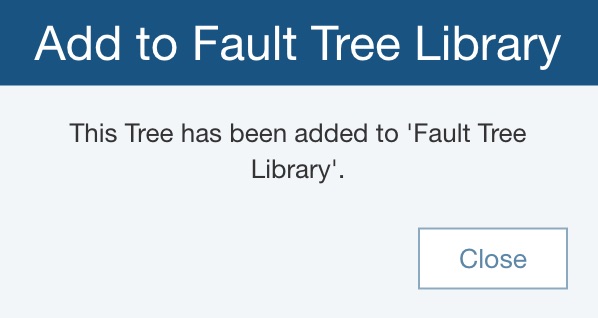
Click Close to dismiss the confirmation dialog.
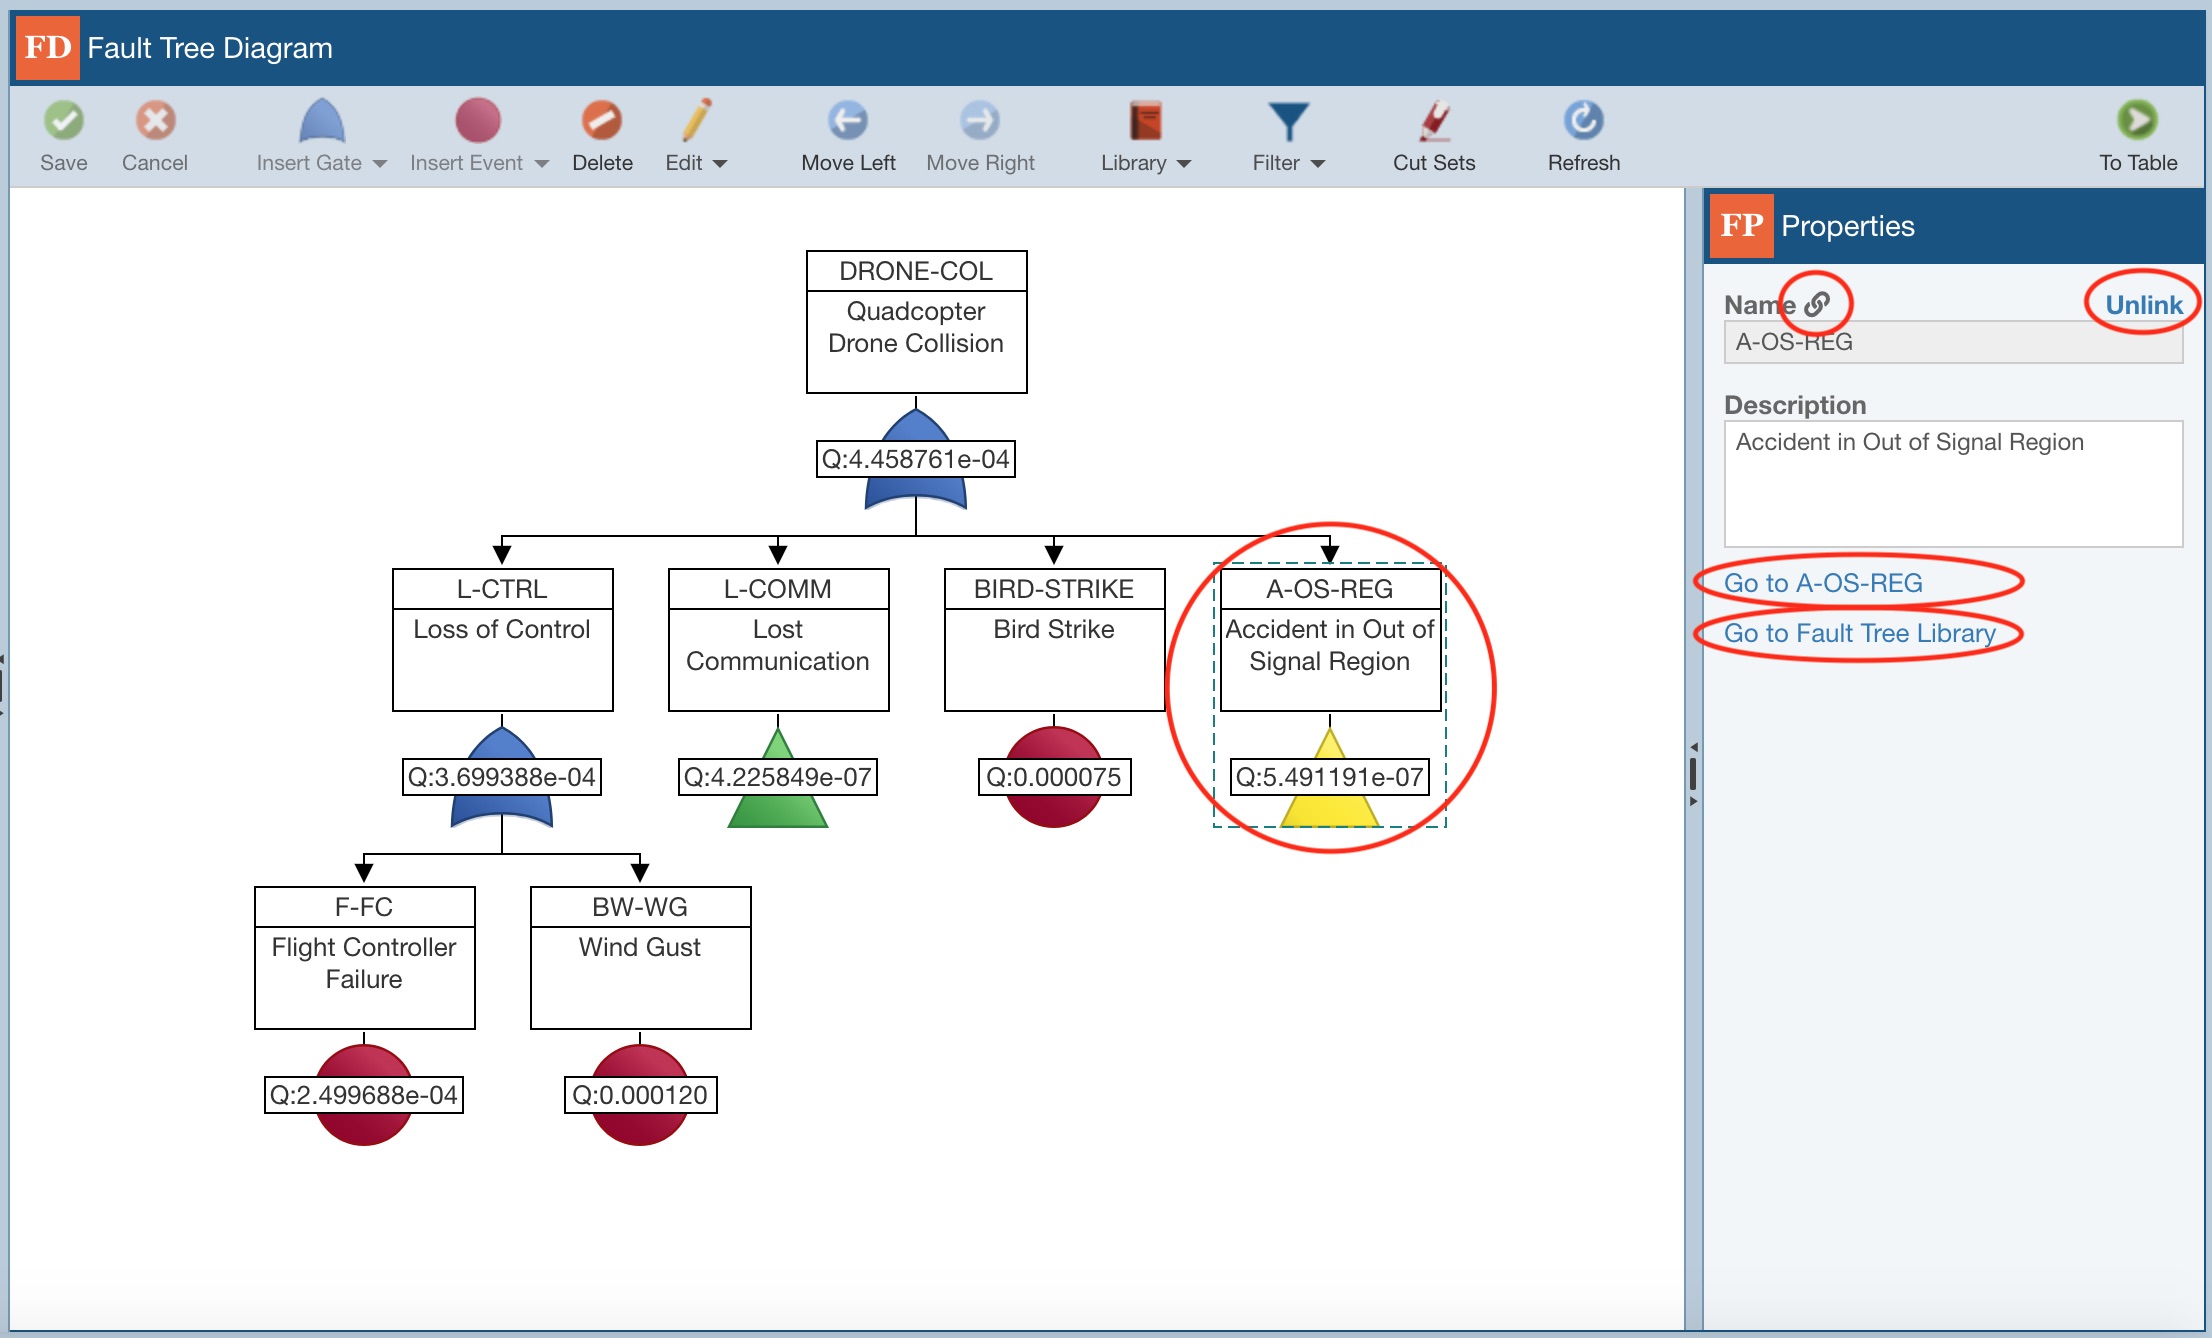
Note how it now shows the gate with a yellow triangle icon, indicating the details for the gate are stored in a Library and can be viewed on a separate page. Upon review of the Properties of the newly added gate from the Library, you will see it is noted as linked with the icon next to the Name. From the Properties, you can click Go to <Gate Name> to go and review the details for the gate. You can also click Go to Fault Tree Library to see the gate details in the Fault Tree Library, if needed. Click Unlink to remove the link between the gate in the Analysis and the stored gate in the Fault Tree Library; once unlinked, any updates made to the gate in the Fault Tree Library will not be applied to the gate in the Analysis when updates are pushed.
The steps above explain how to add a single fault tree or fault tree branch to a Fault Tree Library from within an Analysis. Note that you can also build a new Fault Tree Library to store all fault trees from the Analysis by using the Build Library option from the Libraries menu in the Sidebar. Building a Fault Tree Library with the selected fault tree in your Analysis is explained in the Building a Fault Tree Library from an Analysis topic of this guide.
Using the Fault Tree Library when performing Fault Tree Analysis
The power of the Fault Tree Library becomes apparent when you utilize it when performing your fault tree analysis. As you are working on your fault tree analysis, you can search the Fault Tree Library using the built-in search capabilities to locate fault trees stored in it and pull that data into your current fault tree analysis. As your Fault Tree Library grows, the effort required to build your Fault Trees is significantly reduced.
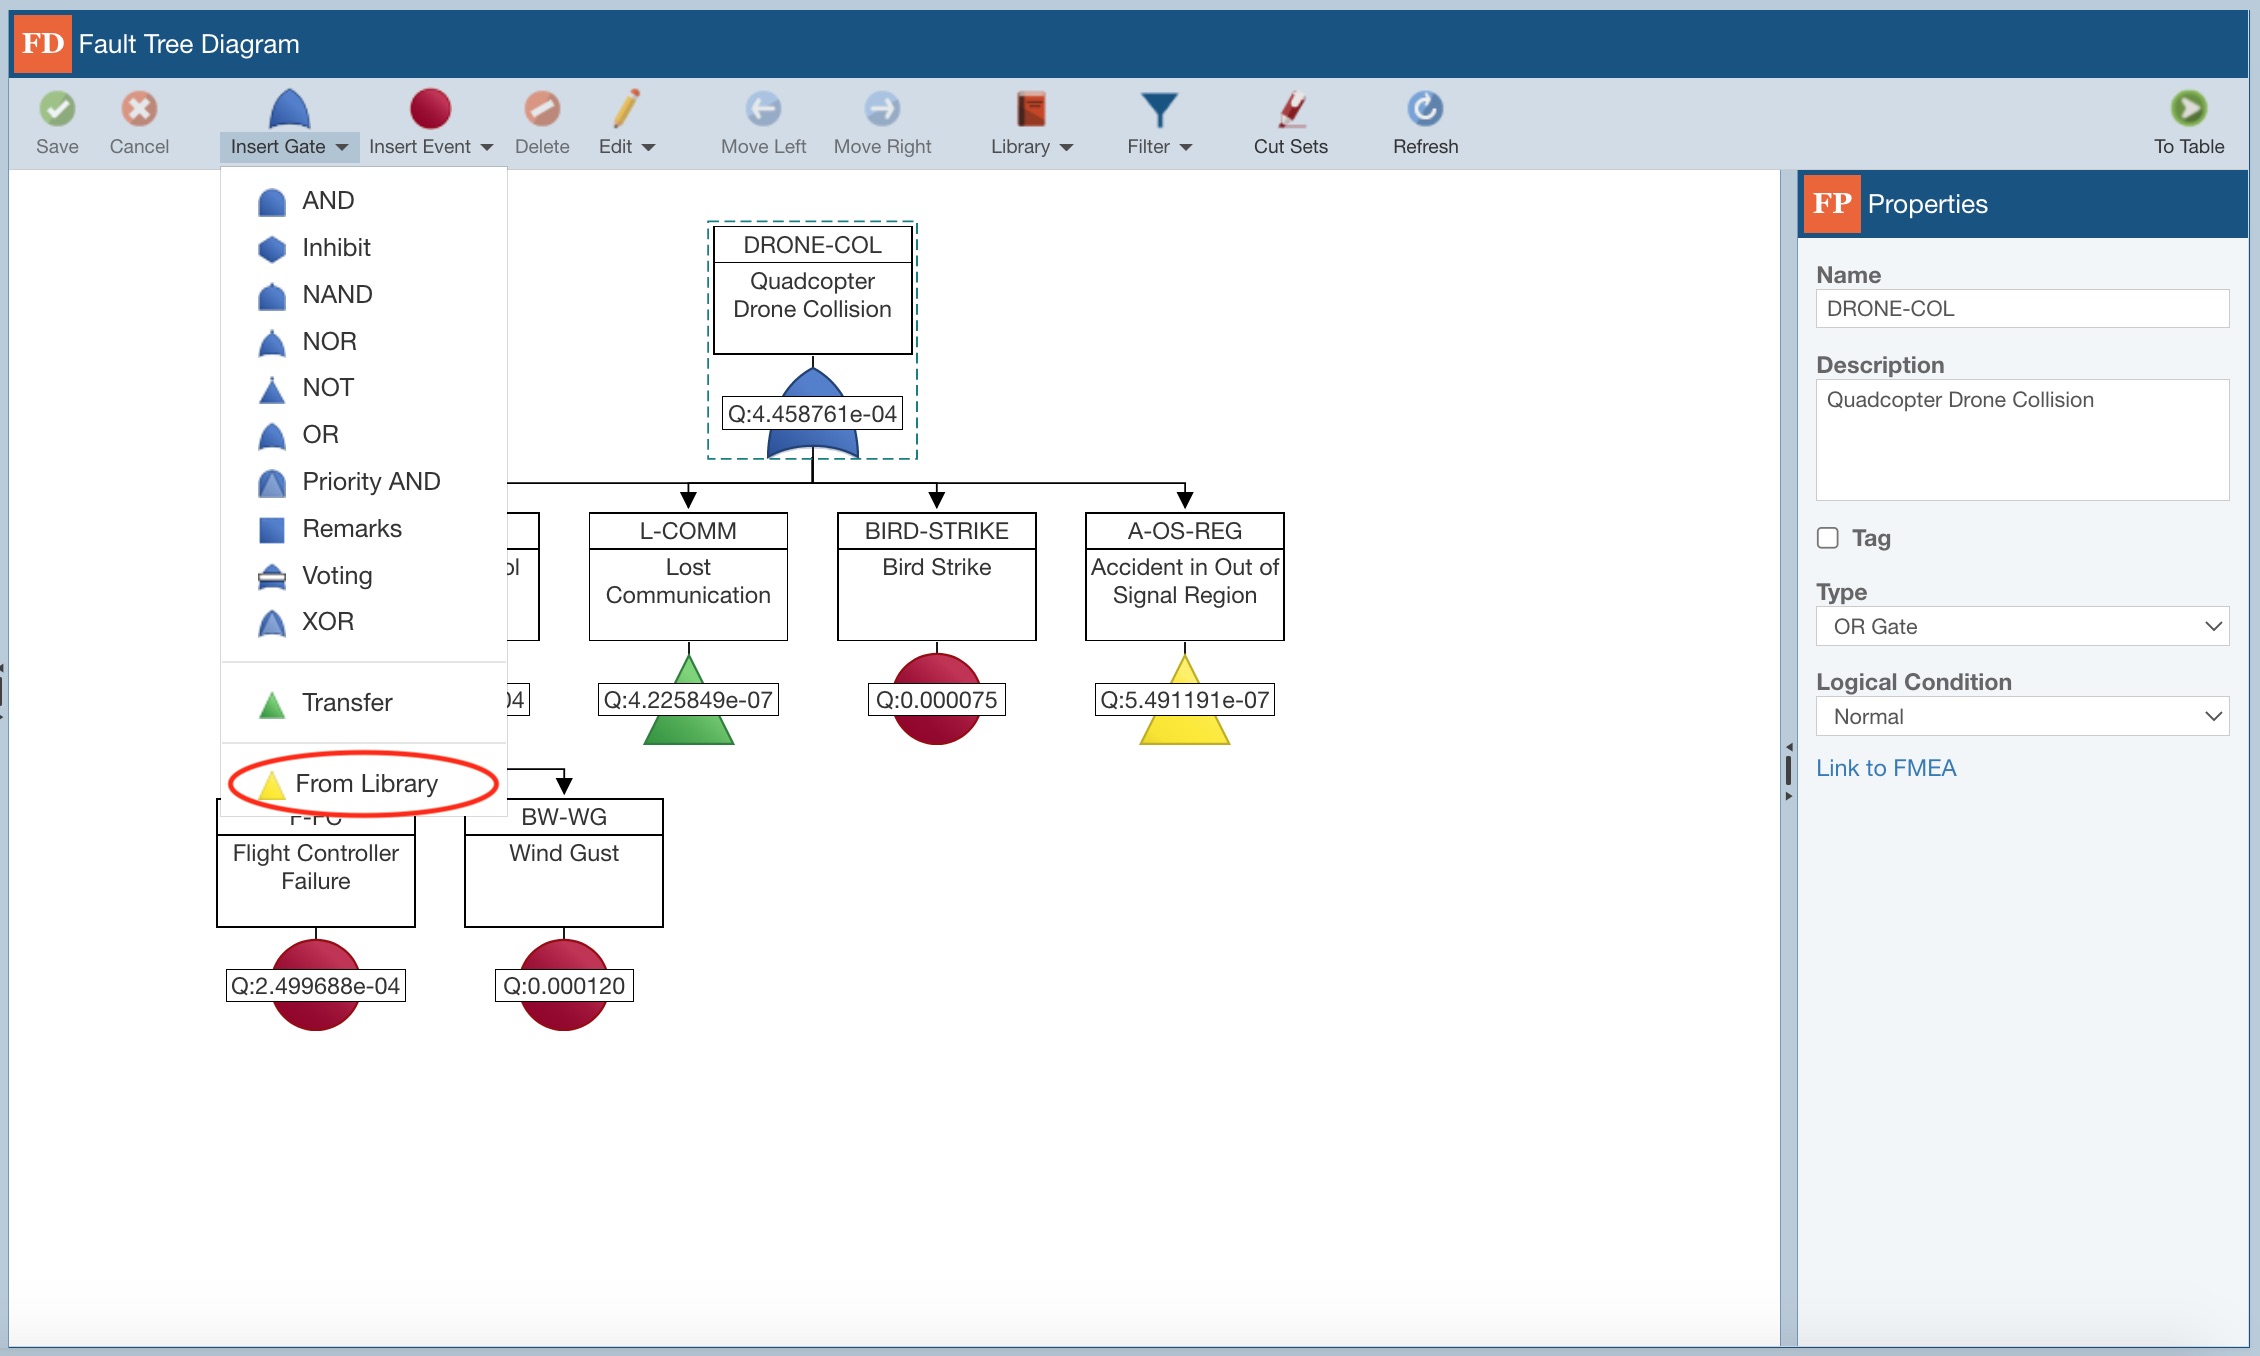
To search the Fault Tree Library while in your Fault Tree, select any gate where you wish to add a new branch and in the toolbar click the dropdown arrow next to Insert Gate and click From Library to search the Fault Tree Library.
The Search Fault Trees dialog appears.
You can perform a Fault Tree Library search using Name and/or Description.
In the Search dialog, enter in a portion of the text, or the full text, in the Name and/or Description fields. Click the Search button to start the Fault Tree Library search. The list of matches will appear in the table. The search results table includes other information: other related event data, the usage count (the number of times the particular event is used in your fault trees), and which Fault Tree Library the match is from. The table is sorted by Usage Count in descending order.
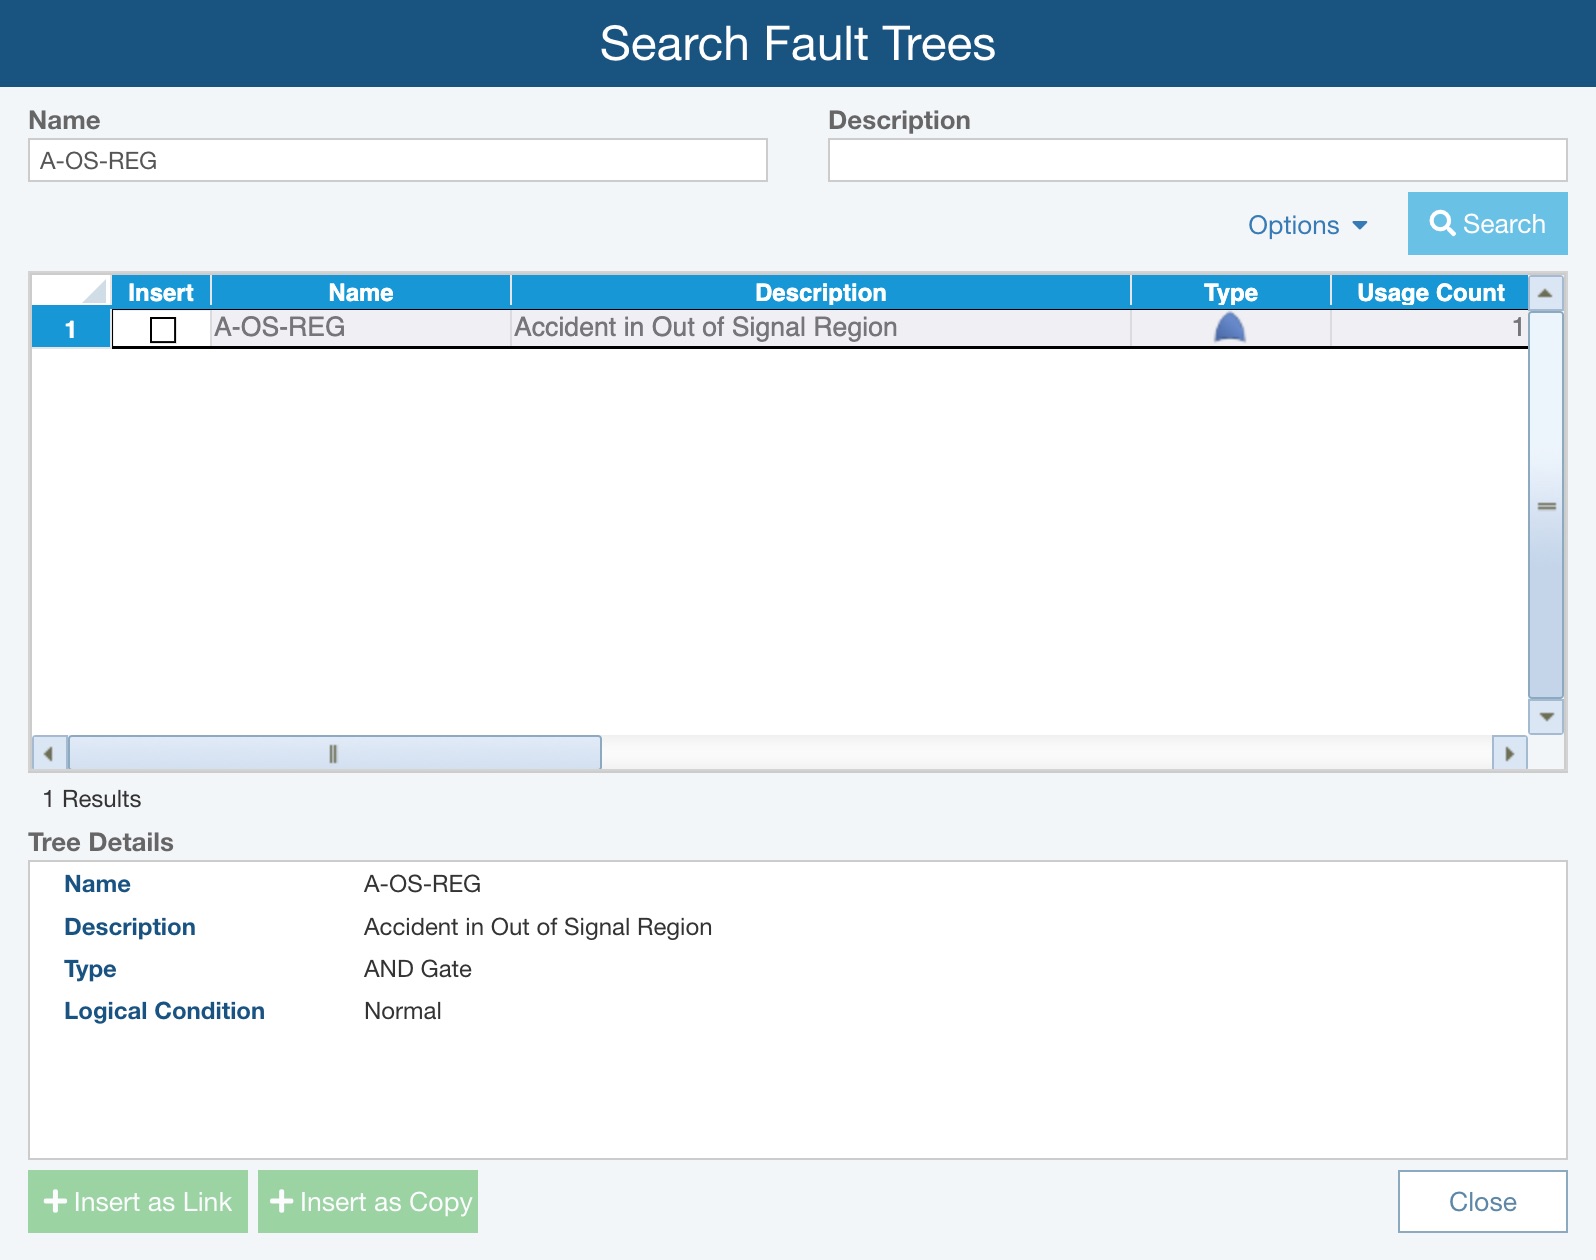
Select the fault tree or branch you wish to insert into your fault tree by selecting the Insert checkbox. Click the Insert button to insert the branch into your fault tree.
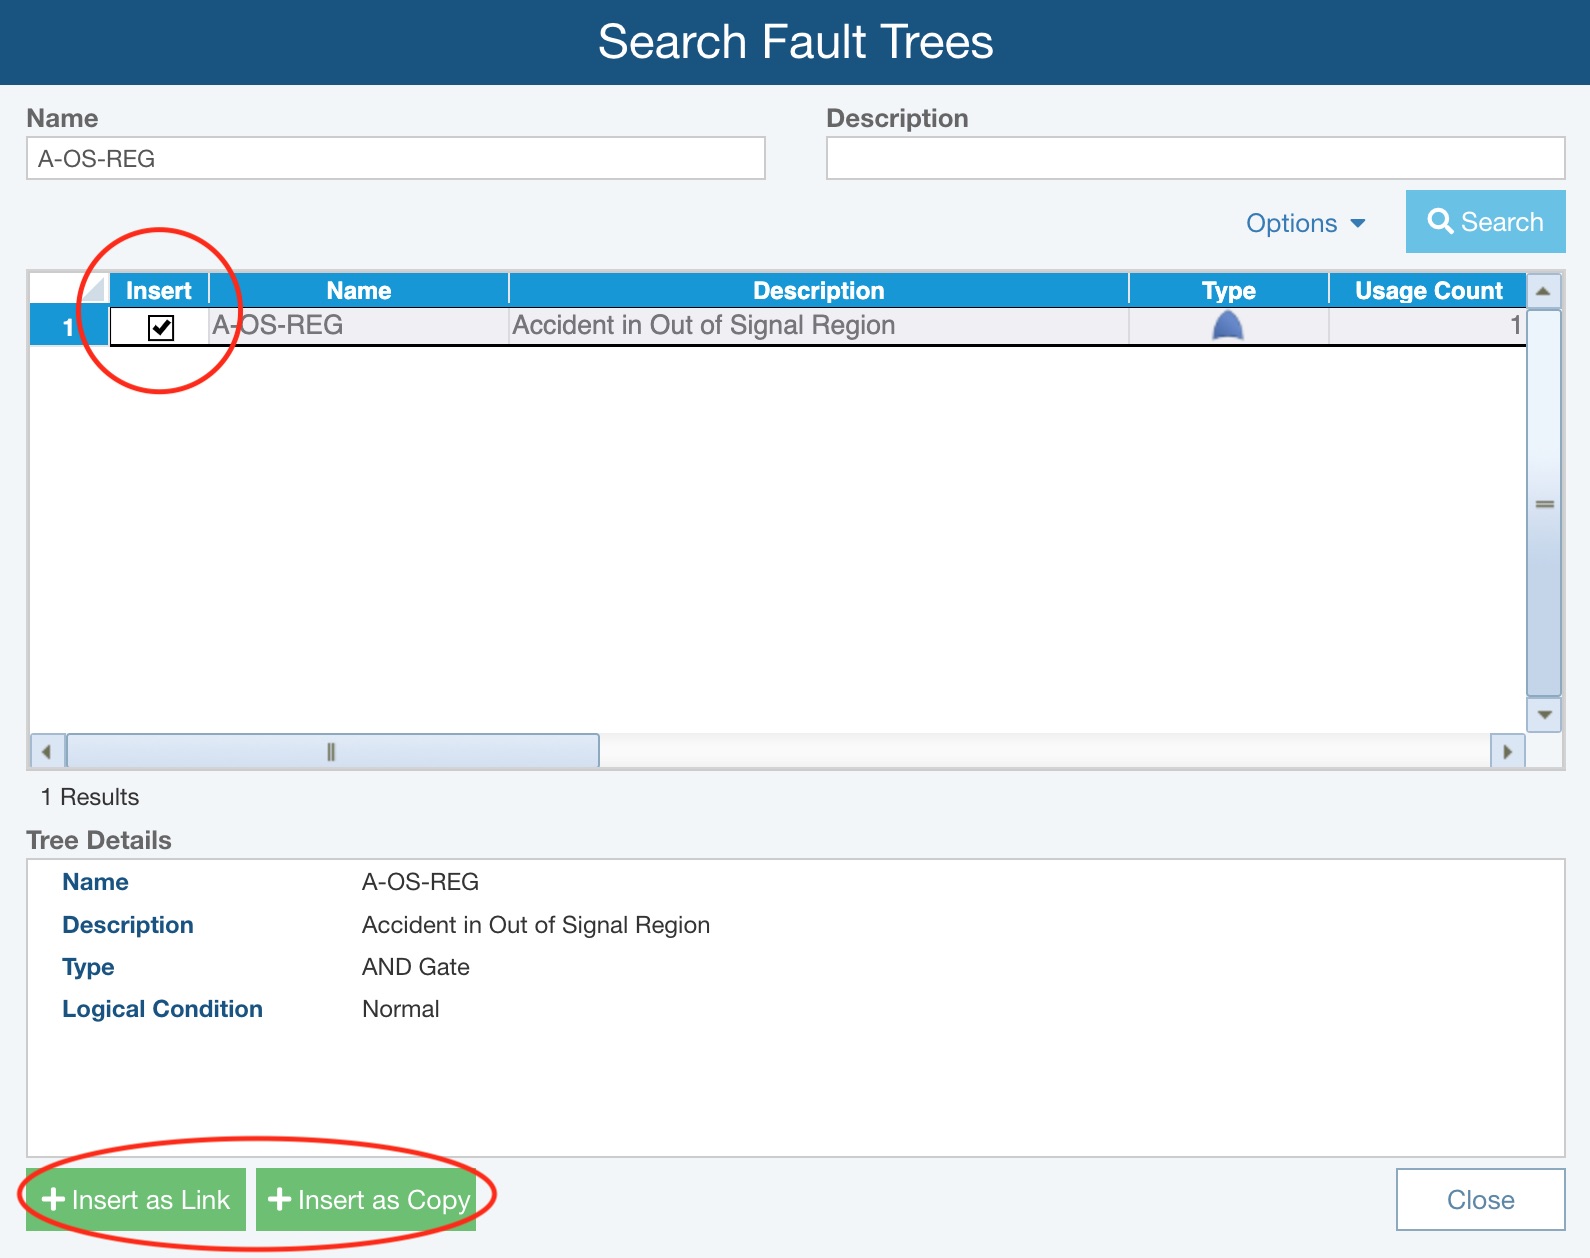
Click Insert as Copy if you want to insert the selected gate as a new gate which is not linked to the original gate in the Fault Tree Library.
Or, click Insert as Link if you want to insert the selected gate as a new gate linked to the original gate in the Fault Tree Library.
Click Close to close the Search Fault Trees dialog and return to the fault tree in the Analysis.
Upon review of the Properties of the newly added gate from the Library, you will see it is noted as linked with the icon next to the Name. It also shows the gate with a yellow triangle, indicating the details for the gate are stored in a Library and can be viewed on a separate page. From the Properties, you can click Go to <Gate Name> to go and review the details for the gate and you can also click Go to Fault Tree Library to see the gate details in the Fault Tree Library, if needed. Click Unlink to remove the link between the gate in the Analysis and the stored gate in the Fault Tree Library; once unlinked, any updates made to the gate in the Fault Tree Library will not be applied to the gate in the Analysis when updates are pushed.
Pushing out Fault Tree Library updates
Another powerful feature of Fault Tree Libraries is in keeping all your fault tree data tied to the Fault Tree Library in sync. For example, you may have a fault tree or branch in the Fault Tree Library that is used in multiple places in one or more Analyses. If any data, for example, changes for that fault tree, you can change the data once in the Fault Tree Library and use the Fault Tree Library Push feature to propagate that change to all uses of fault tree in all applicable Analyses.
You manage the Push function, so you are in control of how and when the updates are made to your fault trees. For example, you may want to let your teammates know about a data push prior to initiating. Or, you may want to only push the changes at certain times, perhaps weekly or monthly.
To perform a push, open the Fault Tree Library where changes have been made and click Push from the toolbar.
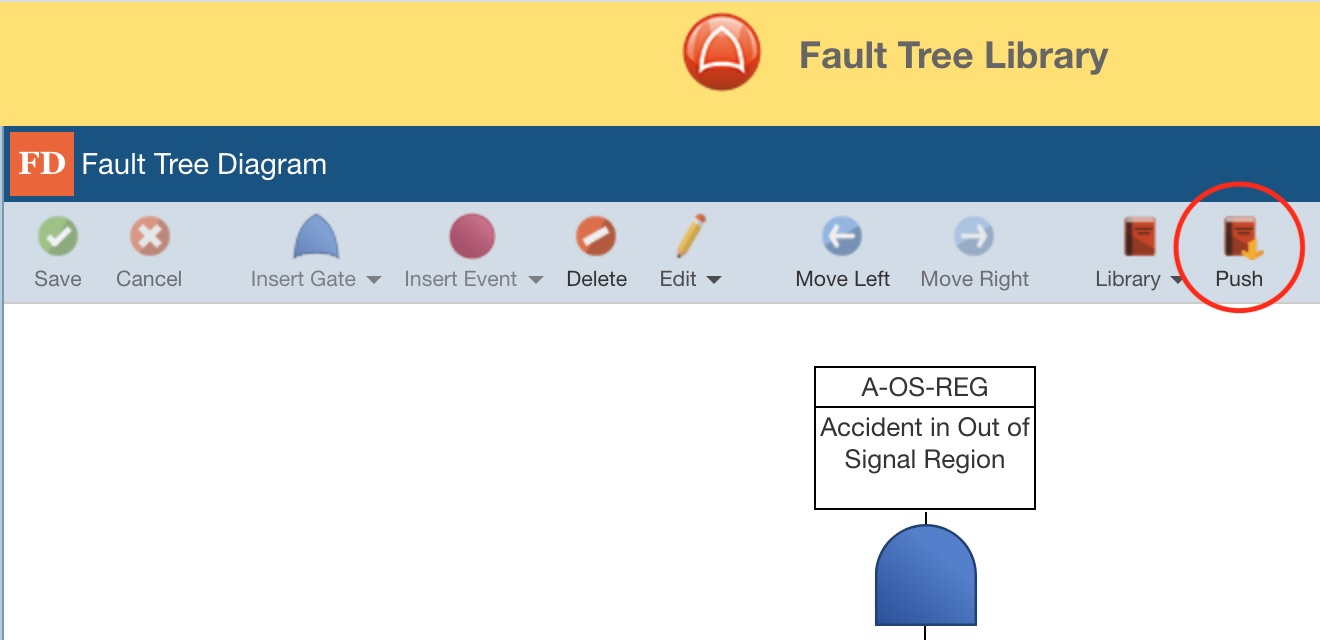
The Push Library Changes dialog appears.
If there are no changes to be pushed, the dialog will indicate this. In this case, click the Close button to close the dialog.
Otherwise, the dialog will display a list of all the Analyses, Revisions, and Libraries that will be updated. Review the list and select or deselect the Analyses, Revisions, and Fault Tree Libraries which should be updated by the Push.
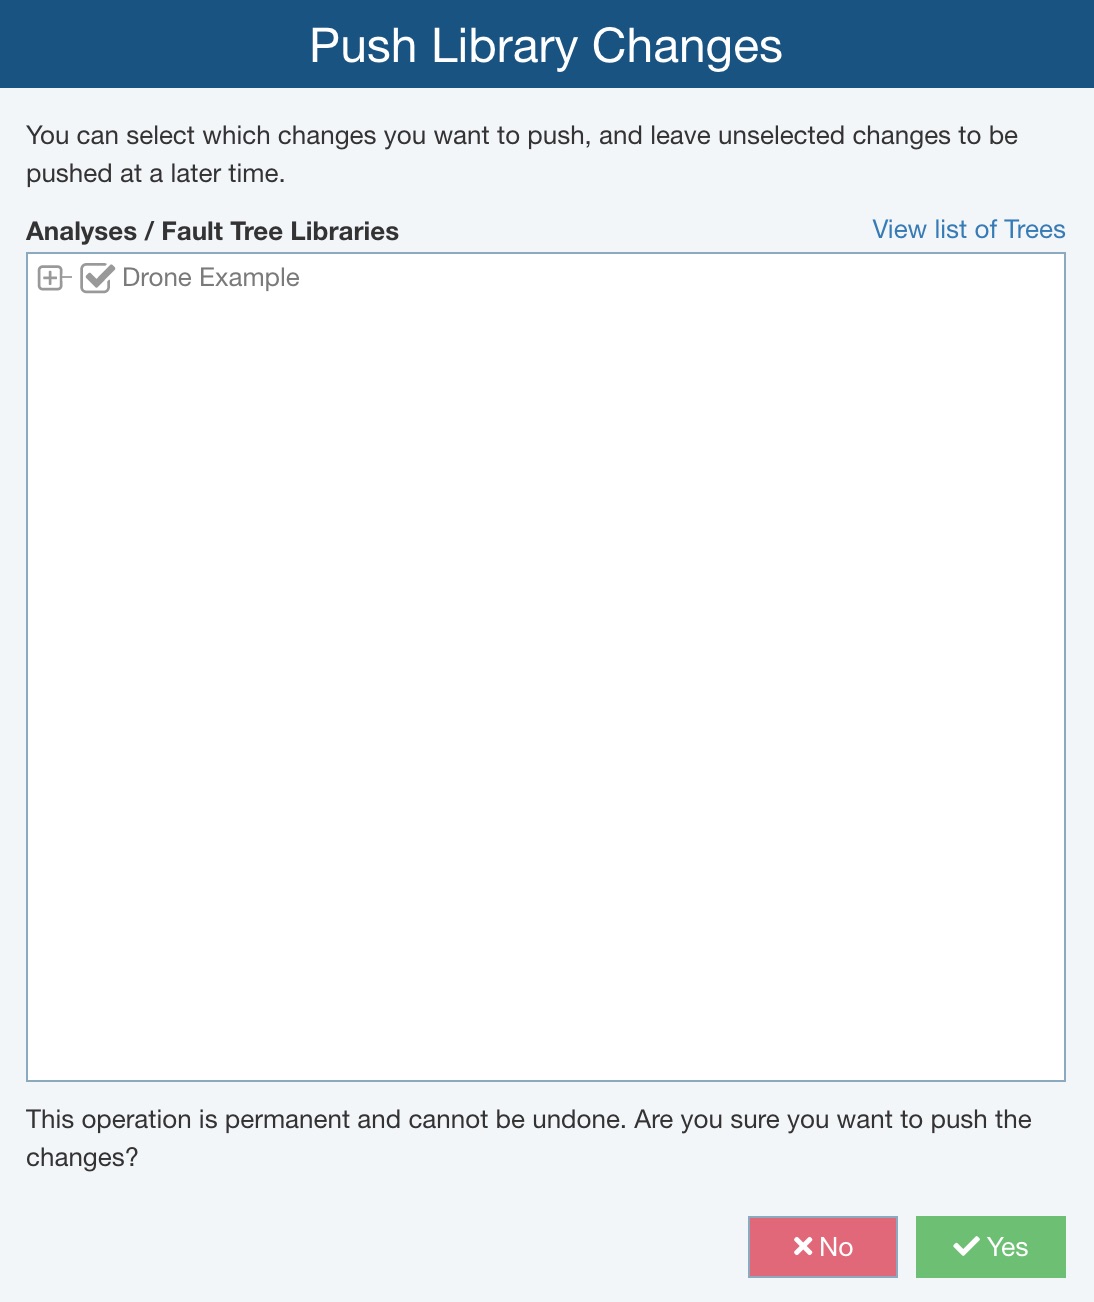
When you want to proceed and complete the Push, click Yes, otherwise click No to return to the library.
All updates to your fault trees tied to Fault Tree Library information will automatically be made.
Once the Push is complete, the Push Library Changes dialog appears.
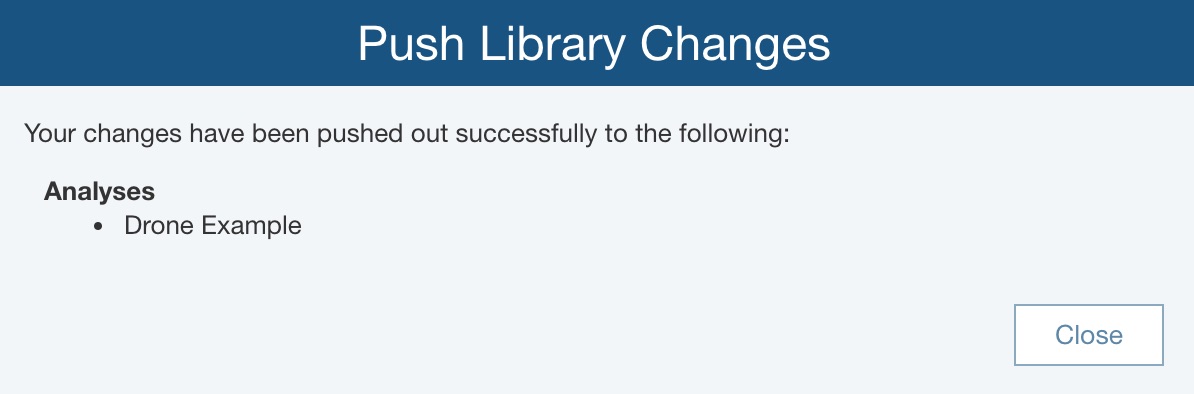
You can review where changes were made in any Analysis, Revision and Fault Tree Library. When you have completed reviewing, click Close to close the dialog.
Click Back to Analysis in the Sidebar menu to return to your Analysis.
Viewing data ties to Fault Tree Libraries
You can view usage of Fault Tree Library data at any time by opening the Fault Tree Library, selecting a fault tree, and clicking View Usage from the Library toolbar button drop down list.
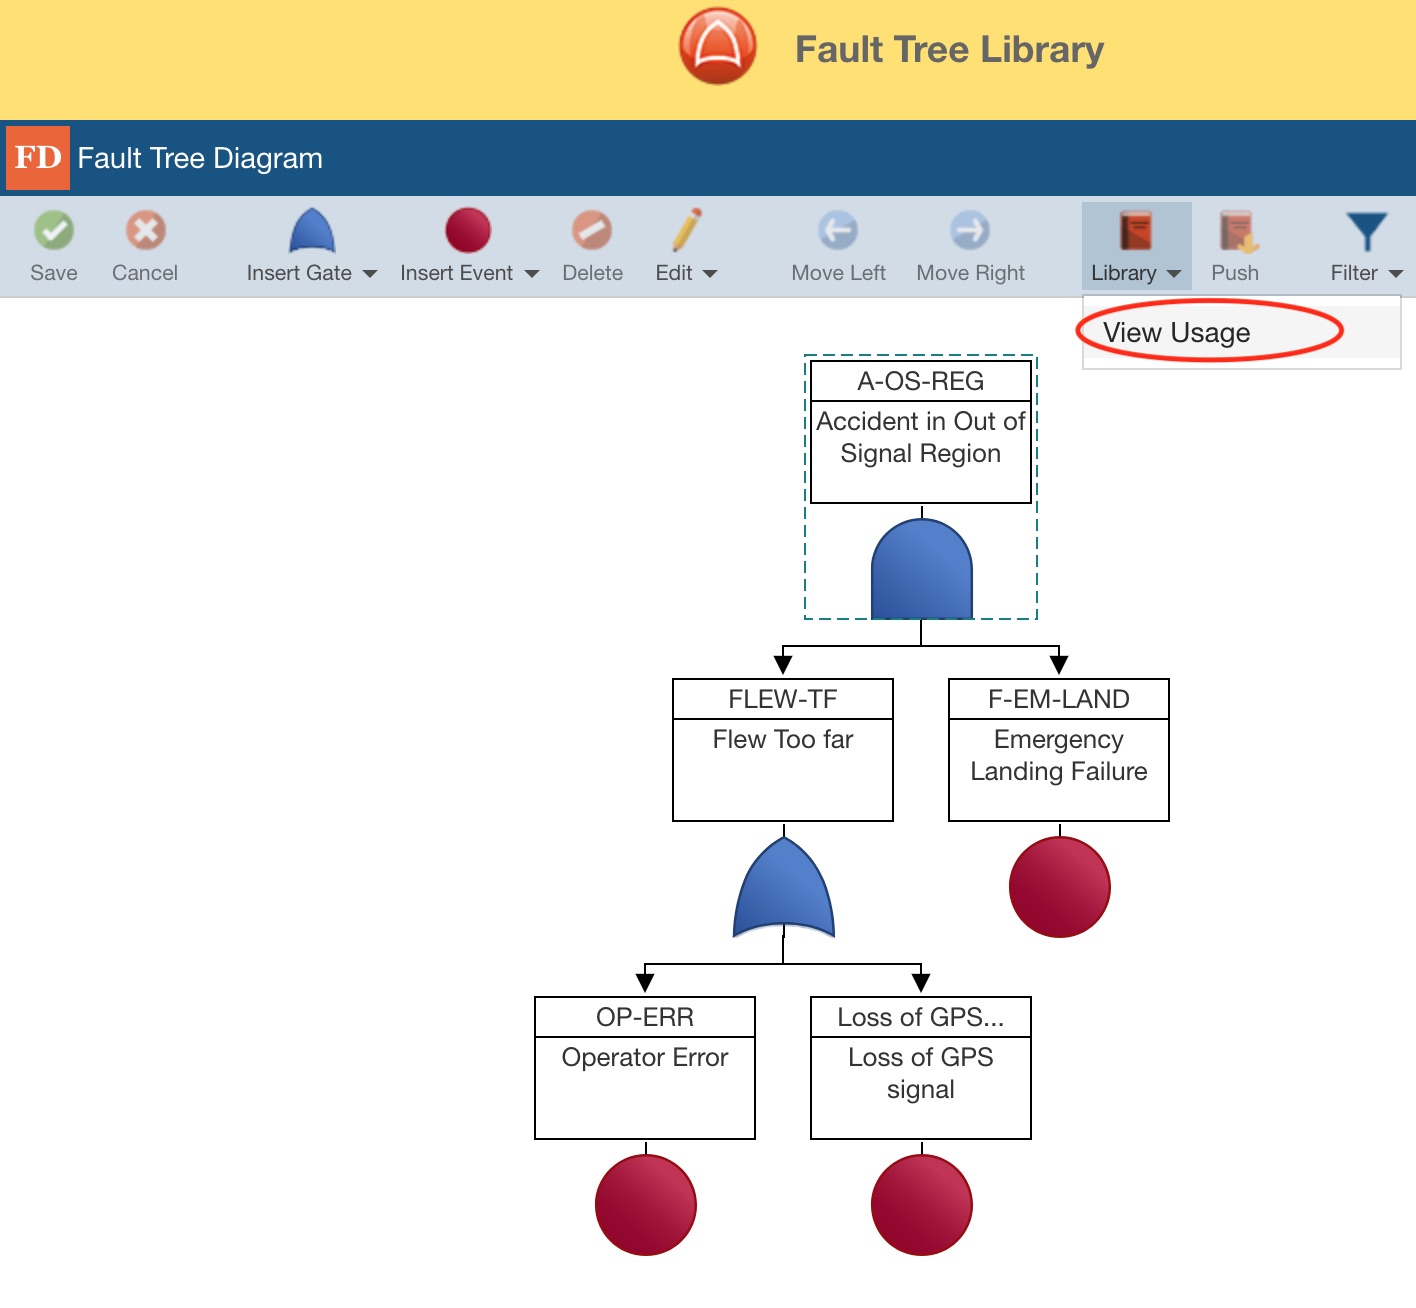
The Library Usage dialog appears with the list of Analyses where the fault trees from this Fault Tree Library are used.
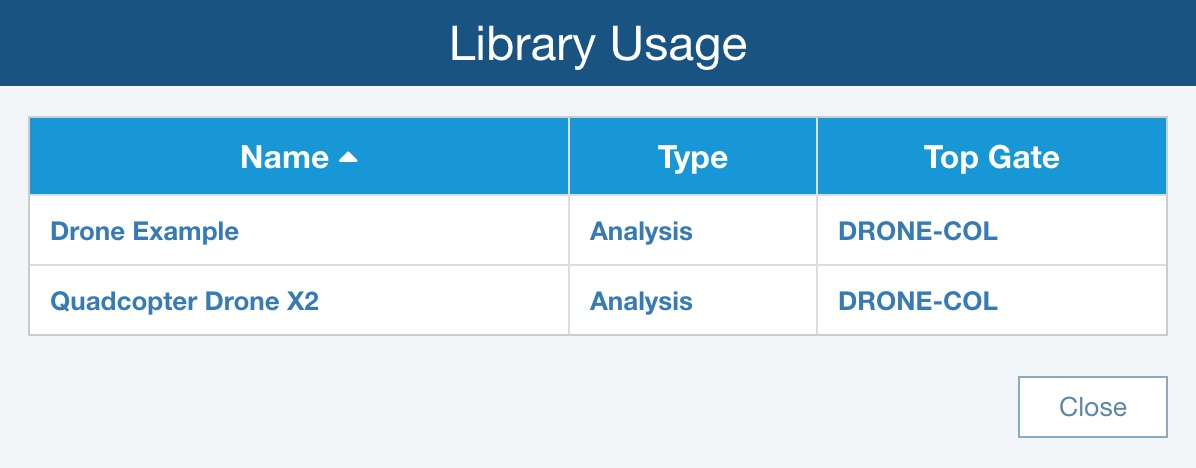
Click Close when finished viewing.
Creating Multiple Fault Tree Libraries
Relyence will create and maintain a single Fault Tree Library for you. You can rename this Fault Tree Library, or create additional Fault Tree Libraries using the Manage Analyses function which appears in the Account Management dropdown menu in the upper right of the Header Bar.
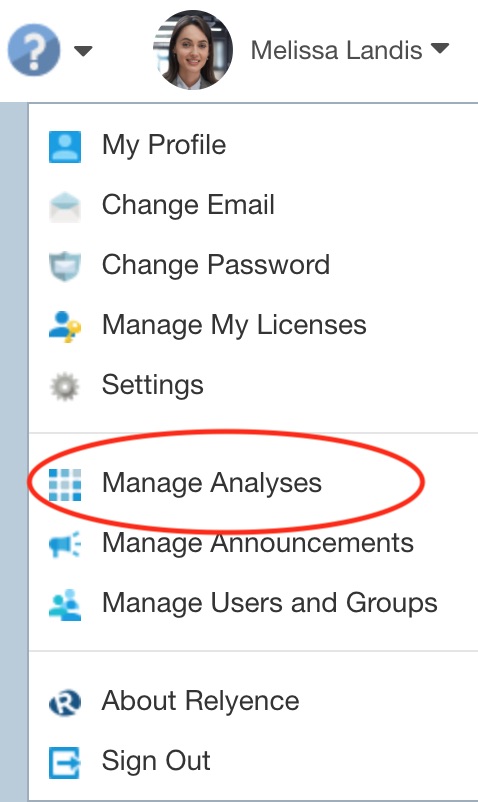
For more details, see the Using the Manage Analyses Function topic of this guide.
New Fault Tree Libraries can also be created from the View All dialog; for more details, see the Using the View All Function topic of this guide.