Using the View All Function
The View All function enables you to view and open all of your Analyses, Revisions, Example Analyses, Dashboards, Knowledge Banks and Libraries. You can also create new Analyses, Analysis Revisions, Dashboards, Knowledge Banks, and Libraries. Depending on the item selected, you may also be able to edit it, create a duplicate, send it to the Trash or delete it.
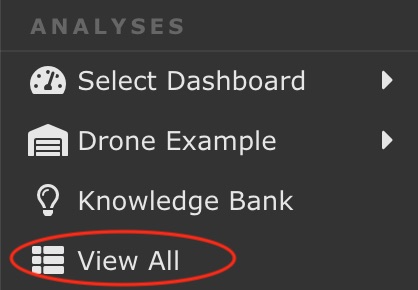
To access the View All function, click View All from the Sidebar menu.
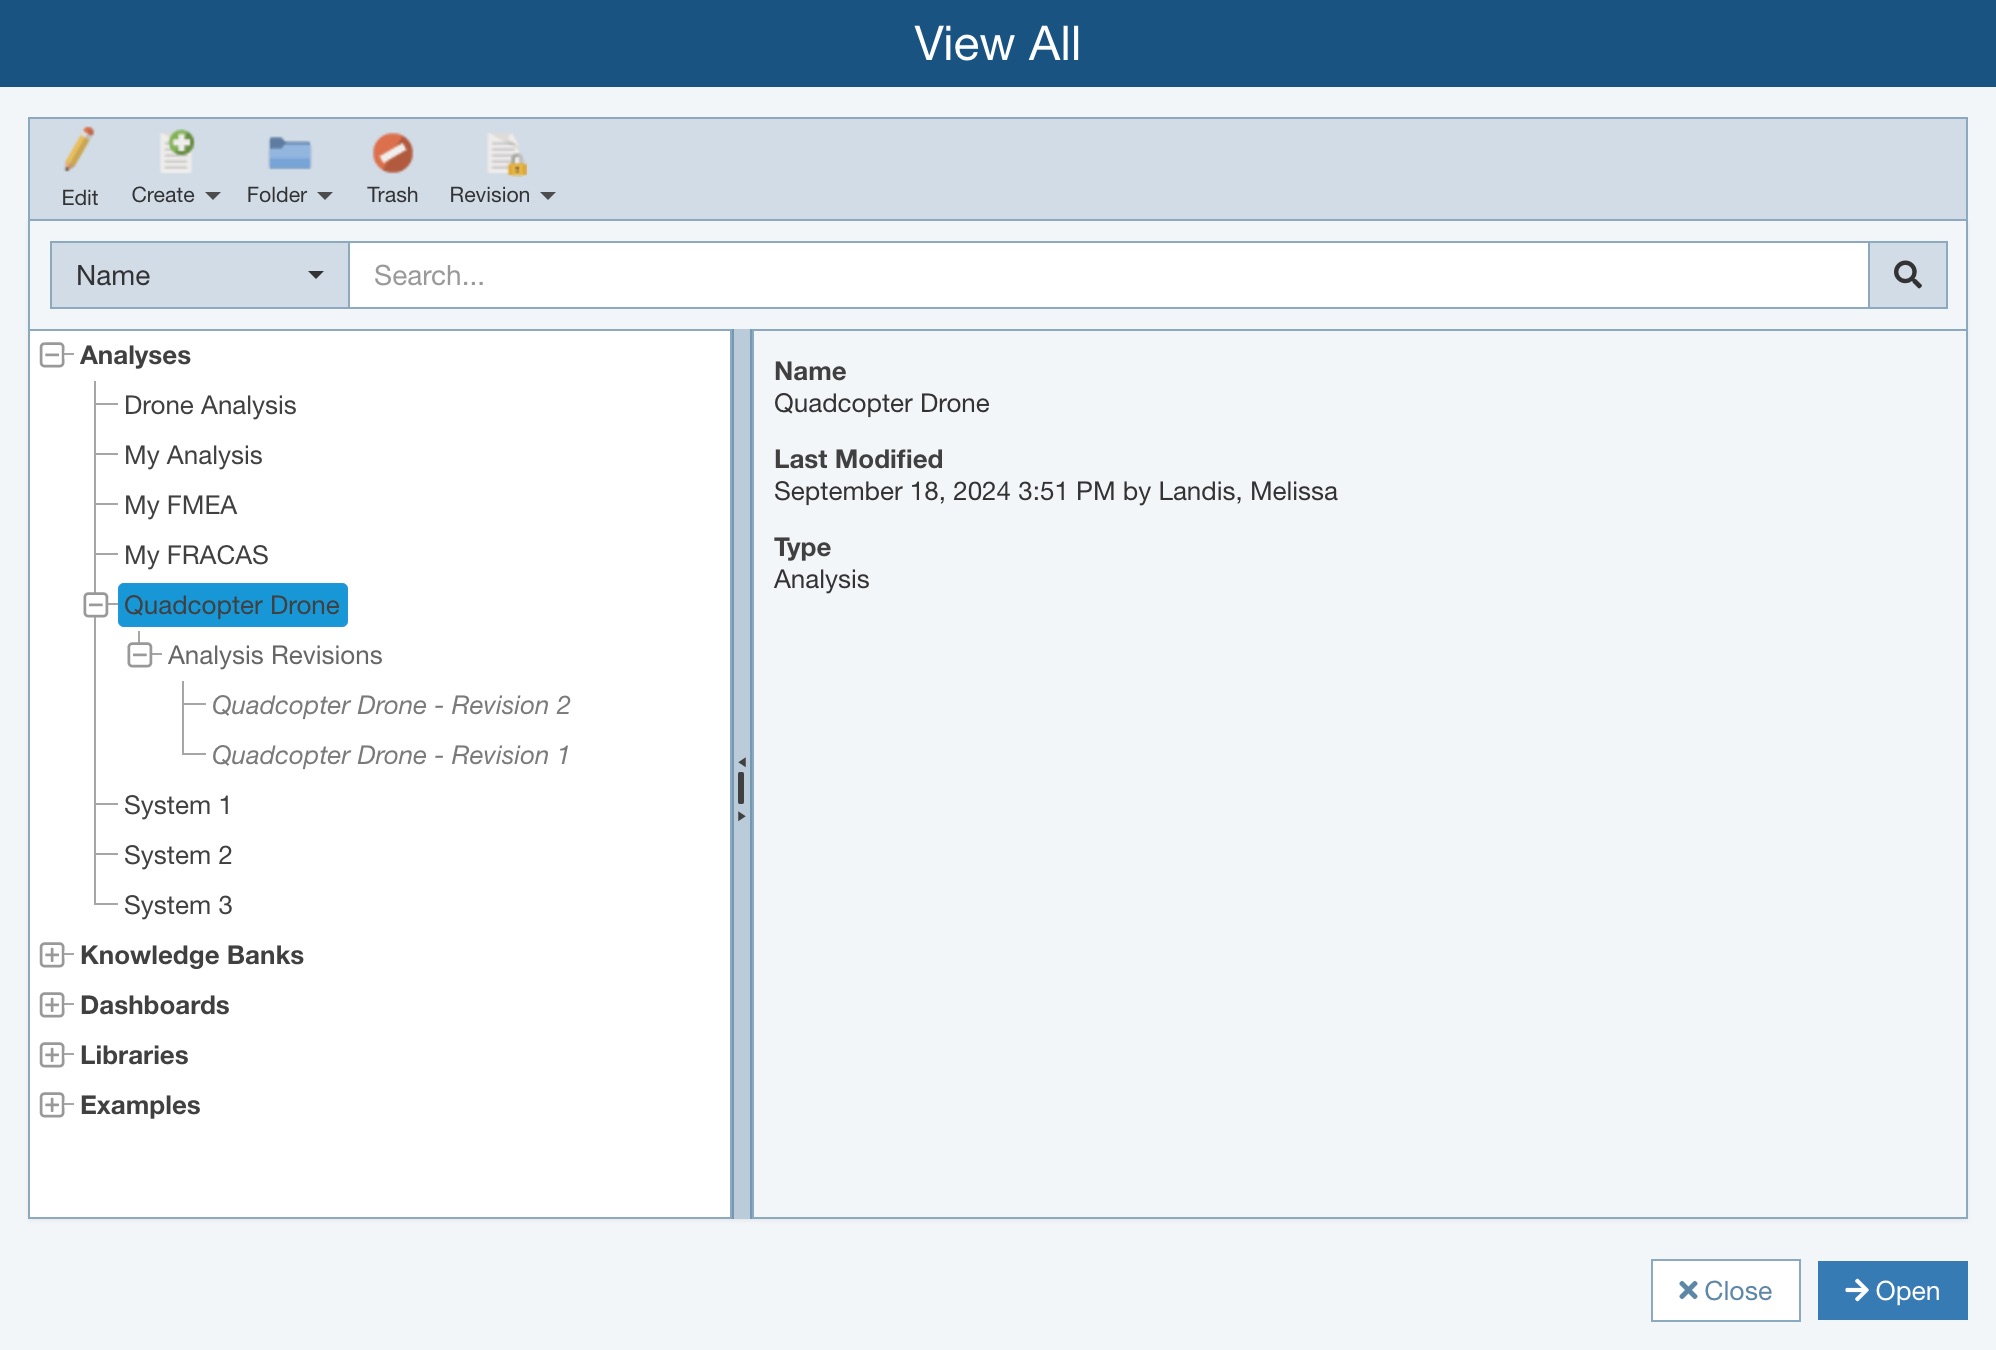
The View All dialog appears.
Note: If you have custom Analysis Categories, your View All dialog will appear with an extra pane on the left. For additional details, see the Using Analysis Categories on the View All Dialog section of Customizing Analysis Categories. If you have custom Folders, they will appear in the left-most pane. For additional details about Folders, see Using Folders.
You can expand and collapse the items in the tree navigation pane.
Revisions are always shown below their associated original Analysis. Revisions can be full Analysis Revisions or Analysis Tree Revisions. For more detail about Analysis Revisions, see Managing Revisions. For more details about Analysis Tree Revisions, see FMEA Analysis Tree Revisions, Reliability Prediction Analysis Tree Revisions, or Maintainability Prediction Analysis Tree Revisions.
Select an item in the tree to view its Properties in the right pane.
Depending on the selected item, you can:
- Open an item by selecting it in the tree navigation pane and clicking the Open button in the bottom right corner of the dialog.
- Edit Properties by selecting the item in the tree navigation pane and clicking the Edit button in the toolbar.
- Use the options via the Create button on the toolbar to:
- Create a new Analysis (Create>New).
- Create a duplicate of an Analysis (Create>Duplicate).
- Create a new Dashboard (Create>New).
- Create a duplicate of a Dashboard (Create>Duplicate).
- Create a new Knowledge Bank (Create>New).
- Create a new Library (Create>New).
- Create a new Example Analysis (Create>New).
- Create a duplicate of an Example Analysis (Create>Duplicate).
- Create a new Example Dashboard (Create>New).
- Create a duplicate of an Example Dashboard (Create>Duplicate).
- Use the options from the Folder button to create a Folder or move an item to a Folder. See Using Folders for more details about Folders.
- Move any Analysis to the Trash using the Trash button. Note that the Trash button will be disabled if the selected Analysis is set as Read-only for Users in your Group via Access Control settings.
- Use the options via the Revision button on the toolbar to:
- Create a revision of an Analysis (Revision>New).
- Create a summary report of Analysis Revisions (Revision>Summary Report).
- Create a new Analysis from a Revision (Revision>Create Analysis from Revision).
- Delete any non-Analysis item using the Delete button where applicable.
For more details on each of these functions, see the Managing Analyses topic and its subtopics or the Managing Revisions topic and its subtopics.
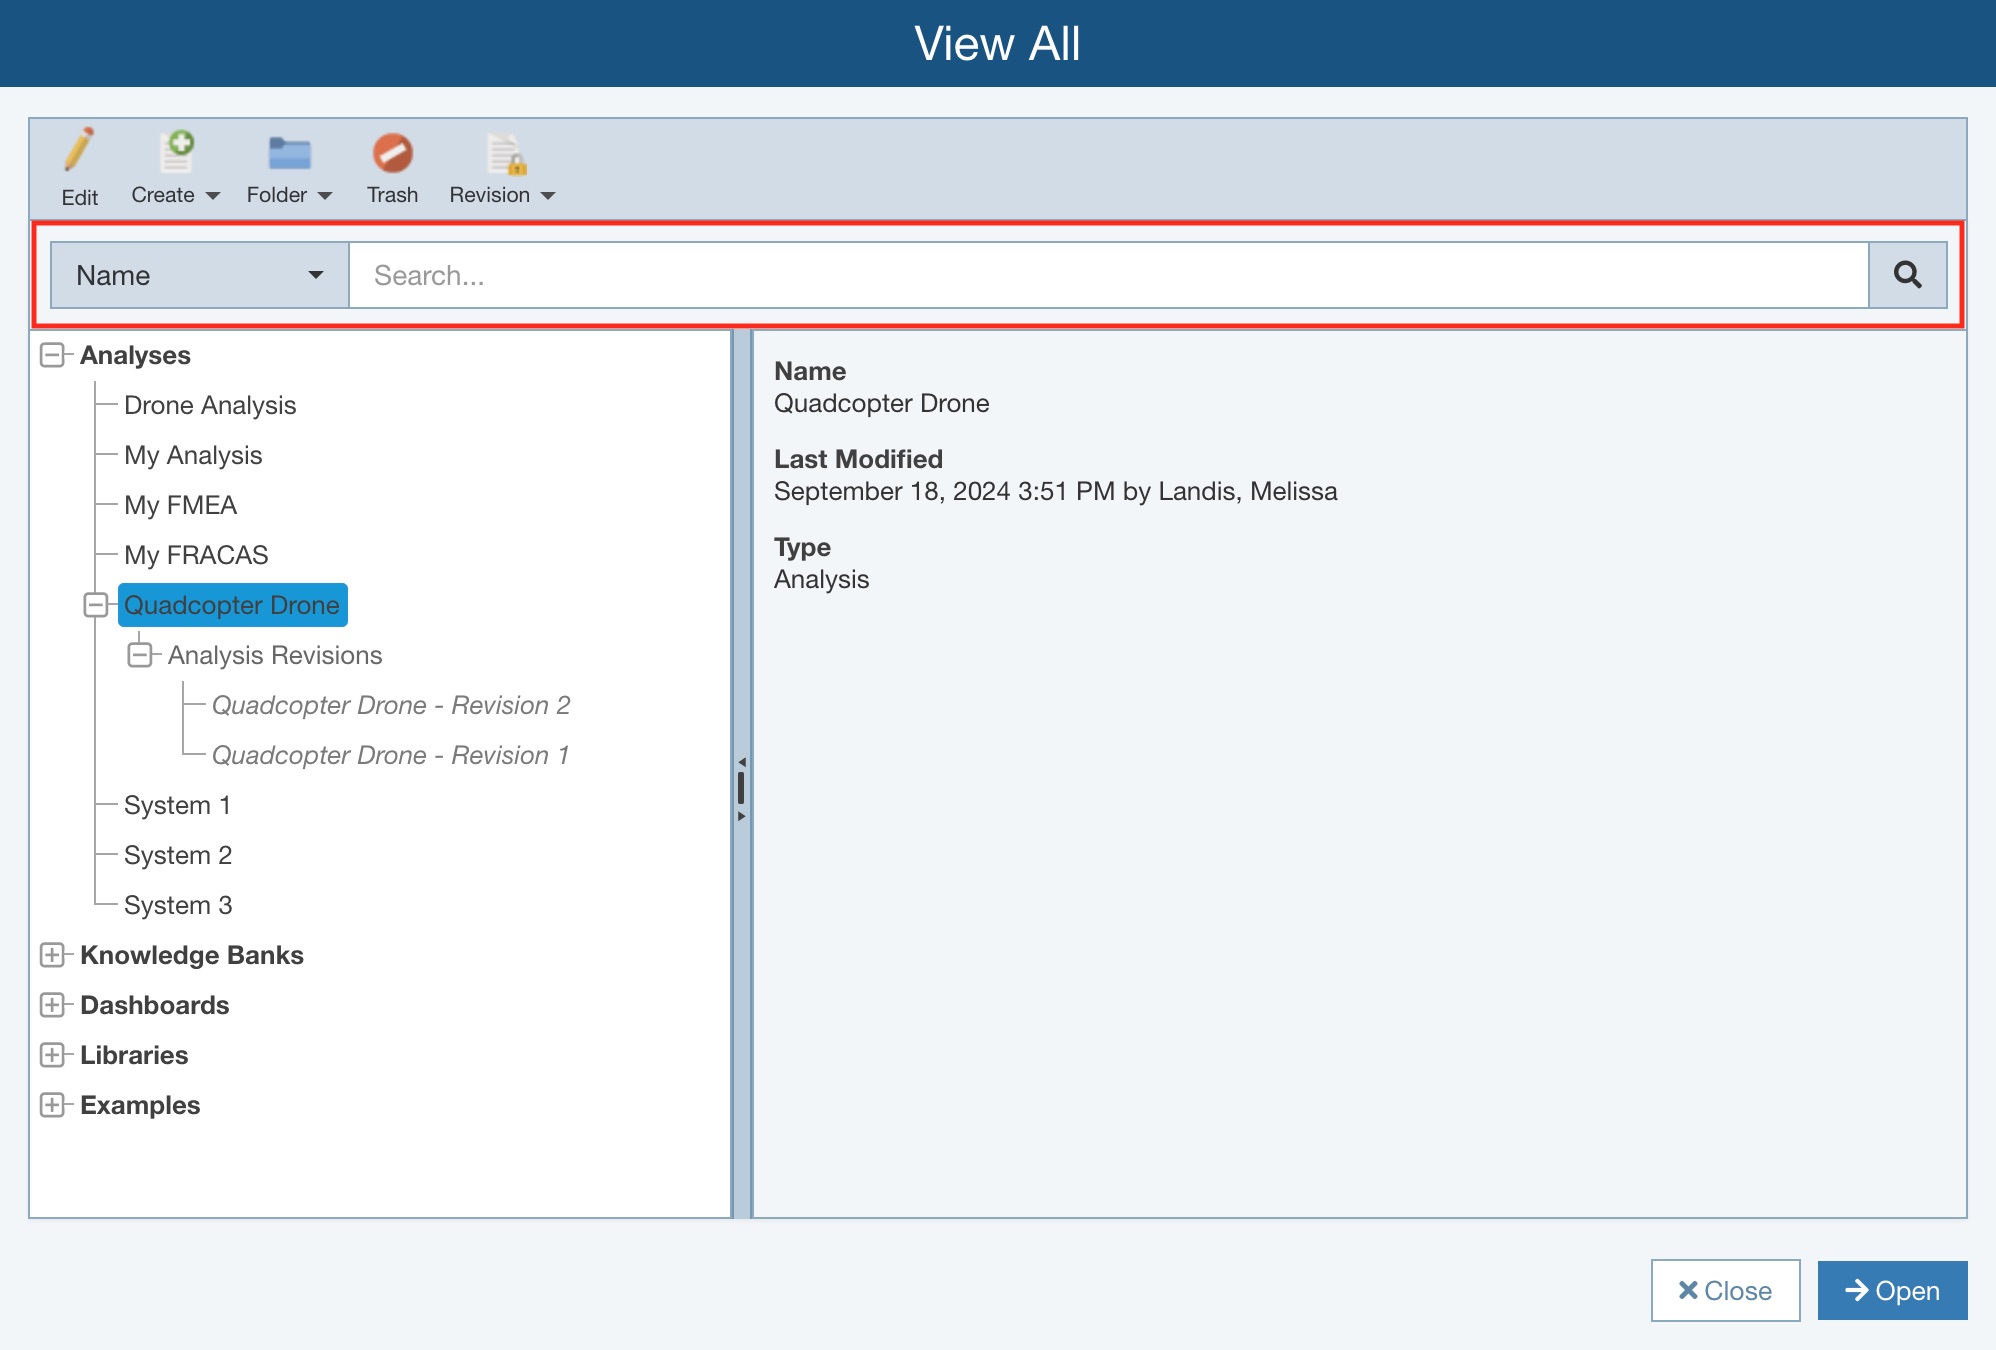
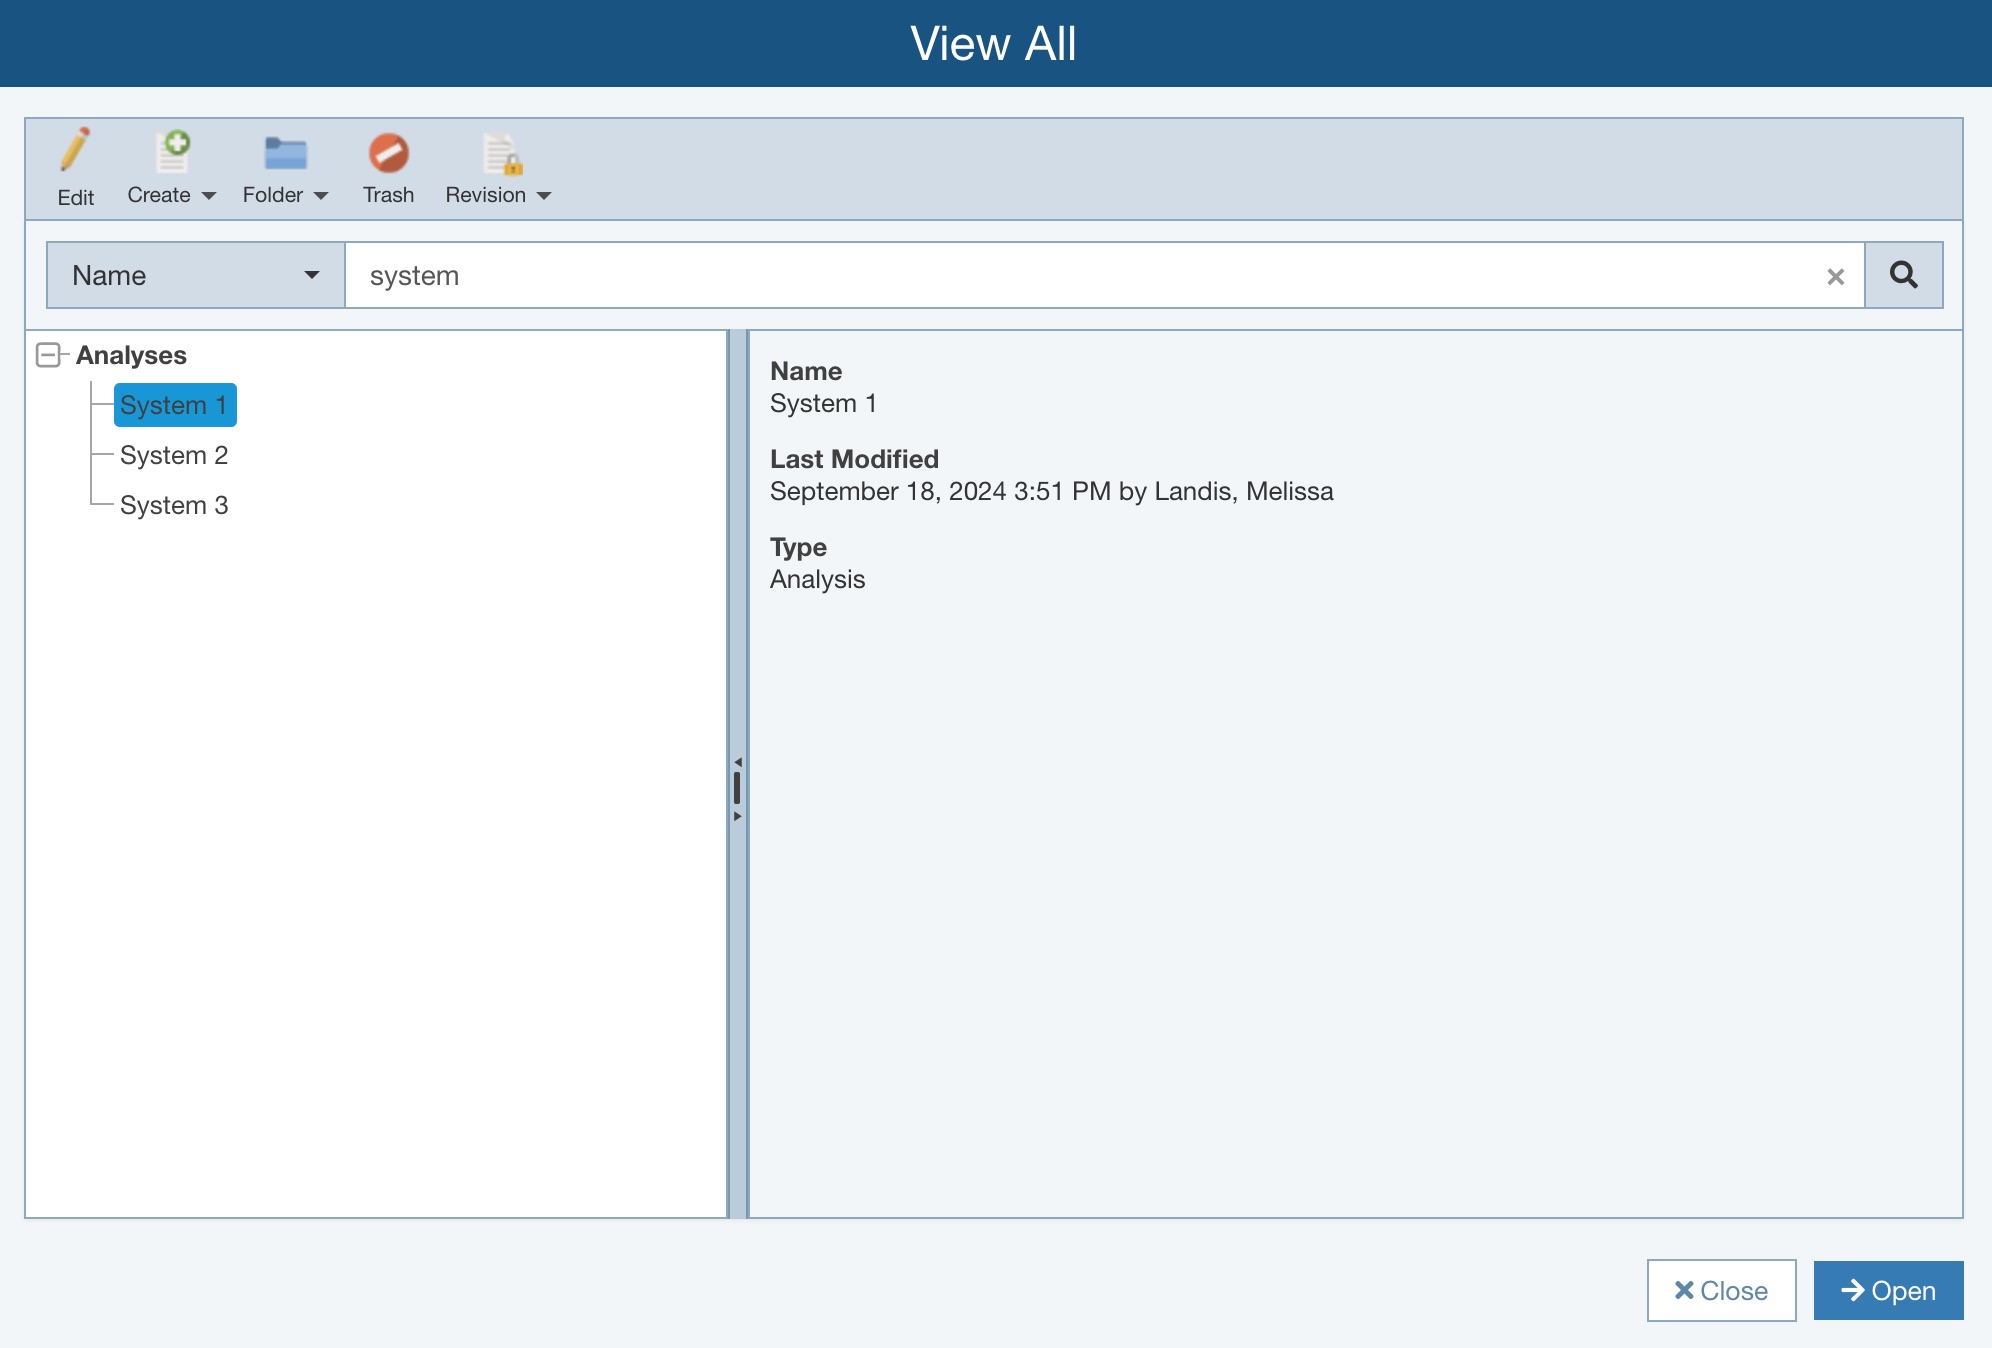
You can also search for specific items using the Find function just below the toolbar.
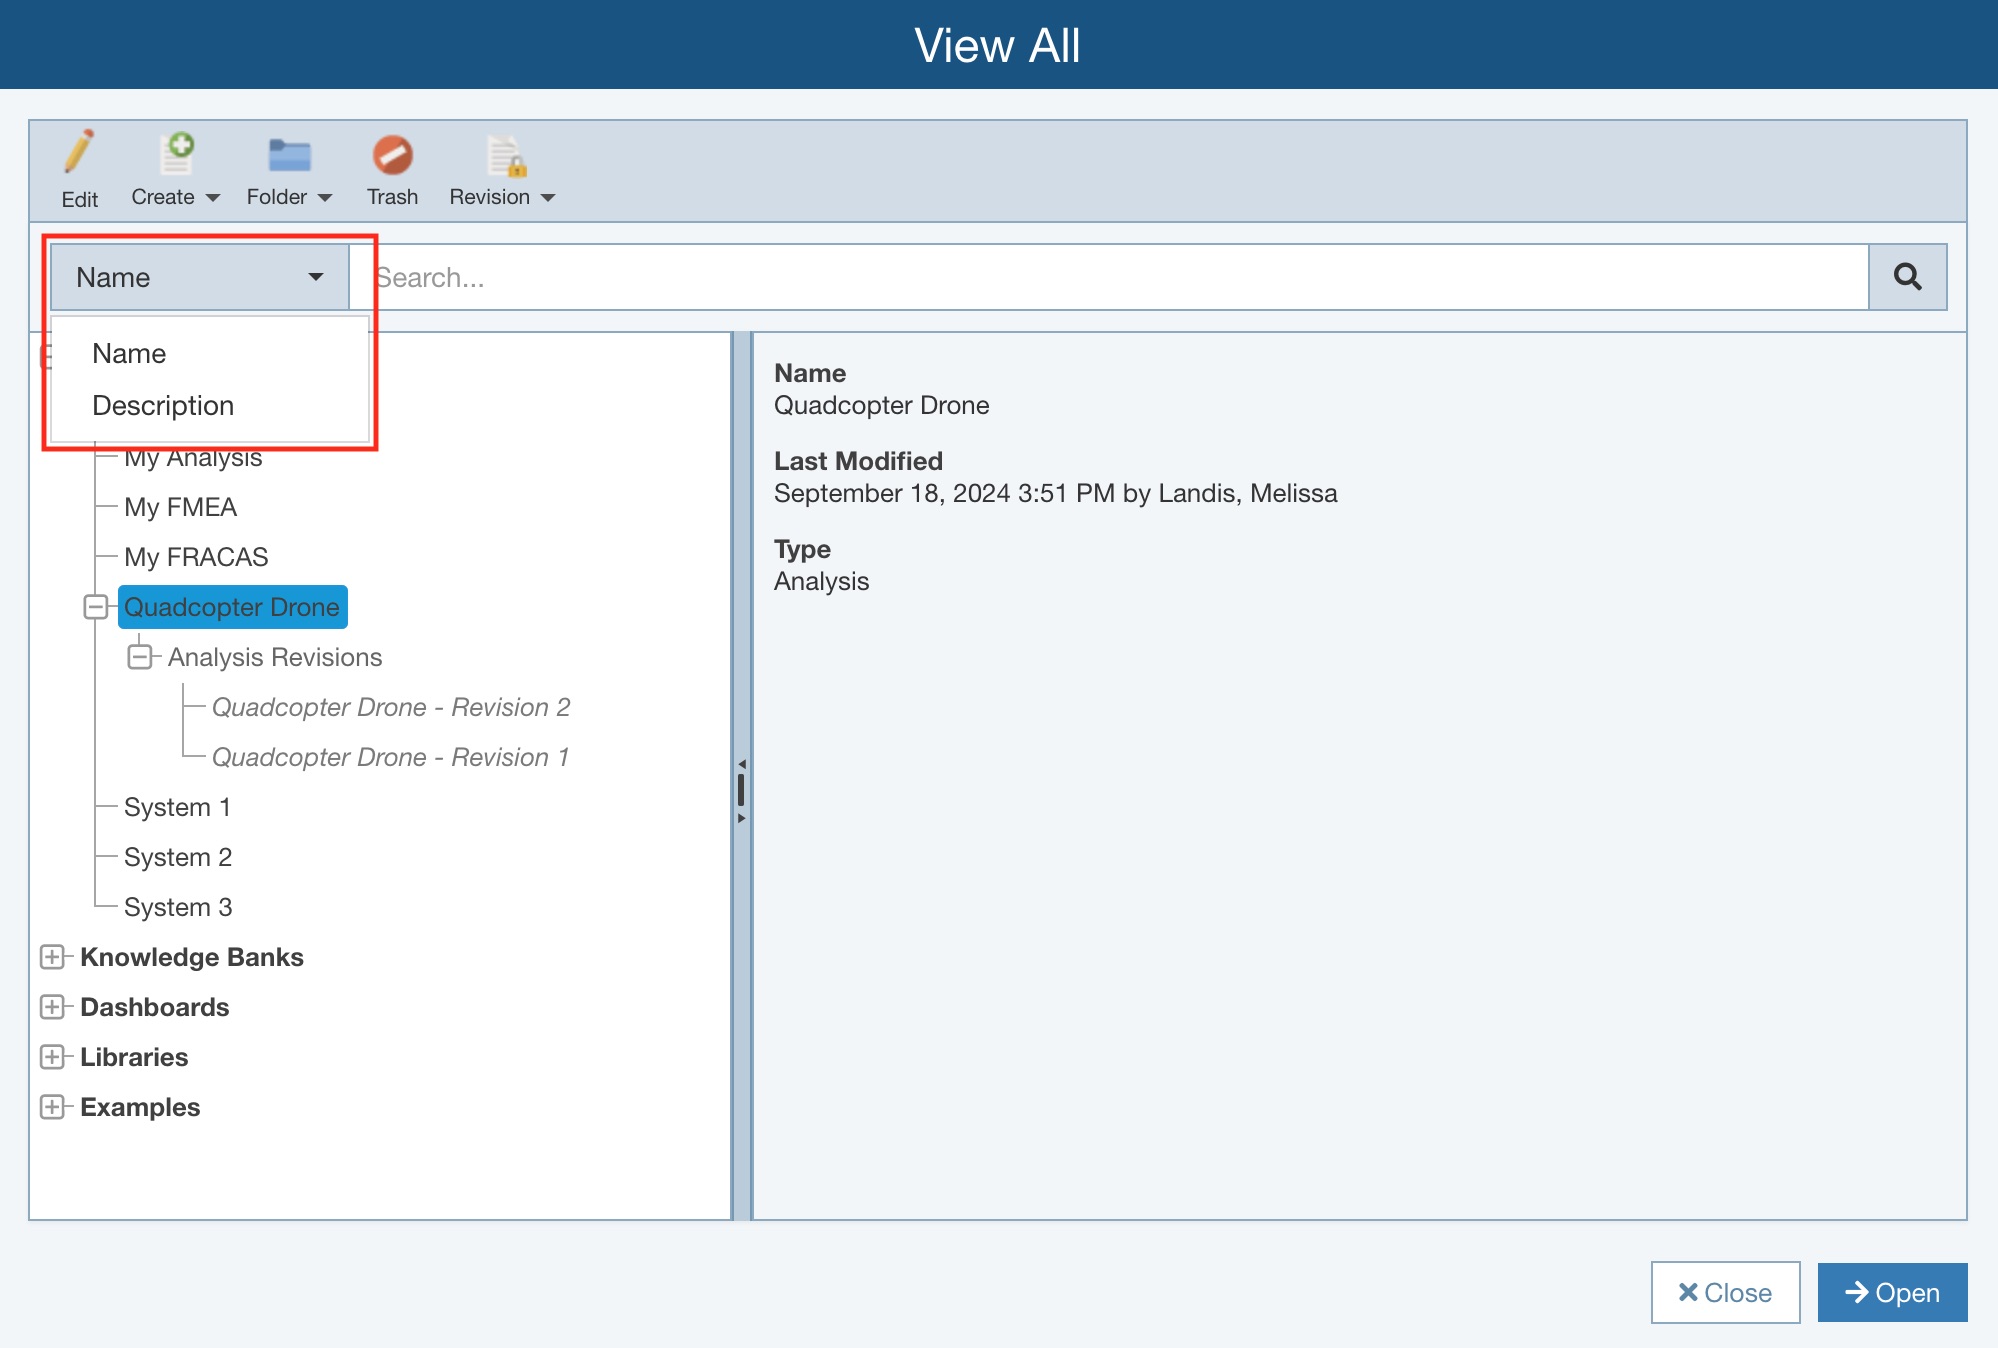
You can search based on Name or Description. Select the field to search on on the left.
Enter the text of interest and click the Find button.
.jpg)
Review the items found in the left-most pane and either open or use the toolbar functions as needed.
Click Close to close the View All dialog.