Reliability Prediction is one of the most widely used techniques for assessing the failure rate of complex electromechanical systems. Used by reliability engineers for decades, the methodology was first defined and employed in the defense sector. Due to the need for a predictive MTBF (Mean Time Between Failures) tool in industries committed to producing reliable products including telecom, aerospace, automotive, medical devices, and consumer electronics, Reliability Prediction analysis has now achieved broad adoption across a wide range of industry sectors.
As its name implies, Reliability Prediction is a predictive tool. It enables you to estimate a system’s failure rate through the use of mathematical equations defined in Reliability Prediction standards. These equations were developed by analyzing gathered historical component data using statistical methods. Honed and recalibrated over time, these equations reflect an estimated assessment of product failure rate. For an in-depth review of the equations used in Reliability Prediction standards, refer to our detailed blog post. Additionally, for an overview of the different Reliability Prediction standards and how to best determine which to use, see our informative guide.
Reliability Prediction analyses are typically performed using a software tool, as there is a great deal of data handling and analytical calculations involved. Utilizing a tool that was expressly designed for this purpose is the most effective way to ensure your analyses are accurate and efficient. For details on how to perform a prediction analysis, see our six-step guideline. Our review of best practices offers insights into approaches often adopted by analysts.
Our team continually provides top-notch support for engineers using Relyence Reliability Prediction for their prediction analyses. This article presents five how-to questions our team has heard often, and, therefore, the solutions provided are beneficial to share. These tips can help make your Relyence Reliability Prediction tasks even more streamlined and efficient.
Question #1: How can I update a single data parameter across a number of Parts?
When performing Reliability Predictions, you may want to update a specific data field across various parts in your system. A common example is the need to update the Temperature Rise for all parts to a specific value. We’ll step through an example to update the Temperature Rise of some Parts in our Subsystem to 5 degrees and some to 2.5 degrees in Relyence Reliability Prediction.
Step 1: Add the Part ID field to the Parts Table.
Customize your Reliability Prediction Parts Table to include the Part ID field. The Part ID field is automatically created by Relyence to uniquely identify each part in your Analysis.
Click the Views dropdown menu from the Parts Table and click Customize view.
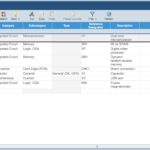
On the Customize View dialog, click Change This View.
In the Customizing Parts Table window, go to the last row, click the dropdown arrow, and select the Part ID field from the list. Note that the Part ID field is marked as read-only. This is because this data field is autogenerated by Relyence and cannot be modified.
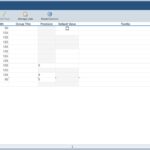
You can move the field to a new location if you prefer, but this is optional. Click the Save and Close button in the toolbar to save your change and return to the Parts Table.
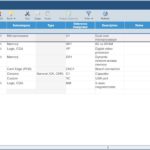
The newly added Part ID field can now be seen on the Parts Table. Note that the Part ID field is a unique identifier for each Part so the values in your Part ID field may not match what is shown below.
Step 2: Export the Parts.
Now, we export the Parts to Excel by selecting Export>Parts from the Sidebar menu.
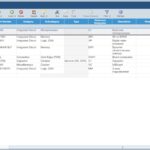
Enter a preferred Export File Name, leave the Export all data fields checkbox cleared, then click Export to export the data.
A progress dialog appears during exporting and then a message will pop up when complete. The resulting file can be found in your default downloads folder.
Step 3: Add the data to be updated in the exported file.
Next, we open the exported Excel file, add the Temperature Rise column to the spreadsheet, and enter the desired values. For our example, we want to update all the non-Microprocessor Integrated Circuits and Connectors to a Temperature Rise of 5 degrees and Capacitors to a Temperature Rise of 2.5 degrees. In our Analysis, the Microprocessor Temperature Rise is already set, so we don’t want to update it.
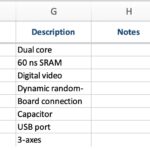
Step 4: Use the Import function to update the Parts with the new data.
Now it is time to import the updated Temperature Rise data into our Analysis.
Select Import>Parts from the Sidebar menu to initiate the Import Wizard.
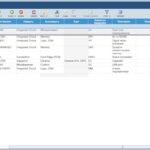
We select the exported Excel file that was just updated and click Next.
Select the Update records radio button, leave the Add new records during update checkbox clear, and click Next.
The next step of the process is to map the fields for import. This confirms what data is contained in each column of the source Excel file. When the Import Mapping dialog appears, we see that Relyence has automatically mapped most of the data fields, but 2 unmapped columns are noted. We scroll horizontally to see that the two unmapped columns are Failure Rate and the newly added Temperature Rise.
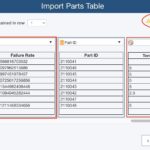
Failure Rate is not mapped because it is a calculated field, not a value that is directly entered.
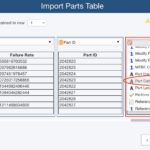
To map the Temperature Rise field, we click the dropdown above the column and select Part Data Field from the list. Temperature Rise is one of the fields that appears on the Part Data Form when entering part data, so this field can be imported by using the Part Data Field list choice.
Click Next. The final dialog appears. If desired, we can save this import for reuse by selecting the Save this import checkbox and entering a saved import name. Then, we click Import to import the data.
A progress bar appears during import. Once complete, the Import Complete dialog appears with import information to review. We Close the dialog after review, then navigate to the Part Form for our capacitor to see the updated Temperature Rise data.
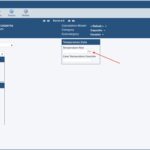
We can continue to review the other updated Parts. When finished, we can recalculate our Analysis to see the updated results.
You can use Importing to update any Part Data parameter
You can use the same process outlined above to update any of your Part Data parameters. In order to import any Part Data field, just make sure the column title in your import file matches the data field label on the Part Form. For example, you can import fields like Rated Voltage, Applied DC Voltage, and Quality Level by creating a column in your Excel import file using the field name as the title of the column. Then, enter the data values for the Parts in the file to import. During import mapping, select Part Data Field as the mapped field. You can use this feature when adding or updating Parts during importing.
Question #2: How can I enter the same Part multiple times?
Though the Quantity field indicates a specific Part is used more than once, you may not want to use this method in your Analysis. For example, you may have five Parts that are all the same, but you want to enter a different Reference Designator for each one. Or perhaps you have five Parts that are the same type, but the Part Data varies slightly.
For this example, let’s assume we have five capacitors we want to enter individually in our Analysis.
Step 1: Enter the Category, Subcategory, and Type for the Part.
In this case we are using a General Ceramic Capacitor.
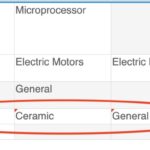
Step 2: Insert four empty rows.
Click in the last empty row of the Parts Table. Click Insert from the toolbar four times.
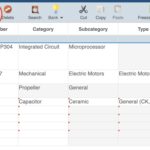
Step #3: Copy and paste the data.
Select the Capacitor-Ceramic-General (CK, CKR) cells in the Parts Table. An easy way to do this is to hold the left mouse button down and move across the three cells with the Capacitor-Ceramic-General (CK, CKR) data.
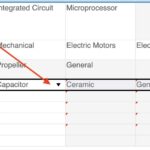
Press Ctrl+C on your keyboard to copy the data.
Using the same mouse selection technique as above, select the empty cells to paste the data into.
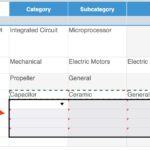
Press Ctrl+V on your keyboard to paste the data.
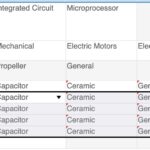
As needed, click to select any of the capacitors and go to the Part Data form to enter specific part data.
Question #3: How can I add Parts to different Subsystems when importing?
When importing a BOM into your Reliability Prediction analyses, you may want to add Parts to different Analysis Tree Subsystems. To accomplish this, include the Subsystem Name in your Excel import file to designate the appropriate Subsystem for each Part.
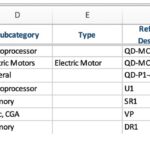
Then, in the Import Field Mapping step, make sure the Subsystem Name field is mapped.
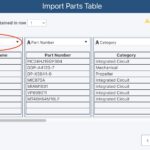
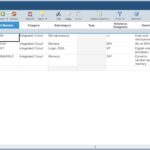
Relyence will then use the Subsystem Name field to import the Parts to the correct Subsystem. In this example, our Excel file specified that our Quadcopter Drone Subsystem contained three Parts each with a quantity of four: Microprocessors, Electric Motors, and Propellers.
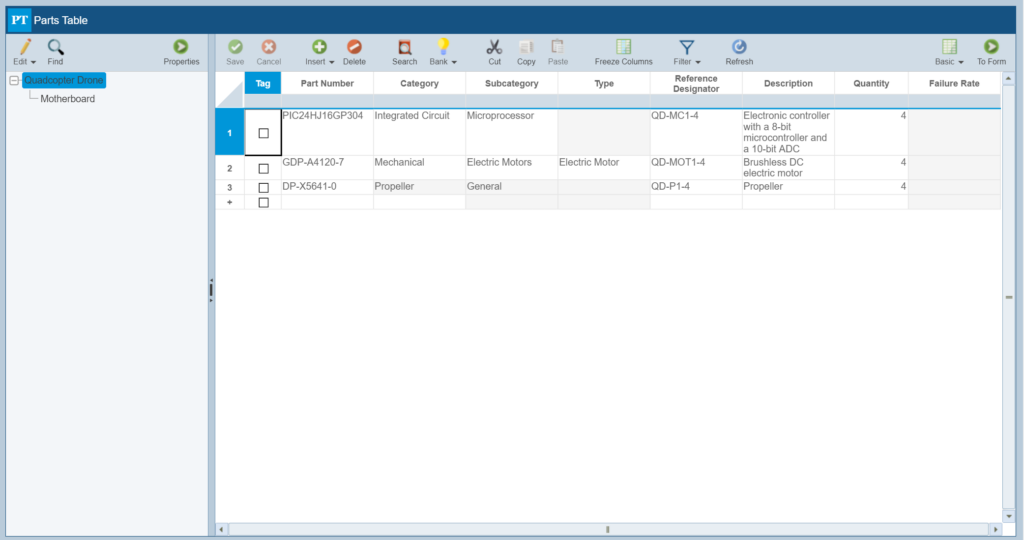
And our Motherboard Subsystem contains four Integrated Circuits.
Question #4: How can I move Parts from one Subsystem to another?
The question of how to move Parts between Subsystems comes up most commonly when Parts have been mistakenly imported into the wrong Subsystem. There may also be other times when you wish to move Parts from one Subsystem to a different one.
Step 1: Use the Cut function to remove the Parts from the source Subsystem.
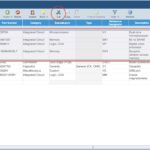
Select the Parts you want to move from the source Subsystem in the Analysis Tree. An easy way to do this is to hold the left mouse button down and drag your cursor down the Row Number column in the Parts Table to select the desired Parts. Then click Cut from the toolbar.
Step 2: Go to the destination Subsystem and use the Paste function to move the Parts.
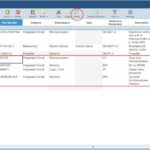
Select the destination Subsystem in the Analysis Tree. Select the row location where you want to insert the Parts. In this case, we want them at the end of our Parts Table, so we select the last row, and click Paste from the toolbar. The Parts are now moved to the destination Subsystem.
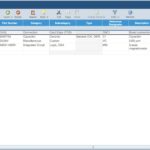
The Parts no longer appear in the source Subsystem.
Question #5: How can I compute Reliability with Relyence Reliability Prediction?
You can use the powerful built-in Formulas capability in Relyence Reliability Prediction to add your own calculations. Select Configure>Formulas from the Sidebar menu to access the Formula feature.
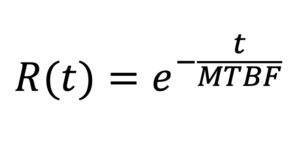
For example, let’s assume we want to calculate Reliability for our Subsystems at the one-year (8760 hours) time point. The equation to compute Reliability based on MTBF is shown below:
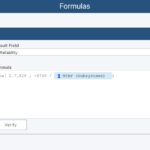
To create this Formula in Relyence, enter the equation shown below in the Formulas dialog (note that we previously used the Customize function to add in a field named “Reliability”):
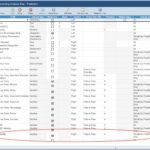
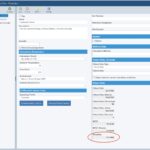
We can also add the new Reliability value to our Analysis Tree Form using the Customize function. For this example, we add Reliability to the Failure Rate Group Box on our Analysis Tree Form so we can easily view it.
Then, when performing Reliability Prediction calculations, be sure the Formulas checkbox is selected.
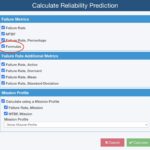
The calculated Reliability value now appears on our Analysis Tree Form in the Failure Rate Group Box:
Conclusion
For additional information on how to get the most of your Reliability Prediction analyses, download our insightful white paper, “Reliability Prediction Analysis: More Than MTBF”. This paper will aid you in ensuring you optimize your Reliability Prediction investment.
If you are a current Relyence Reliability Prediction customer and have a beneficial how-to or tip of your own you’d like to share, we’d love to hear from you. Our best insights and suggestions come from our customers! Feel free to reach out with your ideas or tips you think others may find helpful.
Our best-in-class Relyence Reliability Prediction software supports complete and accurate analyses based on all the widely accepted standards: MIL-HDBK-217, Telcordia, 217Plus, IEC 61709, SN 29500, NSWC Mechanical, ANSI/VITA 51.1, and China’s 299C. Relyence Reliability Prediction provides a solid foundation for all your analysis needs and fills an essential role in your reliability and quality analysis tool set.
Contact us today so we can talk about your Reliability Prediction needs and how Relyence Reliability Prediction can help. Sign up today for our free trial or schedule a personal webinar to see Relyence Reliability Prediction in action.


